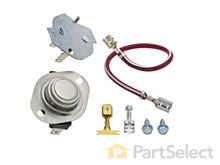
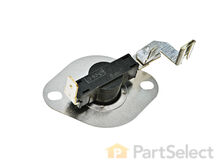
Estate Dryer Parts
- Search your model number to find:
- Genuine OEM parts guaranteed to fit
- Free manuals and guides
- Repair instructions and videos

Popular Estate Dryer Parts
- Drum Not Spinning
- Heat stays on after drum has stopped
- Noisy
- See more...
- Heat stays on after drum has stopped
- Not Heating
- Too hot
- See more...
Not knowing what the problem was I started looking at the coils and could not see any broken parts.
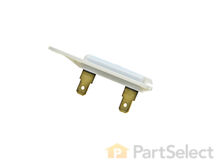
So then checked the thermal fuse for continuity I removed the two wires from it with a small pair of needle nose pliers, it was held in place by two screws, once they were removed the fuse came out easily, I checked continuity with a volt meter placing the meter on X1 Ohms and could not get a reading.
I replaced with a new one and put it all back together the way I took it apart.
Then I plugged it in and it worked first time, I now have warm dry clothes. Read more...
- Heat stays on after drum has stopped
- Not Heating
- Too hot
- See more...
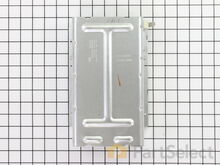
To remove the heating element there are two small nut-head screws. Remove the two electric wires. Then you can pull the heating element away.
You can check the heating element with an ohm-meter or visually inspect it to see if the heating element spiral wire is broken.
Don't hurry to dispose the old element. My model includes a small electric safety part. You'll need to transfer it to the new heating element (that comes without it)..
Good luck. Read more...
- Drum Not Spinning
- Marks left on clothes
- Noisy
- See more...
- Heat stays on after drum has stopped
- Not Heating
- Too hot
- See more...
- Drum Not Spinning
- Marks left on clothes
- Noisy
- See more...
1) Removed back - 6 screws
2) Removed dryer vent - 2 screws on top, 3 on bottom
3) Popped the top open
4) Removed Front of dryer cabinet - 2 screws
5) Removed Belt
6) Removed Drum
7) Cleaned up all lint
8) Pop off motor retainers front and back
Here is the tricky part for me.
9) Removed vent fan on back of motor.
I did not know that the back of the fan was square, and you could put an open ended wrench on it to hold it while you also have a vice grip on the front motor shaft. Then its a simple left to loosey operation. I first tryed to turn the fan blade to take it off, but proved to be to tight.
10) Repeat backwards to reassemble
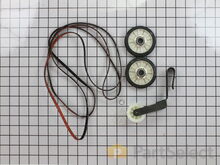
While I had it apart I also replaced the Drum support rollers & Installed a new belt. Not that diffucult of a repair Good Luck, was certainly better than buying a new one at + $300.00 at Black Friday rates. Read more...
- Door won’t close
- Light not working
- Running With Door Open
- See more...
- Heat stays on after drum has stopped
- Not Heating
- Too hot
- See more...
- Door Pops Open
- Door won’t close
- Lid or door won’t close
- See more...
- Not Heating
- Too hot
- See more...
Estate Dryer Appliance Types
- Estate Parts
- Estate Dishwasher Parts
- Estate Microwave Parts
- Estate Range Parts
- Estate Refrigerator Parts
- Estate Washer Parts
Related Estate Dryer Parts
- Estate Dryer Hardware
- Estate Dryer Switches
- Estate Dryer Seals and Gaskets
- Estate Dryer Valves
- Estate Dryer Wire Plugs and Connectors
- Estate Dryer Knobs
- Estate Dryer Circuit Boards and Touch Pads
- Estate Dryer Brackets and Flanges
Popular Estate Dryer Models
Below are the most popular Estate Dryer models we have. Enter your model number in the search box to find your model.
- EED4400WQ0
- TEDS740PQ0 Residential
- TEDS840JQ2 Residential
- TEDX640PQ0 Residential
- TEDS840PQ0 Residential
- EED4300TQ0 Residential
- TEDX640JQ1 Residential
- TEDX640PQ1 Residential
- EGD4400WQ0
- EED4400SQ0 Residential
- EED4300SQ0 Residential
- TEDS740JQ1 Residential
- TEDS740PQ1 Residential
- TEDS680EQ2 Residential, Electric
- TGDS840JQ1 Residential, Gas
- TEDS780JQ0 Residential, Electric
- TEDS840PQ1 Residential
- EED4400WQ1
- TEDX640JQ0 Residential, Electric
- TEDS840JQ0 Residential


