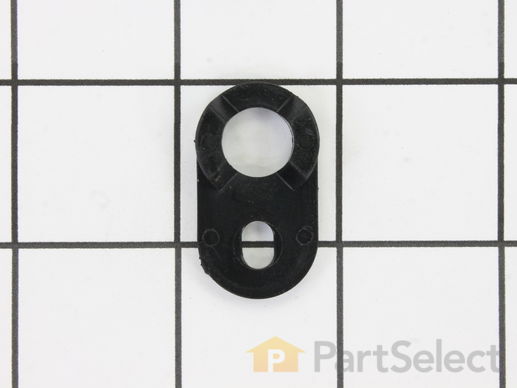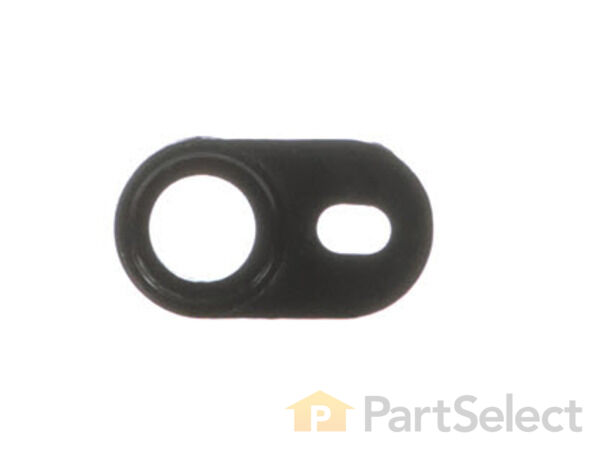
Door Closing Cam WR2X4901
Rated by 98 customers
Easy
15 - 30 mins
Ratings submitted by customers like you who bought this part.
Get this part fast! Average delivery time for in-stock parts via standard shipping: 1.8 days.
Door Closing Cam Specifications

How Buying OEM Parts Can Save You Time and Money
Replacing your General Electric Refrigerator Door Closing Cam

-
5 Stars 13
-
4 Stars 4
-
3 Stars 0
-
2 Stars 1
-
1 Star 0
- < Prev
- 1
- 2
- Next >

- < Prev
- 1
- 2
- Next >
- < Prev
- 1
- 2
- 3
- Next >
-
Curtis from BELLEVILLE, IL
-
Difficulty Level:Easy
-
Total Repair Time:30 - 60 mins
-
Tools:Screw drivers, Socket set
-
Terry from CAMERON, MO
-
Difficulty Level:Easy
-
Total Repair Time:30 - 60 mins
-
Tools:Screw drivers, Socket set
-
Richard C from LYNCHBURG, VA
-
Difficulty Level:Easy
-
Total Repair Time:30 - 60 mins
-
Tools:Screw drivers, Socket set
-
Clinton from Melbourne, FL
-
Difficulty Level:Really Easy
-
Total Repair Time:15 - 30 mins
-
Tools:Screw drivers, Wrench set
-
Neal from Cleburne, TX
-
Difficulty Level:Really Easy
-
Total Repair Time:Less than 15 mins
-
Tools:Nutdriver, Screw drivers
-
Thomas from Loves Park, IL
-
Difficulty Level:Really Easy
-
Total Repair Time:15 - 30 mins
-
Tools:Screw drivers, Socket set
-
Frank from Upper Malboro, MD
-
Difficulty Level:Really Easy
-
Total Repair Time:Less than 15 mins
-
Tools:Nutdriver, Screw drivers
-
vincent from mahwah, NJ
-
Difficulty Level:Really Easy
-
Total Repair Time:Less than 15 mins
-
Tools:Nutdriver, Screw drivers
-
Ray from Wayne, NJ
-
Difficulty Level:Really Easy
-
Total Repair Time:15 - 30 mins
-
Tools:Socket set
-
Robin from North Plainfield, NJ
-
Difficulty Level:A Bit Difficult
-
Total Repair Time:15 - 30 mins
- < Prev
- 1
- 2
- 3
- Next >
Ask our experts a question about this part and we'll get back to you as soon as possible!
- < Prev
- 1
- Next >

6 people found this helpful.

4 people found this helpful.

2 people found this helpful.

1 person found this helpful.

1 person found this helpful.


- < Prev
- 1
- Next >


Manufacturer Part Number: WR2X4901

Item is in stock and will ship today if your order is placed before 4:00 PM Eastern Standard Time.
If your order is placed after 4:00 PM EST, the in stock items will ship on the next business day.
Item is not in stock and usually ships 3-5 business days from the time you place your order.
Item is not in stock and usually ships 10-15 business days from the time you place your order.
This item is no longer being made by the manufacturer, and cannot be added to your shopping cart.


