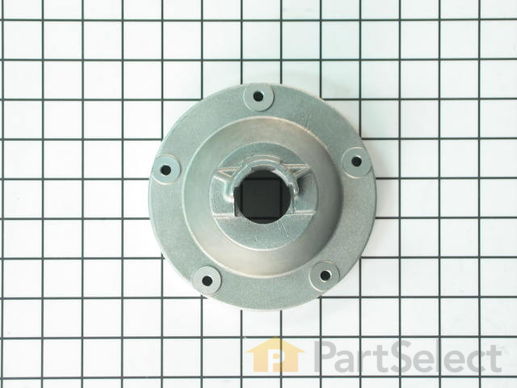
TRUNNION 131545101
Rated by 1 customer
Really Easy
1- 2 hours
Ratings submitted by customers like you who bought this part.
Get this part fast! Average delivery time for in-stock parts via standard shipping: 1.8 days.
TRUNNION Specifications

How Buying OEM Parts Can Save You Time and Money
- < Prev
- 1
- Next >
2. Using my fingers, I released the tabs that connect the tub cover to the tub. It took some effort to remove the cap("Mechanism") over the bolt connecting the ag ... Read more itator to the agitator drive block because I didn't want to break the tab. Once removed, I removed the bolt and the agitator. I then removed the two bolts that clamp the Trunnion to the agitator shaft.
3. It took a little more effort to remove the tub because of corrosion, however, by rocking the tub back and forth I was able to work it free and remove it. I then removed the bolts connecting the Trunnion to the tub. It took a hammer to remove the Trunnion from the tub, once again because of corrosion.
4. After removing the tub, the seal assembly was next and it was easy to remove. I cleaned the agitator shaft with steel wool before beginning the reassembly to remove the corrosion. Before installing the new seal, I lubricated the agitator shaft and the inside of the seal with a silicone grease that is normally used for water faucets. The seal installed easily although care was required to insure that the seal did not twist out of place when sliding it down the agitator shaft.
5. The rest of the reassembly went easily. Since my old filter on the bottom of the tub was clogged, I replaced it with a new one. It took a little time to get every tab on the filter aligned properly so that it could be rotated into place, but it went easily. Everything else reassembled with no problems.
6. It took considerable time to figure out how to replace the drive belt idler arm assembly because I could not figure out how to remove the pin that the idler arm pivots on. I finally reviewed the parts list on-line again and determined that there is a small C-clip that holds it together. Once I knew that. I was able to see the clip and remove it. From that point on, it was very easy to remove the old assembly and reinstall the new one. If I had to do it over again, I would have changed the sleeve at the same time that I changed the idler assembly because the assembly still wobbles on the pin more than I would like. However, it works fine so I won't worry about it until other repairs are needed.
The parts that I ordered from Parts Select were exact matches for the parts that I removed. They were in stock and were shipped the next business day. I would rate the repair as very easy.
-
Rick from Walkerton, IN
-
Difficulty Level:Really Easy
-
Total Repair Time:1- 2 hours
-
Tools:Pliers, Screw drivers, Socket set
- < Prev
- 1
- Next >
Ask our experts a question about this part and we'll get back to you as soon as possible!
- < Prev
- 1
- Next >

4 people found this helpful.

- < Prev
- 1
- Next >


Manufacturer Part Number: 131545101

Item is in stock and will ship today if your order is placed before 4:00 PM Eastern Standard Time.
If your order is placed after 4:00 PM EST, the in stock items will ship on the next business day.
Item is not in stock and usually ships 3-5 business days from the time you place your order.
Item is not in stock and usually ships 10-15 business days from the time you place your order.
This item is no longer being made by the manufacturer, and cannot be added to your shopping cart.


