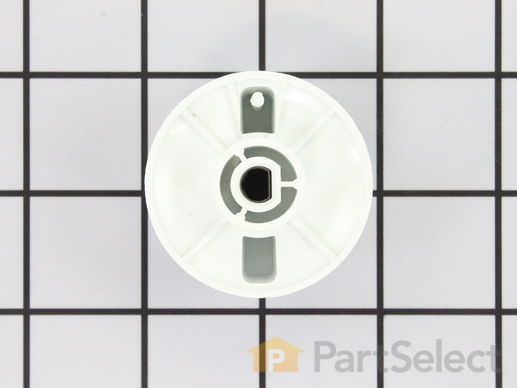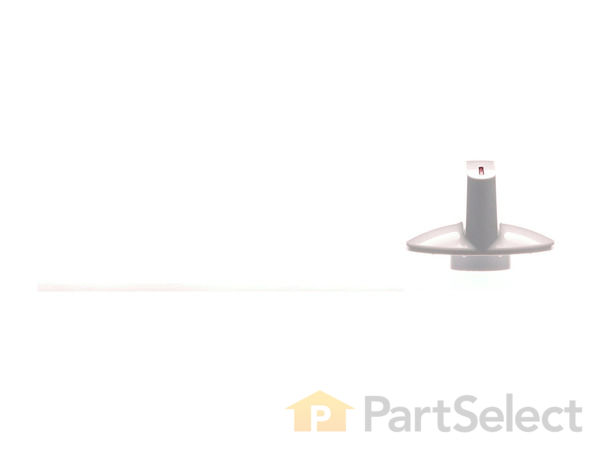
Selector Knob with Clip WH1X2721
Rated by 61 customers
Really Easy
15 - 30 mins
Ratings submitted by customers like you who bought this part.
Get this part fast! Average delivery time for in-stock parts via standard shipping: 1.8 days.
Selector Knob with Clip Specifications

How Buying OEM Parts Can Save You Time and Money
Replacing your General Electric Washer Selector Knob with Clip

-
5 Stars 66
-
4 Stars 6
-
3 Stars 1
-
2 Stars 0
-
1 Star 2
- < Prev
- 1
- 2
- 3
- Next >
- < Prev
- 1
- 2
- 3
- Next >
- < Prev
- 1
- 2
- 3
- Next >
The lint filter arrived damaged. The screen is mangled and the frame is cracked. It may be repairable.
-
James from GRAND FORKS, ND
-
Difficulty Level:Very Easy
-
Total Repair Time:Less than 15 mins
-
Tools:Nutdriver
-
Joyce from TUSCUMBIA, AL
-
Difficulty Level:Really Easy
-
Total Repair Time:Less than 15 mins
-
Wagdy from Watertown, MA
-
Difficulty Level:Really Easy
-
Total Repair Time:Less than 15 mins
-
Joanne from LaQuinta, CA
-
Difficulty Level:Really Easy
-
Total Repair Time:Less than 15 mins
-
Janis from northridge, CA
-
Difficulty Level:Really Easy
-
Total Repair Time:Less than 15 mins
-
al from Cathedral City, CA
-
Difficulty Level:Really Easy
-
Total Repair Time:Less than 15 mins
-
LISA from LOUISVILLE, KY
-
Difficulty Level:Really Easy
-
Total Repair Time:15 - 30 mins
-
Tools:Nutdriver, Socket set
-
Barbara from Hawley, PA
-
Difficulty Level:Really Easy
-
Total Repair Time:Less than 15 mins
-
Sarah from Roswell, GA
-
Difficulty Level:Really Easy
-
Total Repair Time:Less than 15 mins
-
Mark from Miami, FL
-
Difficulty Level:Really Easy
-
Total Repair Time:Less than 15 mins
- < Prev
- 1
- 2
- 3
- Next >
Ask our experts a question about this part and we'll get back to you as soon as possible!
- < Prev
- 1
- 2
- Next >

7 people found this helpful.

6 people found this helpful.

1 person found this helpful.

1 person found this helpful.

1 person found this helpful.

1 person found this helpful.


- < Prev
- 1
- 2
- Next >

Manufacturer Part Number: WH1X2721

Item is in stock and will ship today if your order is placed before 4:00 PM Eastern Standard Time.
If your order is placed after 4:00 PM EST, the in stock items will ship on the next business day.
Item is not in stock and usually ships 3-5 business days from the time you place your order.
Item is not in stock and usually ships 10-15 business days from the time you place your order.
This item is no longer being made by the manufacturer, and cannot be added to your shopping cart.


