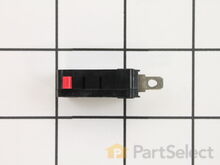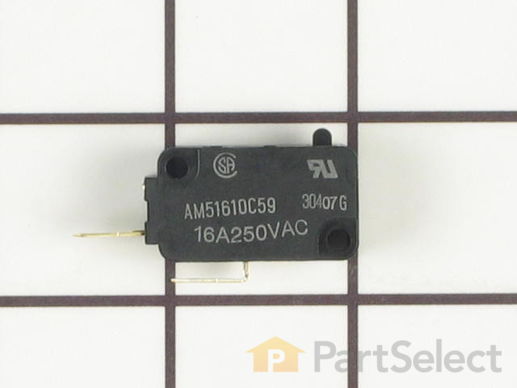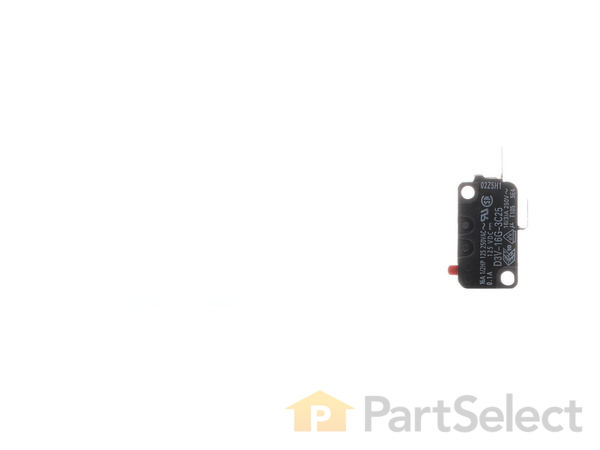
Secondary Door Switch WB24X829
Rated by 30 customers
Easy
15 - 30 mins
Ratings submitted by customers like you who bought this part.
Get this part fast! Average delivery time for in-stock parts via standard shipping: 1.8 days.
Secondary Door Switch Specifications

How Buying OEM Parts Can Save You Time and Money
-
5 Stars 37
-
4 Stars 4
-
3 Stars 2
-
2 Stars 1
-
1 Star 1
- < Prev
- 1
- 2
- 3
- Next >
- < Prev
- 1
- 2
- 3
- Next >
- < Prev
- 1
- 2
- 3
- Next >
With power disconnected: Remove the microwave's metal grill surround. Three lower screws accessible with lower oven door open. Two screws accessible at top of microwave door opening with door open.
Remove microwave control panel: Remove t ... Read more wo femaleTorx head screws (#27?) that secure the panel, accessible at right side of door opening. The right side of the control panel is secured by plastic tabs fitting into slots in the oven frame. Take good care to note how these tabs disengage from the slots (lift and shift). Tab breakage very possible! Once disengaged, the panel hinges outward and downward and is self-supported. It may be necessary to guide some of the wiring out of the way to fully lower.
There are three door switches, one "monitor" and two "secondary" switches. All switches are housed in a plastic frame, which must be lifted out of position for access, each switch is retained by flexible plastic, breakable-looking hooked fingers. Also note that the electrical connectors have tiny release tabs that must be depressed in order to pull them off of the switches. In my case the topmost switch, one of the "secondary" switches, was clearly bad since there was no "snap" or click when pressing the switch's button. Maybe you can determine which switch is bad before proceeding but I had ordered all three to avoid going through this exercise again any time soon.
Replace switch or switches, place switch carrier back into position and otherwise reverse the disassembly steps.
-
DeWitt from Boulder, CO
-
Difficulty Level:Easy
-
Total Repair Time:30 - 60 mins
-
Tools:Nutdriver, Screw drivers
-
Tom from SUN PRAIRIE, WI
-
Difficulty Level:Easy
-
Total Repair Time:30 - 60 mins
-
Tools:Pliers, Screw drivers
-
John from POWHATAN, VA
-
Difficulty Level:Easy
-
Total Repair Time:30 - 60 mins
-
Mark from FORT COLLINS, CO
-
Difficulty Level:Easy
-
Total Repair Time:30 - 60 mins
-
Tools:Pliers, Screw drivers
-
Erwin from CONROE, TX
-
Difficulty Level:Really Easy
-
Total Repair Time:30 - 60 mins
-
Tools:Pliers
-
Ken from WARE, MA
-
Difficulty Level:Really Easy
-
Total Repair Time:30 - 60 mins
-
Tools:Nutdriver, Screw drivers
-
CHARLES B. from CLARKSVILLE, TN
-
Difficulty Level:Really Easy
-
Total Repair Time:30 - 60 mins
-
Tools:Pliers, Screw drivers
-
Carlos from GLENDALE, NY
-
Difficulty Level:Very Easy
-
Total Repair Time:15 - 30 mins
-
Tools:Nutdriver, Screw drivers
-
Charles from OAKDALE, NY
-
Difficulty Level:Very Easy
-
Total Repair Time:15 - 30 mins
-
Tools:Screw drivers
-
JULIA from JACKSONVILLE, FL
-
Difficulty Level:Really Easy
-
Total Repair Time:Less than 15 mins
-
Tools:Screw drivers
- < Prev
- 1
- 2
- 3
- Next >
Ask our experts a question about this part and we'll get back to you as soon as possible!
- < Prev
- 1
- 2
- 3
- Next >

41 people found this helpful.

30 people found this helpful.

21 people found this helpful.

13 people found this helpful.

10 people found this helpful.

8 people found this helpful.

6 people found this helpful.

5 people found this helpful.

5 people found this helpful.

4 people found this helpful.
- < Prev
- 1
- 2
- 3
- Next >


Manufacturer Part Number: WB24X829

Item is in stock and will ship today if your order is placed before 4:00 PM Eastern Standard Time.
If your order is placed after 4:00 PM EST, the in stock items will ship on the next business day.
Item is not in stock and usually ships 3-5 business days from the time you place your order.
Item is not in stock and usually ships 10-15 business days from the time you place your order.
This item is no longer being made by the manufacturer, and cannot be added to your shopping cart.


