



 My Orders




91141485992 Kenmore Microwave Oven Combo - Overview
Diagrams for 91141485992
See every part. Know exactly what you need.

Enter a part description. DIY Heroes keep it simple, eg. "belt" or "pump".
Search filter:
Clear Filter
Your search term must have 3 or more characters.

$21.81
In Stock
Microwave Fuse
Part #WB27X10928
This ceramic microwave fuse is just over an inch in length. It is white in the center, and metal on both ends. This is a 20-amp fuse, and is used to power your microwave. If the touch pad on the microwave becomes unresponsive, the microwave produces little to no heat, or the appliance simply does not turn on, it could mean that your fuse ...Read moreis at fault and needs to be replaced. Because this part contains an electrical charge, remember to disconnect power to the microwave unit before you begin this repair.
NOTE: Before you start this repair, ensure that the microwave is unplugged, and the capacitor is discharged. A capacitor stores large amounts of electricity even after your microwave is unplugged.
Read less

$73.86
In Stock
Oven Rack
Part #WB48T10095
The oven rack is sold individually. It is chrome in color and measures approximately 24 inches wide by 17-1/2 inches deep. The rack is used to hold cookware in the oven and slides back and forth for easy access. Racks can become rough and discolored over time and may need to be replaced, or perhaps you just need extra storage space in the...Read more oven! This repair is extremely simple and does not require any tools. Before you begin, ensure that the rack edges are straight and have not warped from shipment. Once the oven door is open, the stop end goes in first and it simply slides into place.
Read less

$102.37
In Stock

$16.07
In Stock
Oven Bulb Lens Cover - Glass
Part #WB25T10002
This part is the replacement oven bulb lens cover. It is made of glass and is approximately 3 inches in diameter. The lens cover is rigid and protects the oven light bulb from being damaged. The main reason to replace the oven bulb lens cover is if it is cracked, damaged, or missing. Be sure that the lens cover is cool to the touch before...Read more you begin this repair. To remove the lens cover simply turn it counterclockwise until you can remove it. Replace it with a new cover and turn it clockwise to lock it into place. This is an OEM part sourced from the manufacturer, and it is sold individually.
Read less

$39.95
In Stock
Oven Light Housing
Part #WB08T10002
The light housing is also known as a lamp holder and is a part for the oven in your range. The function of this piece is to hold the bulb that will light up the inside of your oven. As per the manufacturer instructions, if your bulb has burnt out you must buy the bulb for this part locally. This light housing is roughly five inches high, ...Read morewith an outside diameter of roughly four inches by four inches. To install this part, you will need a Phillips screwdriver, a nut driver, and a pair of pliers.
Read less

$16.05
In Stock

$16.05
In Stock

$140.74
In Stock
Temperature Sensor Kit
Part #WB23X5340
This kit includes the sensor as well as the connectors. NOTE This sensor is 2" long.

$16.05
In Stock
Range Screw
Part #WB01T10008
This part is a replacement screw for your oven. It is made of black metal and is sold individually. This screw is approximately 1/4 inch in diameter and about 1/2 inch in length. It is designed to connect the different parts of your oven door. This part is an authentic OEM part sourced directly from the manufacturer.

$15.00
In Stock

No Longer Available
Door Hinge Kit - Right Side
Part #WB14T10005
This hinge kit is used on the right hand side of the oven door.

$97.43
In Stock
Door Hinge Kit - Left Side
Part #WB14T10006
This hinge kit is used on the left hand side of the oven door.
Manuals & Care Guides for 91141485992
Click to downloadCommon Symptoms of the 91141485992
How this model fails, and the parts that fix it.
No heat
Fixed by
these parts
these parts


Show All
Won’t turn on
Fixed by
these parts
these parts
Show All
Little to no heat when baking
Fixed by
these parts
these parts


Show All
Touchpad does not respond
Fixed by
these parts
these parts
Show All
Element will not heat
Fixed by
these parts
these parts
Show All
Oven not heating evenly
Fixed by
these parts
these parts
Show All
Door won’t close
Fixed by
these parts
these parts


Show All
Oven is too hot
Fixed by
these parts
these parts
Show All
Little to no heat when broiling
Fixed by
these parts
these parts

Show All
Watch our pros, then fix it yourself.


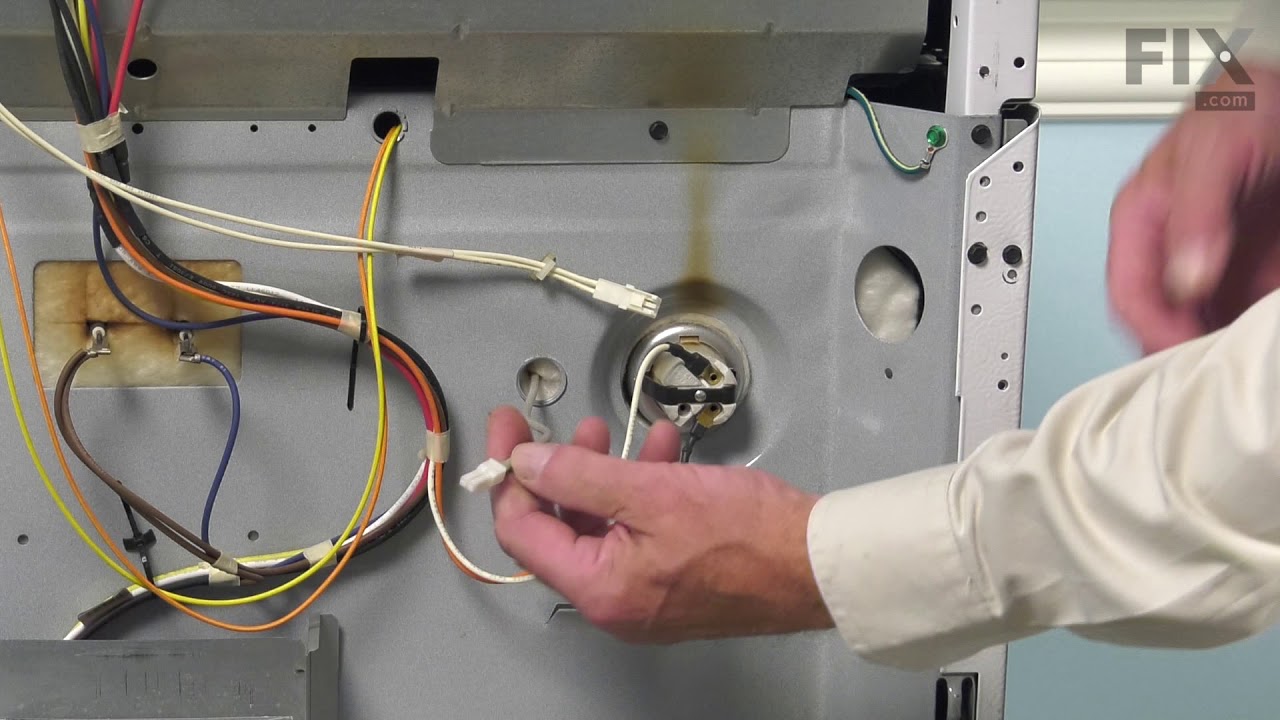
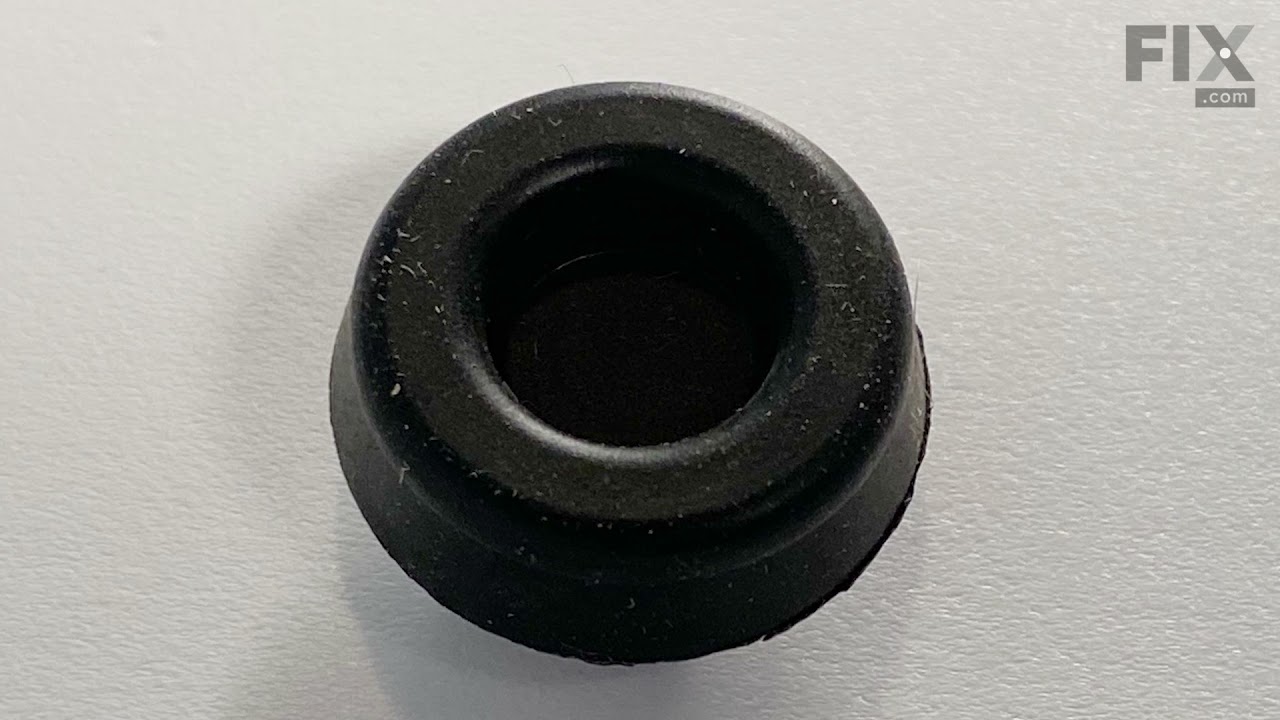
See how others fixed this model. Time, tools, difficulty, and steps that lead to victory!
View More