


How to Fix No or Low Pressure in Your Pressure Washer
There's nothing more frustrating than gearing up for a cleaning project with your trusty pressure washer, only to find it releasing a weak stream of water with little to no pressure. Whether you're tackling tough stains on your driveway or sprucing up outdoor furniture, low or no pressure can quickly derail your plans. The most common cause of pressure washer problems is often a blocked nozzle. In this comprehensive guide, we'll delve into the root causes of low pressure, from clogged nozzles to pump malfunctions and provide step-by-step troubleshooting techniques to help you diagnose and resolve these issues with confidence. By the end, you'll know how to fix your pressure problems and restore your pressure washer's power and efficiency, ensuring that your cleaning tasks are completed with ease.
Low Water Supply
If you are experiencing low pressure with your pressure washer, it is essential to first determine whether the issue is with the water supply or the pressure washer itself. Testing the home water pressure can help you identify if the problem is coming from the water source. Pressure washers require 20 PSI of water pressure in order to function properly.
How to Test Your Home's Water Supply
- To ensure an accurate reading, turn off any other water-using appliances or fixtures in your home, such as washing machines, dishwashers, and showers.
- Use a water pressure gauge, which can be purchased at most hardware or home improvement stores, and attach it to your home's spigot. Ensure the connection is secure to prevent leaks.
- Fully open the water outlet to allow water to flow freely.
- Allow the pressure to stabilize, and then take note of the reading on the gauge.
- Most residential water pressure falls within the range of 40 to 80 PSI. If the pressure falls significantly below this range, it may indicate low water pressure from the supply line. It is recommended to call your water supply company for assistance.
- If the reading is within the correct range, the issue may be with the water supply hose. If the hose is too long, water will be unable to flow to the pressure washer. Ensure your hose is the correct length for your equipment. The standard length for a hose is between 20 - 50 feet.
- If you do not have a pressure gauge on-hand, you can use a jug and a timer to test your home's water pressure. Place a 1-litre jug under the spigot and measure how long it takes to fill up. If it takes more than 6 seconds to fill then you likely have low water pressure.
- You can double-check this by calculating the flow rate of the water. Fill up the jug again but stop when the timer reaches 6 seconds. Multiply the volume of water in the jug by 10 to get the liters per minute. If the flow rate is less than 10 liters per minute, this indicates low pressure.
Trapped Air
An air lock occurs when air becomes trapped within the pump or water delivery system, preventing the pump from priming and generating the necessary pressure. When an airlock occurs, the pressure washer may fail to produce a consistent or sufficient water flow, leading to reduced performance or complete loss of pressure. Air locks can occur for several reasons, including:
- Initial Setup: When setting up a pressure washer for the first time or after it has been transported, air may enter the pump or water supply hose, leading to an airlock.
- Water Supply Interruption: If the water supply to the pressure washer is interrupted or temporarily shut off, air can enter the system and become trapped, causing an airlock.
- Pump Priming Issues: If the pressure washer's pump is not properly primed before use, air may remain trapped within the pump, resulting in an airlock.
- Leaks in the System: Leaks in the pressure washer's hoses, fittings, or connections can allow air to enter the system and cause air locks.
How to Fix an Airlock in a Pressure Washer
- If your pressure washer is new and has a priming feature, follow the manufacturer's instructions to prime the pump before use. This can help remove any trapped air from the pump and water delivery system.
- If the pressure washer is not new, turn off the pressure washer and disconnect the water supply hose.
- Hold the trigger on the spray gun or wand to release any remaining pressure in the system.
- Reconnect the water supply hose and turn on the water supply to purge any trapped air from the system.
Clogged Water Inlet Screen
The water inlet screen is designed to prevent debris, sediment, and other particles from entering the pressure washer's pump and potentially causing damage or clogging. It is located at the water inlet point where the hose connects to the pressure washer. The screen acts as a barrier, capturing and trapping contaminants before they can enter the pump system. If the screen is obstructed, water will be unable to flow freely resulting in a weak stream when the trigger is pulled. It is recommended to regularly clean the screen to maintain the performance of your pressure washer.
How to Clean the Water Inlet Screen in a Pressure Washer
- Locate the water inlet either at the base or side of the pressure washer. It is where the hose is connected.
- Detach the cold water hose.
- Remove the inlet filter using long-nosed pliers.
- Rinse the filter under warm water or use a soft brush to clean the screen.
- Inspect the inside of the water inlet for any debris or build-up and carefully remove it if any is present.
- Reinsert the screen into the water inlet and ensure it is securely fitted in place.
- Screw the garden hose back onto the water inlet.
- Turn on the water supply and power on the pressure washer. Check for any leaks and ensure that water flows freely through the machine.
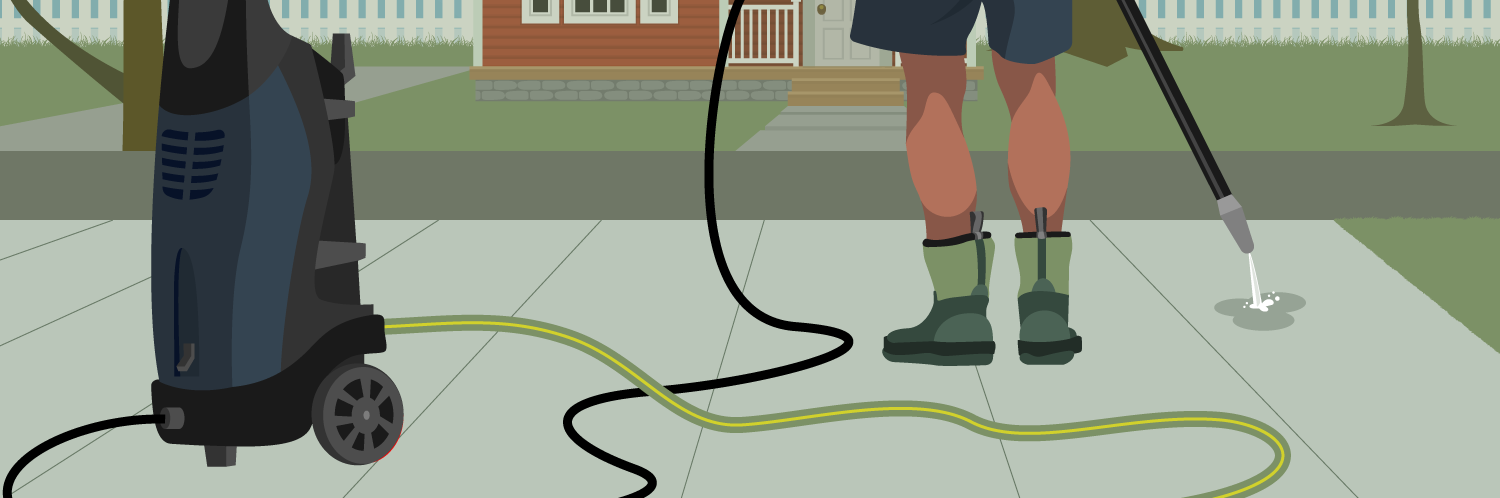
Blocked Nozzle
The nozzle is the exit point for the pressurized water generated by the pump. It is responsible for controlling the direction, flow rate, and dispersion pattern of the water stream. If the nozzle is obstructed in any way it will be unable to release water effectively.
How to Clean the Nozzle in a Pressure Washer
- Locate the nozzle at the end of the pressure washer wand.
- Carefully remove the nozzle and inspect it for signs of debris or blockages.
- Gently scrub the interior and exterior of the nozzle. You can also use compressed air to blow out any foreign materials.
- If the dirt is stubborn you can soak it in a solution of vinegar and water for several hours to help dissolve the build-up.
- Once clear, reattach the nozzle to the end of the wand and ensure it is locked in place.
Blocked or Kinked Hose
The hose is a rubber pipe that connects the pressure washer unit to the water supply and to the spray gun or wand. It delivers water from the water source to the pressure washer pump, where it is pressurized before it is released through the nozzle. The hose is designed to withstand high pressure and exposure to various chemicals commonly used in cleaning. If the hose has any obstructions or sharp spends along its length, it will restrict the flow of water through the hose resulting in low or no pressure in your pressure washer.
How to Check the Pressure Washer Hose for Blockages and Kinks
- Visually inspect the exterior of the hose for any signs of damage, such as cuts, abrasions, or bulges. Pay attention to any areas where the hose may be bent or twisted.
- Straighten out the hose completely and look for any kinks or bends along its length. Kinks can restrict water flow and affect pressure output.
- If you find any kinks, gently straighten them out by hand. Avoid using tools or excessive force, as this could damage the hose.
- Disconnect the hose from both the pressure washer and the spray gun or wand.
- Use a flashlight to inspect the interior of the hose for any blockages or obstructions. Look for debris, dirt, or mineral buildup that could be causing a blockage.
- Attach the hose to a water source, such as a spigot or outdoor faucet.
- Turn on the water supply and allow water to flow through the hose for a few seconds to flush out any debris.
- If the water flow seems weak or restricted, there may be a blockage that requires further attention.
- If you suspect a blockage, use a long, flexible tool, such as a plumber's snake or a piece of wire with a hook on the end, to carefully dislodge the obstruction.
- Insert the tool into one end of the hose and gently push or pull it through to the other end. Be careful not to damage the hose while doing this.
Faulty Pressure Washer Pump
The pump is responsible for increasing the pressure of the water supplied to the washer. Its primary function is to draw water from a water source and pressurize it before delivering it to the spray gun or nozzle. If any of the pump components are faulty, the pump will be unable to create a force that compresses the water and increases its pressure.
How to Access and Test the Pressure Washer Pump
- Ensure the pressure washer is turned off and disconnect the spark plug. Make sure the water supply is turned off.
- Remove the pump cover/housing to access the pump. You can find the pump underneath the engine
- Visually inspect the pump for signs of physical damage such as cracks or leaks
- Check that the connections are securely attached and free of debris or blockages.
- Disconnect the hose from the pump outlet.
- Connect a pressure gauge to the pump outlet where the high-pressure hose was attached. Make sure the gauge is rated for the pressure of your pressure washer.
- Turn on the water supply and power on the pressure washer.
- Squeeze the trigger to activate the pump.
- Check the pressure gauge to see if the pump is generating the correct pressure. Compare the pressure reading to the specifications provided by the manufacturer.
- If the pressure is significantly lower than expected, it may indicate a problem with the pump, such as worn seals, damaged valves, or a faulty pressure regulator. You will need to replace the pump if it is no longer in good working condition.
- After testing the pump, release the trigger on the gun or wand to relieve pressure.
Unloader Valve
The unloader valve regulates the pressure within the system by sending excess water flow back into the inlet side of the pump when the trigger on the spray gun is released. When the trigger is engaged, the unloader valve closes, allowing water to flow through the pump and out of the nozzle at high pressure. However, when the trigger is released, the unloader valve opens, redirecting water flow away from the nozzle and back to the pump's inlet. This action relieves the pressure within the system, preventing damage to the pump and other components. If your pressure washer has no or little pressure, the unloader valve may need to be adjusted in order to increase the pressure. The unloader valve should always be adjusted while the pressure washer is running and the trigger wand is pulled.
How to Adjust the Unloader Valve in a Pressure Washer
- Relieve any pressure built up in the system by squeezing the trigger on the spray gun to release residual water.
- The unloader valve is typically mounted on or near the pressure washer pump. It may be situated along the outlet side of the pump. Check your user manual for exact specifications.
- The unloader valve will have an adjustment mechanism, such as a screw, that allows you to control the pressure output. Locate this screw.
- Place a pressure gauge between the pump and the high-pressure hose.
- Use a screwdriver or wrench to rotate the adjustment screw clockwise to increase the pressure or counterclockwise to decrease it. Make small adjustments and test the pressure incrementally until you achieve the desired level.
- If you've achieved the desired pressure setting, lock or secure the adjustment screw in place to prevent unintentional changes.
- After completing the adjustment process, perform a final inspection to ensure that all connections are secure and that the pressure washer is in proper working condition before using it for cleaning tasks.
Faulty Pressure Regulator
The pressure regulator works in a similar way to the unloader valve. It controls the pressure of the water being delivered from the pump to the spray gun or nozzle by adjusting the flow rate of water through the pump. If the regulator is worn down or damaged it will be unable to maintain the correct pressure levels in the pressure washer. If it is faulty, you will need to replace the pressure regulator in order to restore your pressure washer.
How to Replace a Faulty Pressure Regulator
- Before starting any work on your pressure washer, ensure that it is turned off and disconnected from the power source. Release any built-up pressure by squeezing the trigger on the spray gun.
- Locate the regulator near the pump of the pressure washer. You may need to remove the pressure washer housing to access it.
- Disconnect the inlet and outlet hoses connected to it.
- Remove the hardware securing the pressure regulator to the pressure washer frame or pump.
- Carefully remove the old pressure regulator from its mounting location.
- Position the new pressure regulator in place, aligning it with the mounting holes. Secure the regulator by reinstalling the mounting hardware and tightening it securely.
- Reconnect the inlet and outlet hoses to the appropriate ports on the new pressure regulator.
- After replacing the pressure regulator, reconnect the pressure washer to the power source and turn it on. Test the pressure washer to ensure that the new pressure regulator is functioning correctly and that there are no leaks or issues with pressure regulation.
Discovering the causes and recognizing the signs of low or no pressure in you're pressure washer is the first step to getting your pressure washer back on track. Follow the simple step-by-step instructions in this guide to quickly identify the cause of the problem and fix it in no time.


Try these 5 easy lawn care tips to maintain a healthy lawn! How to water, w...

Use these repair instructions to fix your leaky faucet, whether it is a sin...

Properly clean your gutters, and make sure they don't get clogged again wit...