


How to Clean Your Blender
Your blender can be one of the most used appliances in your home. From purees, to smoothies, to sauces, a good blender can be the work horse of the kitchen. Blenders also get grungy over time and with all of those little nooks and crannies to clean, it can be a challenge to keep your appliance sparkling. With our tips and tricks, we’ll show you how to properly clean and maintain your blender so that it looks just like brand new!

Regular cleaning
For regular cleaning, you simply need to remove the jug from the base. In most cases, you can wash the jug in soapy water in your sink by hand. If possible, you’ll want to separate the base and the blade assembly from the jug first because the blades are typically quite sharp, and you’ll want to use extra caution when cleaning around them. If your blender uses a glass jug, you can put that in your dishwasher after you’ve removed the top and base assembly.
Deep cleaning
If your blender is very dirty or stained, clean it with a blend of hot water, baking soda and a quarter of a cup of white vinegar. Add the mixture to the blender and then add a few drops of dish soap. Put the jug onto the blender base and run your blender for a minute or two. Dump the mixture out, and then rinse your jug thoroughly and wash it by hand.
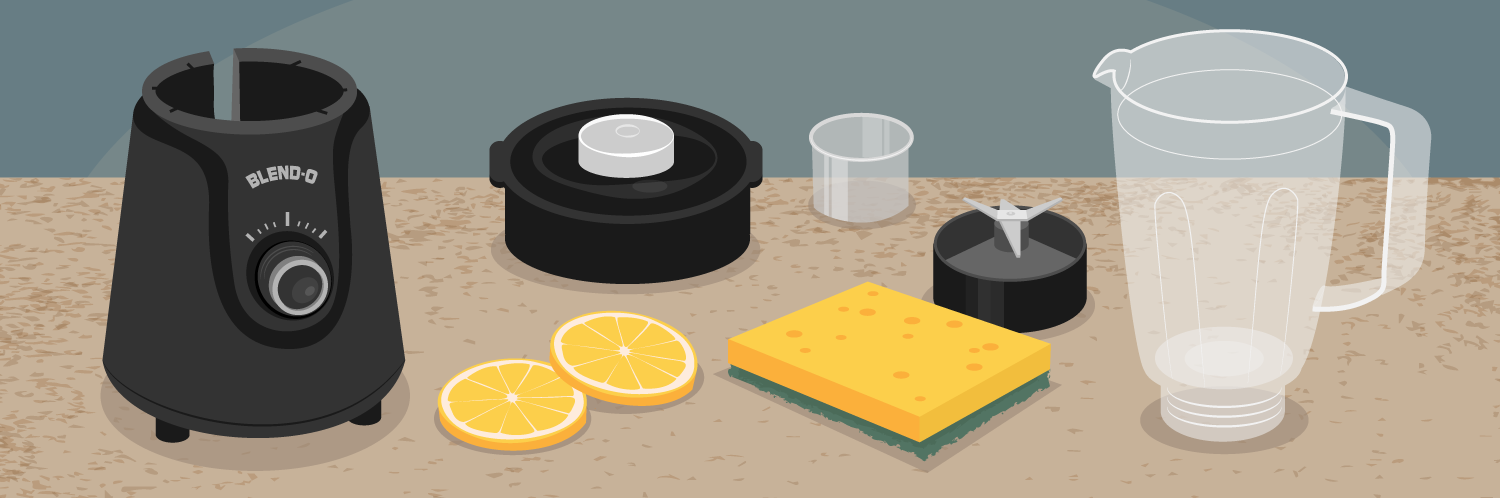
For blenders that use a plastic jug, you may get a taste or smell from the plastic over time. An easy way to remove that is to cut up some lemon slices, put them into your blender with some warm water, and then blend for a couple of minutes. You may need to do this periodically to maintain a nice, fresh smell in your blender.
Sometimes stains are just too stubborn to be cleaned away by any of the above methods. If you find that your jug is still stained despite your best efforts, you can soak your blender overnight using a mixture of baking soda, vinegar, and dish soap. Simply put one cup of white vinegar, a few drops of dish soap and half a cup of baking soda into your blender. The mixture will bubble up, when the bubbling subsides, turn your blender on for a few seconds to mix everything together thoroughly and then let it sit in the jug for a few hours. Dump everything out after a few hours have passed and then rinse the jug with warm water. If the blender smells like the baking soda and vinegar mixture, you can put water and a few drops of dish detergent into the jug and put your blender on for a few seconds.
Blades
Sometimes your blades will still look dirty despite blending the mixtures mentioned above. One trick is to use denture cleaning tablets such as Polydent. If possible, separate the jug from the blades and then submerge the blades in water with one or two tablets. The tabs should remove any stubborn stains.
If you are unable to separate the jug from the blades, you can always clean them in the jug. Simply pour in enough hot water to make sure the blades are covered and then drop in one or two denture cleaning tablets. Let the mixture soak for about a half hour and then rinse thoroughly with warm water.
Caked on food
If your blender has caked on food debris, a little bit of elbow grease may be needed. You can scrub it off by using a rough sponge, toothbrush, or – in the cases of extreme stubborn stains – steel wool. The type of tool you’ll need to clean your blender will depend on how caked on the food is. Put a little bit of water and dish soap into your blender and then chip away at the stains with whatever your chosen tool is until the caked-on debris disappears.
Drying
Once your jug is clean, it’s best to put it upside-down on your dish drying rack and to let it air dry. If you are in a hurry to put your blender away, make sure to thoroughly dry the inside with a dish towel before you put the lid back on to avoid bacterial growth.
Cleaning the base
The jug isn’t the only part of your blender that can get dingy, the base also needs attention from time to time. Don’t immerse your blender base in water! The base contains the motor and control system and soaking it in water may cause the machine to stop working. Make sure to keep any cleaning measures to the exterior only!
To clean your blender base, take a sponge or dish cloth, soak it in warm soapy water and then wring it until it’s damp. Gently clean off any spills or caked on food.
Whenever possible, make sure to wipe up spills when they happen. The longer food debris stays on your base, the more it will harden which will make it more difficult to remove later. Caked on food may even stain your base!
Use a Q-tip to get between crevices or buttons that are harder to reach. Simply dampen your Q-tip with soapy water and then clean in and around those hard-to-reach spots. When you’re finished cleaning your base, use a dry dish towel to thoroughly dry any places that may still be moist.
Once your blender is clean and dry, you’re ready to reassemble it and put it away until you are ready to use it again!
Did you find parts that need to be replaced as you were cleaning your blender? We have a wide variety of blender parts. Make sure to have your model number handy so you can find what you need!


We show you some of the basics of microwave cleaning and how you can take j...

We put our ceramic stove top to the test to show just how much they can tak...

Keep your exercise equipment clean in the new year without the need for har...
