


Microwave Cleaning Guide
Let’s be honest, when was the last time you gave your microwave a good and thorough cleaning? A clean microwave not only looks better, but it also prevents bacteria from building up. If this is a chore you’ve been putting off, our how-to guide will show you just how easy it is to get your microwave sparkling again. The best part, no harsh chemicals are needed – just some common household items!

Steam Clean the Interior
The interior of your microwave is subjected to all sorts of spills and splatters. Instead of using harsh chemicals or scrubbing at the crusty buildup, we’re going to put the microwave to work. By creating steam inside the microwave, it will loosen up all the gunk and make it easier to wipe away. To do this, you’ll need a mug of water and your choice of vinegar, lemon juice, or dish soap. Add either a couple tablespoons of vinegar or lemon juice, or a couple drops of dish soap, and place the mug in your microwave. Let the microwave run for two or three minutes to heat up the water, and then let it sit for another few minutes to let the steam do its work.

Carefully remove the mug, the glass tray, and the carriage from the microwave. Don’t throw out the water, as we’ll use that vinegar solution again later. Using a clean, soft cloth, wipe down the walls, ceiling, and base of the microwave cavity. The steam should've done the hard work and any stuck-on food should now wipe away easily. Be mindful not to use too much pressure, especially around the fragile plastic or mica cover on the wall. To finish up the interior, wipe it down again with a paper towel to ensure everything is dry.

Clean the Tray and Carriage
Next up is cleaning off the glass tray and the carriage. The steam should’ve loosened up any spills, but if there are some stubborn bits just leave these in a sink full of warm soapy water to soak for a bit. Gently scrub off the stuck-on bits, then wipe everything dry with a soft cloth. The carriage and tray can then be placed back inside the microwave, making sure they're in the proper position and that the tray is level.

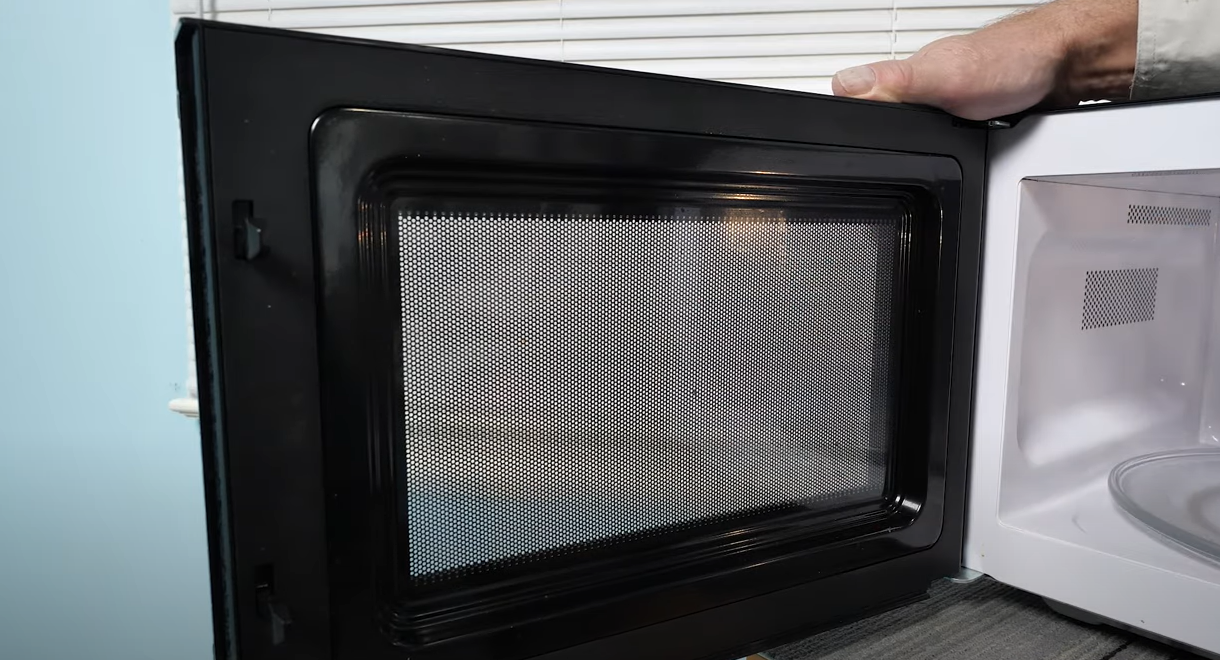
Clean the Door
The microwave door is likely made up of plastic and glass, so to clean this we’re going to use our water and vinegar solution from earlier. Use a soft cloth to clean off all the splatters, and then dry the surface with a paper towel. With the inside of the door cleaned up, we’re now finished with the interior of the microwave – the worst of it is now done!
Clean the Exterior
We’re next going to use the water and vinegar solution to clean the exterior of the microwave. Use a soft cloth to wipe down the sides, top, and back of the microwave if you have a countertop version. To clean the front, with the glass door and the control panel, we’re going to use a glass cleaner. Be sure to spray the cleaner onto your cloth or paper towel – never spray directly onto the buttons or control panel. If you have an over-the-range model, now would be a good time to inspect the filters to see if they should be cleaned or replaced.

While cleaning your microwave, you may have discovered that you need a new filter, or perhaps your glass tray was cracked. If this has happened, we have you covered! Just search for your model number to find hundreds of OEM replacement parts for your microwave. Be sure to follow along with our YouTube Channel so you don’t miss any of our tips and tricks.


The air filter helps to keep dirt and debris out of your engine. If the fil...

Give your appliances a whole new look, for much less than purchasing new! T...

When your microwave exhaust fan breaks, it can put other parts of your micr...