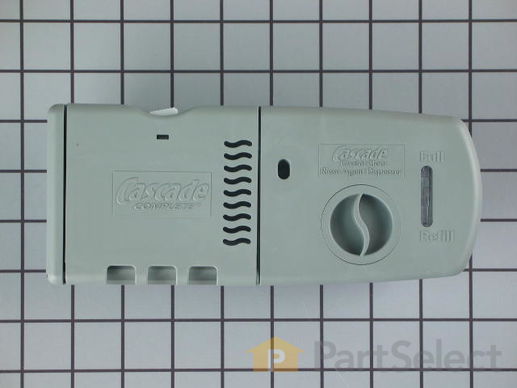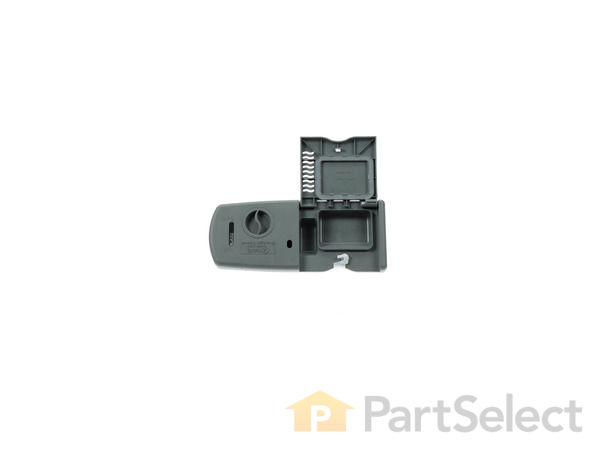
Detergent Dispenser with Rinse Cap WD12X10163
Rated by 24 customers
Really Easy
15 - 30 mins
Ratings submitted by customers like you who bought this part.
Get this part fast! Average delivery time for in-stock parts via standard shipping: 1.8 days.
Detergent Dispenser with Rinse Cap Specifications

How Buying OEM Parts Can Save You Time and Money
Replacing your General Electric Dishwasher Detergent Dispenser with Rinse Cap

-
5 Stars 24
-
4 Stars 2
-
3 Stars 0
-
2 Stars 0
-
1 Star 0
- < Prev
- 1
- 2
- 3
- Next >
- < Prev
- 1
- 2
- 3
- Next >
- < Prev
- 1
- 2
- 3
- Next >
-
Richard from BATESVILLE, IN
-
Difficulty Level:Very Easy
-
Total Repair Time:15 - 30 mins
-
Tools:Screw drivers
Easy fix with video instructions
-
DENNIS from MAUMEE, OH
-
Difficulty Level:Really Easy
-
Total Repair Time:Less than 15 mins
-
Tools:Pliers, Screw drivers
-
Eric from SIMPSONVILLE, SC
-
Difficulty Level:Very Easy
-
Total Repair Time:15 - 30 mins
-
Tools:Pliers, Screw drivers
-
Harinder from CHESTERFIELD, NJ
-
Difficulty Level:Really Easy
-
Total Repair Time:15 - 30 mins
-
Tools:Pliers, Screw drivers
-
ARTHUR from OAK PARK, IL
-
Difficulty Level:Very Difficult
-
Total Repair Time:More than 2 hours
-
Tools:Pliers, Screw drivers
-
Edward from AVON, IN
-
Difficulty Level:Really Easy
-
Total Repair Time:30 - 60 mins
-
Tools:Pliers, Screw drivers
-
Kenneth from Dublin, OH
-
Difficulty Level:Really Easy
-
Total Repair Time:30 - 60 mins
-
Tools:Screw drivers, Socket set
-
julie from Saint Charles, MO
-
Difficulty Level:Easy
-
Total Repair Time:Less than 15 mins
-
David from Stamford, CT
-
Difficulty Level:Easy
-
Total Repair Time:15 - 30 mins
-
Tools:Screw drivers
2. There are 3 electrical plugs that will have to be removed. The first is a 2" long quick connect in the upper middle of the door panel - it will pull straight out. Remember where it makes it ... Read more s connection. Now the exterior door panel will drop down to the floor, pivoting on two axle screws at the bottom. The interior panel can be left vertical for ease of access.
3. The other two electrical connections are on the left side of the old dispenser and can be removed with a simple pull to the left.
4. Remove the six (6) phillips screws from the panel that hold the dispenser in position. Two retainers will also drop off, which hold the dispenser top and bottom.
5. Angle the dispenser and work toward the inside of the dishwasher, turning as necessary to remove from the opening.
6. Reverse the process for installation. Remember to reconnect all three electrical connections.
-
Alan from Marshall, VA
-
Difficulty Level:Easy
-
Total Repair Time:15 - 30 mins
-
Tools:Screw drivers
- < Prev
- 1
- 2
- 3
- Next >
Ask our experts a question about this part and we'll get back to you as soon as possible!
- < Prev
- 1
- 2
- Next >

5 people found this helpful.

2 people found this helpful.

2 people found this helpful.

2 people found this helpful.


1 person found this helpful.


- < Prev
- 1
- 2
- Next >
Manufacturer Part Number: WD12X10163

Item is in stock and will ship today if your order is placed before 4:00 PM Eastern Standard Time.
If your order is placed after 4:00 PM EST, the in stock items will ship on the next business day.
Item is not in stock and usually ships 3-5 business days from the time you place your order.
Item is not in stock and usually ships 10-15 business days from the time you place your order.
This item is no longer being made by the manufacturer, and cannot be added to your shopping cart.


