


 My Orders




40201-0 General Electric Dishwasher - Overview
Diagrams for 40201-0
See every part. Know exactly what you need.


Enter a part description. DIY Heroes keep it simple, eg. "belt" or "pump".
Search filter:
Clear Filter
Your search term must have 3 or more characters.

$49.50
In Stock
Lower Rack Wheel Kit - 8 Pack
Part #WD35X21038
This lower rack wheel kit includes 8 wheels and 8 axles that allow the lower dishwasher rack to slide in and out smoothly. If your dishwasher door will not close, is noisy when operating, or the dishes are not cleaning properly, you might need to replace one or more of the wheels. Each wheel and axle are made of plastic, and fit into one ...Read moreanother so they can be clipped on to the lower dishwasher rack. Many of our customers found this repair to be quick and easy, and the only tool you should need to complete the repair is a pair of pliers.
Read less

$15.30
In Stock
Single Lower Wheel Stud/Axle
Part #WD12X10278
This is a replacement axle for the wheel on your lower dish rack. The wheel must be ordered separately. All you need to complete this repair is a pair of needle nose pliers. Remove the rack stops and pull out the dish rack. Remove the axle and wheel, and use the pliers to undo the clip which holds them together. Replace the axle with your new part and reassemble.

$22.52
In Stock
Dishwasher Rack Slide End Cap
Part #WD12X10304
The Rack Slide End Cap is a white one-inch plastic part which replaces the end cap for your dishwasher rack, preventing your rack from sliding too far. If you find the dish rack is causing the door to not close properly, it may be due to the part being worn out or damaged. All you need to complete this repair is a small flat blade screw d...Read moreriver. Simply pop out the cap with a smaller flat-blade screwdriver and snap the new one into place. If the rear cap needs to be replaced you will need to remove both front caps and slide the rack completely off for full access. It is important to note that this part is sold individually, and more than one may be required, depending on your repair. An inexpensive part, it can be a good idea to purchase several at a time to have on-hand when needed.
Read less

$52.98
In Stock
Dishwasher Dishrack Rollers and Axles
Part #WD35X20994
This is a kit of 4 which includes the wheels and axels.

$42.78
In Stock
Dishwasher Basket Assembly Silverware
Part #WD28X24469
This basket is part of a silverware basket that has 3 sections. This is the middle section of the basket.

$160.61
In Stock
Complete Lower Service Rack Assembly
Part #WD28X25960
This complete lower rack assembly is a genuine replacement part designed for select GE dishwashers, including models sold under Hotpoint, Haier, Monogram, and Café brands. Engineered to securely hold plates, bowls, pots, and pans during the wash cycle, it ensures optimal water coverage and prevents breakage. Constructed from high-quality ...Read morematerials, the rack offers long-lasting durability and resistance to heat and detergent wear. Newer versions may feature an enhanced wheel assembly with protective coverings that keep the wheels aligned and prevent detachment, allowing for smoother sliding in and out of the dishwasher. Common signs that replacement is needed include difficulty moving the rack, rust or discoloration, broken tines, and poor cleaning performance due to misaligned dishware.
Read less

$79.64
In Stock
Detergent Dispenser with Rinse Cap
Part #WD12X10163
This detergent dispenser assembly is attached to the inner door panel of a dishwasher. This part holds detergent and dishwasher rinse products in a covered container. If your dispenser will not open, close, dispense detergent properly, or the dishes are coming out of the dishwasher dirty, replacing this part can solve these problems. The ...Read moretools needed for this installation project are a #2 Phillips screwdriver and needle-nose pliers. To repair, first remove screws from the bottom of the inner door panel. Next, remove connecters, wires, and screws from the dispenser to access it and replace with new dispenser. Refer to the manual provided by the manufacturer for further installation instructions and guidance. Unplug dishwasher from power source as a safety precaution.
Read less

$78.26
In Stock
Water Inlet Valve
Part #WD15X10003
This water inlet valve should be located behind the lower kickplate panel in either the right or left corner. The attaching solenoids on the valve open and close according to the desired amount of water needed. This valve has a 3/8" inlet and comes with the mounting bracket.

$114.88
In Stock
Lower Spray Arm - Gray
Part #WD22X10047
The lower spray arm is mounted to the bottom of your dishwasher tub, and it rotates and sprays water to clean the dishes in the lower dish rack. This spray arm is made of gray plastic, and is approximately 20 inches in width. The lower spray arm will not spin if it has become clogged with debris and hard water deposits from your dishwashe...Read morer, if it has become jammed by silverware, causing it to melt, or if the bottom of the spray arm has become disconnected from the bottom of the tub. If the spray arm encounters any of these issues, it will need to be replaced. To replace the spray arm, remove the lower dish rack and simply unscrew the old arm. Screw the new spray arm in until it locks into place.
Read less

$55.22
In Stock
Door Handle Actuator
Part #WD13X10045
This is a handle actuator for your dishwasher. It is made of black plastic, and is sold individually. The handle actuator is found in the control panel, and it releases the door latch when you lift the handle. If your current handle actuator is cracked or broken, you may not be able to open your dishwasher door, or the door will not close...Read more properly. The dishwasher also may not be able to start, and if this is the case, you will need to replace this part.
Read less

$18.34
In Stock
Upper Track Roller Kit
Part #WD12X332
The track roller on your dishwasher allows the tracks that hold the upper dish rack to slide in and out effectively. If you notice that your upper dish rack is struggling to slide in and out, you may need to purchase a new track roller kit to replace the damaged one. This kit comes with the roller, one screw, and a washer for easy assembl...Read morey. The roller is approximately 1-1/4 inches in diameter and the screw is approximately 1-1/2 inches in length. To complete this repair, you will need to remove the upper dish rack, as well as the rail.
Read less

$16.05
In Stock
Hinge Arm Link
Part #WD14X10009
The hinge link on your dishwasher connects the spring to the dishwasher door hinge. If the hinge link becomes cracked or damaged, you may not be able to shut or lock your dishwasher door properly. In this case, you will need to replace the hinge link. Pull out your dishwasher to inspect the hinge and spring, if the link is broken, it may ...Read morebe disconnected and on the ground already. If not, you can remove the hinge arm link by simply disconnecting it from the hinge and spring, then replacing it with the new part. The hinge arm link is a small piece of white plastic about an inch and a half long. It is sold individually, and is an OEM part from the manufacturer.
Read less
Common Symptoms of the 40201-0
How this model fails, and the parts that fix it.
Leaking
Fixed by
these parts
these parts


Show All
Not cleaning dishes properly
Fixed by
these parts
these parts


Show All
Door latch failure
Fixed by
these parts
these parts


Show All
Not draining
Fixed by
these parts
these parts


Show All
Will not dispense detergent
Fixed by
these parts
these parts
Show All
Will not fill with water
Fixed by
these parts
these parts


Show All
Noisy
Fixed by
these parts
these parts


Show All
Door won’t close
Fixed by
these parts
these parts

Show All
Will Not Start
Fixed by
these parts
these parts


Show All
Not drying dishes properly
Fixed by
these parts
these parts

Show All
Watch our pros, then fix it yourself.
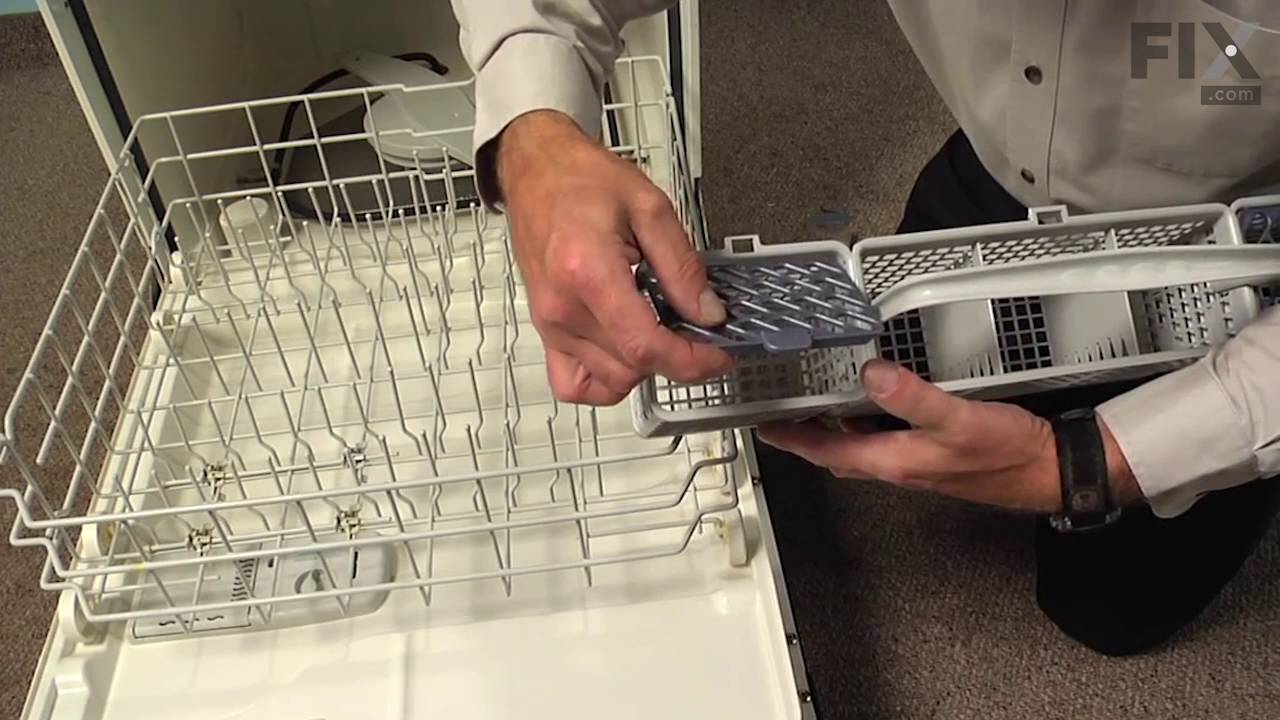
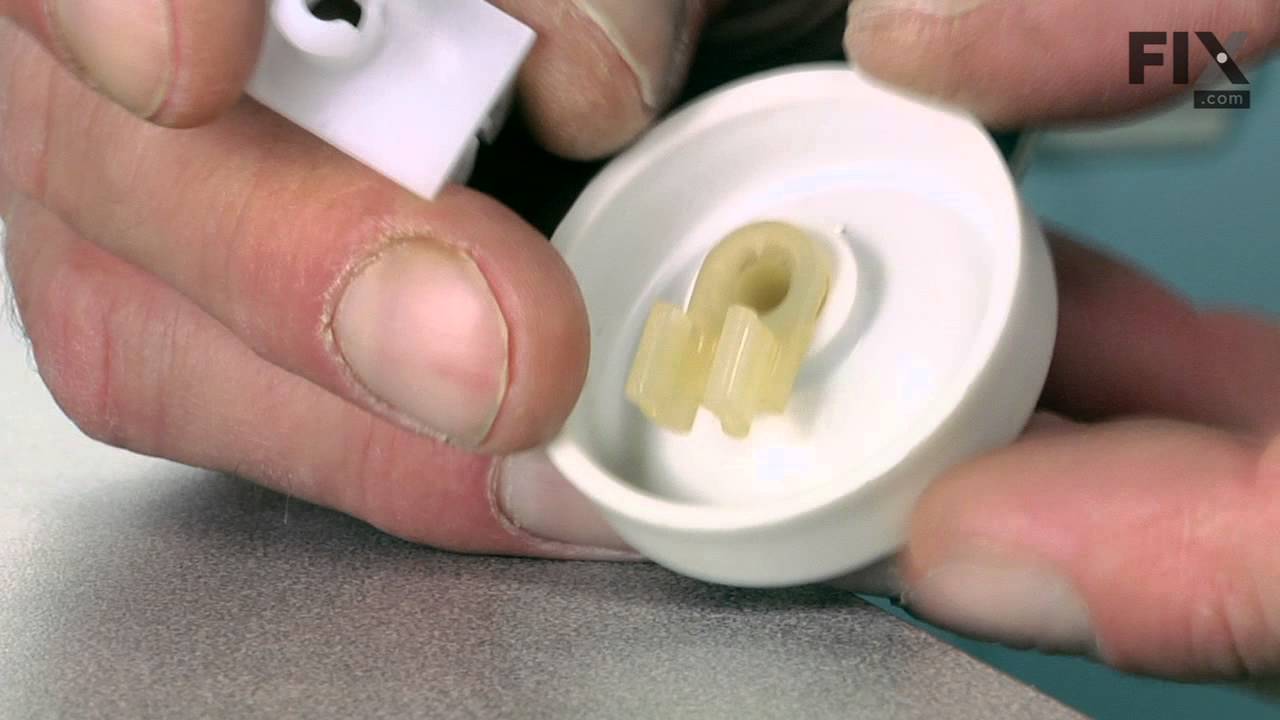
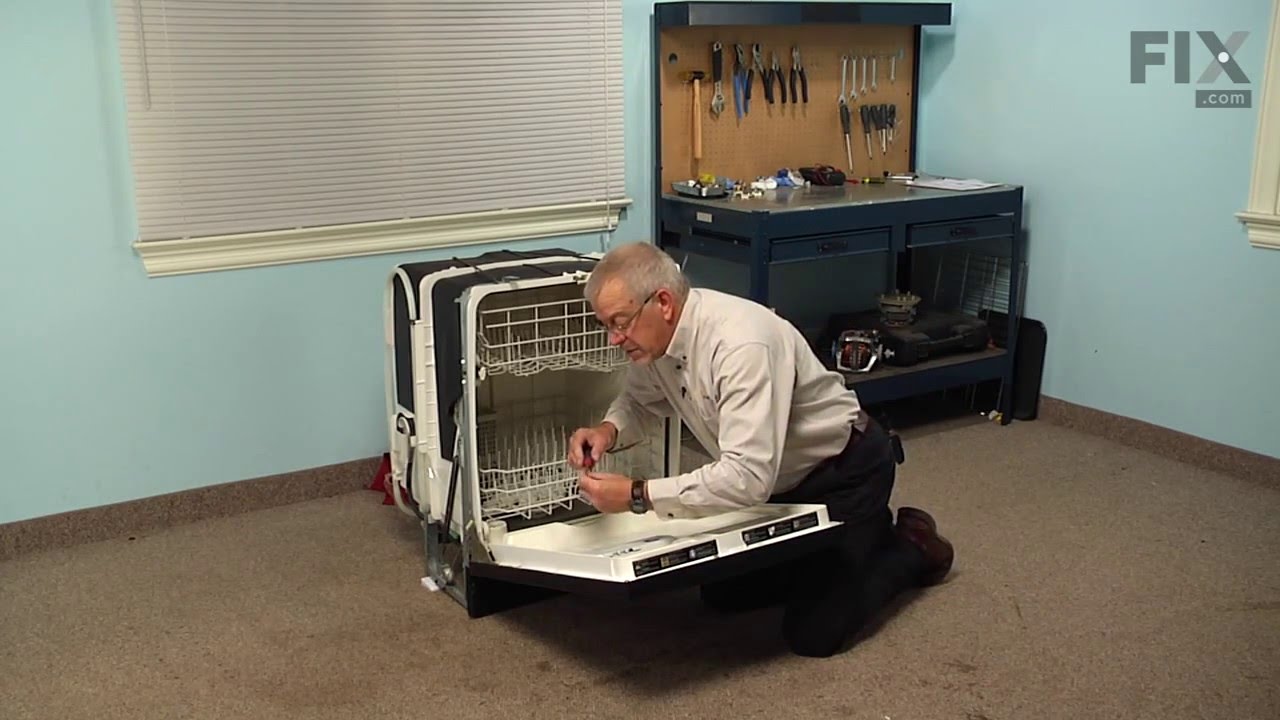
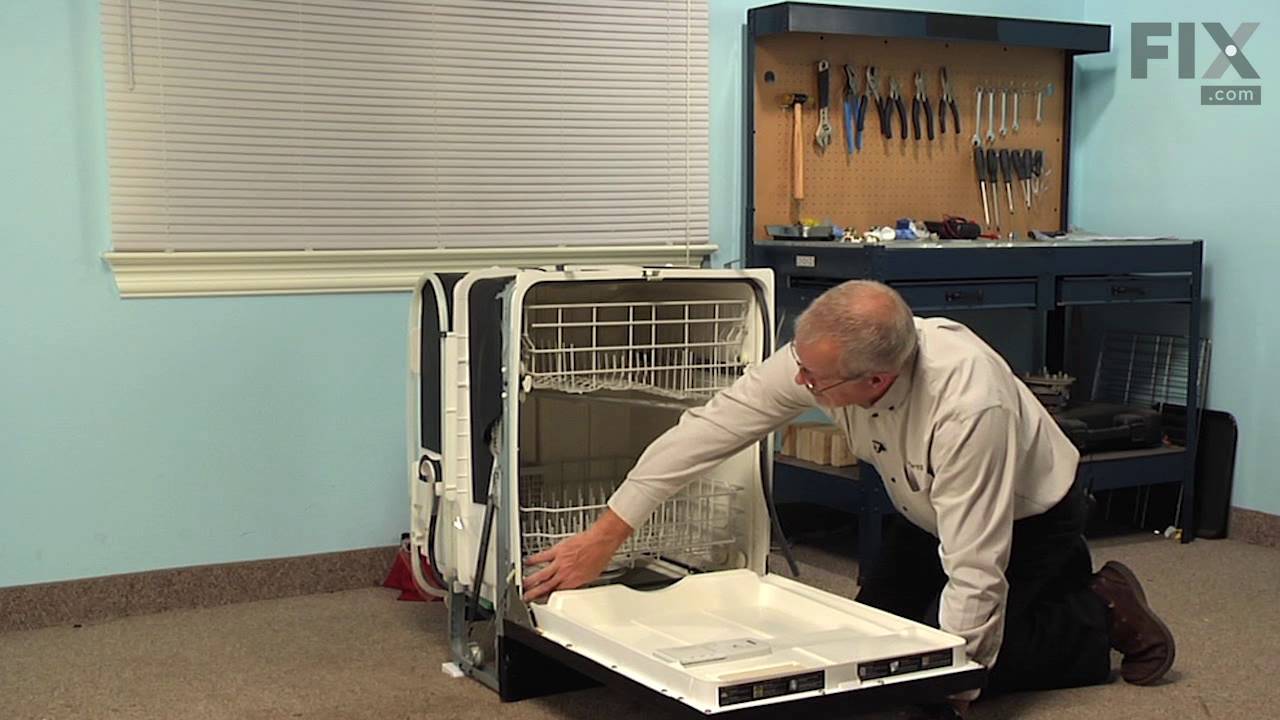
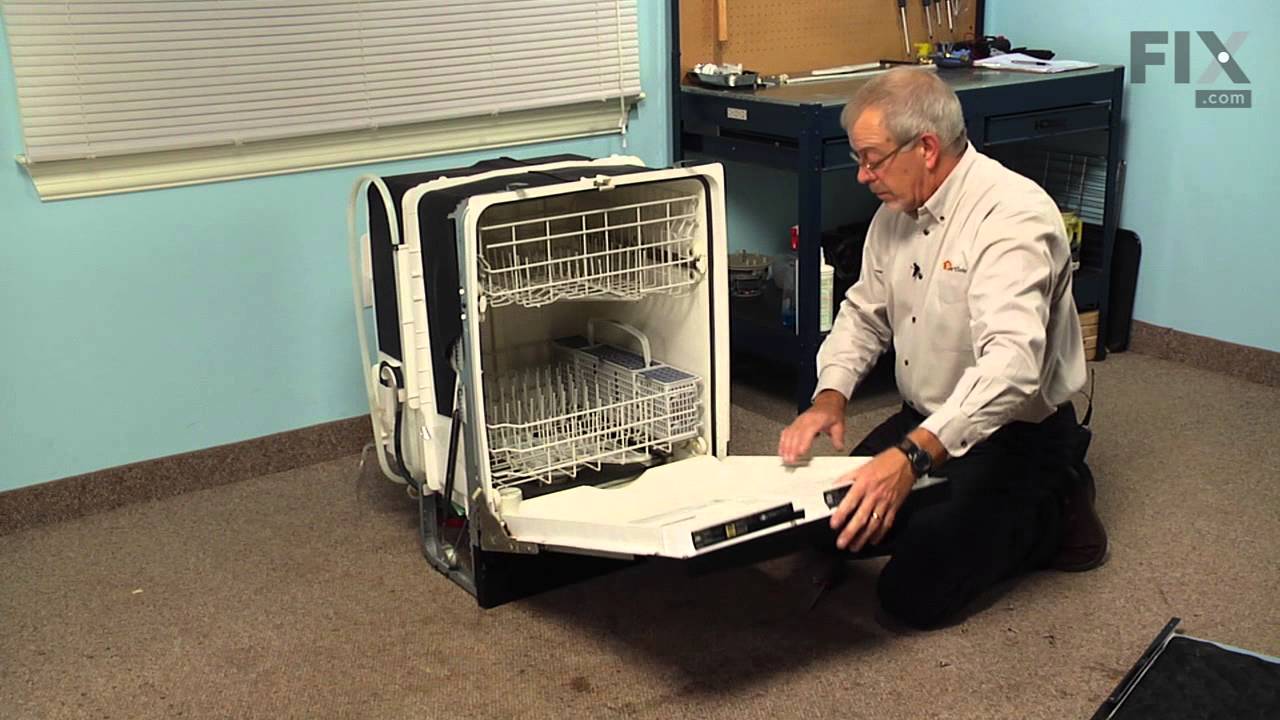
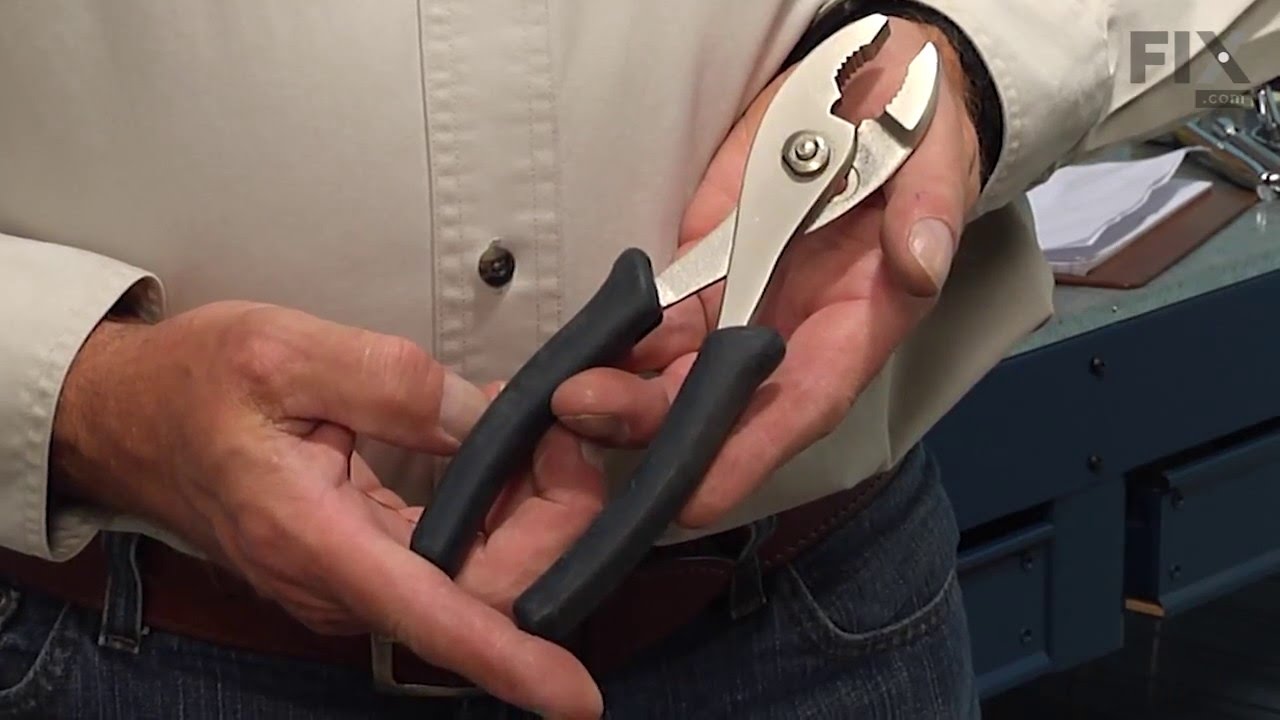
See how others fixed this model. Time, tools, difficulty, and steps that lead to victory!
View More