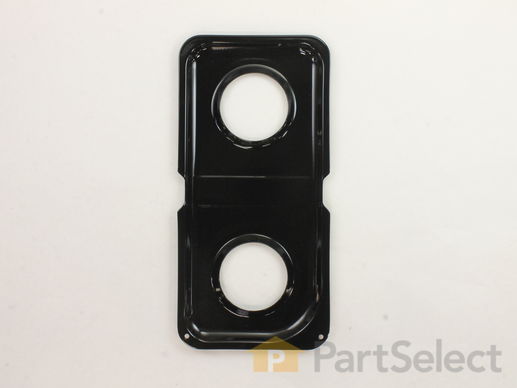
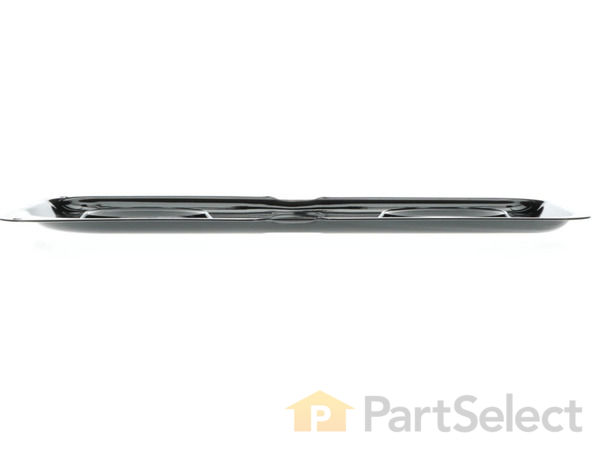
This double burner pan works with your range to catch and grease and debris during the cooking process. It is designed to fit under a small and large burner. Your range will have two double burner pans, one on each side of the range top. This part is made for the right side burners, and is sold individually. Be sure to check your model’s compatibility, as this burner pan will not fit ranges with individual burner pans for each element. This product is black in color. To replace this part, simply remove the old left-side double burner pan and replace it with the new one. No tools are required for this repair.
Keep searches simple. Use keywords, e.g. "leaking", "pump", "broken" or "fit".
Sorry, we couldn't find any existing reviews that matched. Try using some different or simpler keywords.
★★★★★
★★★★★
Theresa W - February 27, 2022
Verified Purchase
Worked great
My part got here quicker than I expected!
★★★★★
★★★★★
Nancy C - June 21, 2019
Verified Purchase
Perfect
Easy to order
★★★★★
★★★★★
John L - January 21, 2021
Verified Purchase
Great part
The part was a perfect fit
★★★★★
★★★★★
Albion B - April 21, 2022
Verified Purchase
Good quality
Was concerned the quality might not be there but was pleased with gauge of metal and coating.
★★★★★
★★★★★
MARI M - April 8, 2021
Verified Purchase
Great product as expected!
Quick delivery and exactly the same product as original. Great company.
★★★★★
★★★★★
Milton B - January 30, 2021
Verified Purchase
Perfect fit.
The part was the exact replacement.
★★★★★
★★★★★
Gordon B - January 28, 2022
Verified Purchase
Perfect Original Parts
This is so awesome to be able to get the exact replacement parts for an Older stove...It makes the whole surface look new and I appreciate that!
★★★★★
★★★★★
Deborah D - September 25, 2021
Verified Purchase
Thanks
Appreciate you still selling these. A huge help!!
★★★★★
★★★★★
Michele F - December 8, 2018
Verified Purchase
Replacement of bothe double burners
All was great. I replaced my double burners and four grates. My 14 yrs old stove looks great
★★★★★
★★★★★
Wayne R - December 4, 2018
Verified Purchase
The part was very easily replaced.
After I received a couple of irregular drip pans, the third one did the trick. Thanks for your service.
< Prev
1
2
Next >
Customer Repair Stories
Average Repair Rating: 4.8 / 5.0, 15 reviews.
What's this?
Sort by:
< Prev
1
2
Next >
Search filter:
Clear Filter
Your search term must have 3 or more characters.
Keep searches simple. Use keywords, e.g. "leaking", "pump", "broken" or "fit".
Sorry, we couldn't find any existing installation instruction that matched.
original drip pans became soiled and difficult to clean
Not a repair - just a replacement. Very easy. Just remove the grates, lift out the drip pans, replace with the new drip pans, and replace the grates. As the size of the holes vary you just have to make sure that they are lined up correctly. I was delighted to find that replacements were available for a range I've had for 14 years.
... Read moreThe range itself still works great. Thank you for your promptness in sending the replacements. I highly recommend your service.
Removed the top back cover. Then removed screw for clock circuit board. swapped wires from old circuit board to new circuit board. reinstalled screws. Then replaced top back cover.
I am retired Industrial Arts teacher with two masters degrees in education. I have 35 years of experience teaching children ages 12 - 18 to safely use woodworking tools and build furniture. I also have 40 years of experience in the remodeling and construction trade. This fix was fairly easy since I was able to draw on my vast experienc
... Read moree that included repairing and rebuilding numerous machines and tools. The Process: remove old ones replace with new ones. I am very satisfied with my experience with PartSelect.
First removed screws that held the bottom cover inside the oven. The igniter was underneath. Than I had to figure out how it was mounted to the stove. You couldn't remove the igniter from the gas burner tube until you pulled the lower draw completely out from the stove. Then with a small socket tool I reached all the to the back wall and
... Read moreremoved the mounting screws. Then I disconnected the 2 power wires which enabled me to take the burner tube out through the oven. then you will be able to unscrew the igniter from the tube. Reverse the procedure to mount it back. Except for one small step I didn't expect. You had to cut the connectors from the old igniter and splice together the wires on the new igniter. Be sure to leave yourself enough wire to reach under the stove 6to 8 inches is good.
We're sorry, but our Q&A experts are temporarily unavailable.
Please check back later if you still haven't found the answer you need.
2 questions answered by our experts.
Sort by:
< Prev
1
Next >
Search filter:
Clear Filter
Your search term must have 3 or more characters.
Keep searches simple. Use keywords, e.g. "leaking", "pump", "broken" or "fit".
Sorry, we couldn't find any existing answers that matched.Try using some different or simpler keywords, or submit your new question by using the "Ask a Question" button above!
Jody
December 28, 2017
I have looked at every website I know!! jeez! What are the dimensions of this item? I have an older model Kenmore & love it, But I want to replace the drip pans, burner covers & knobs. Please let me know the size! thank you!
For model number WB34K10010
Hi Jody, Thank you for the question. The pan measures about 8 inches wide by 17 inches deep.Hope this helps!
3 people found this helpful.
Was this helpful?
Thank you for voting!
Louie
November 6, 2018
I would like to buy a left and a right side drip pan that go's on top i only see the left on the site
For model number 36275321002
Hi Louie, thank you for your question. Unfortunately the right side is the part that I have linked down below. The part you are requesting on has been discontinued and we have no known replacement listed in our system. We have no further information. You are welcome to contact the manufacturer of the part to see if they have recently released a new substitute. I hope that helps. Good luck with your repair.