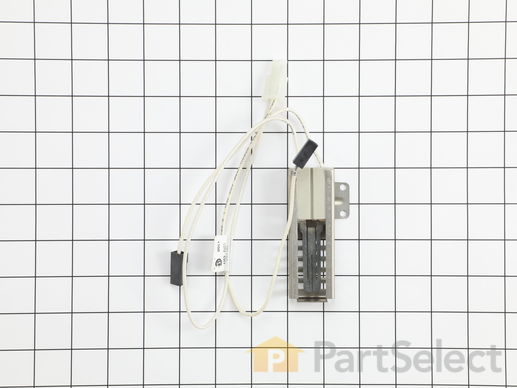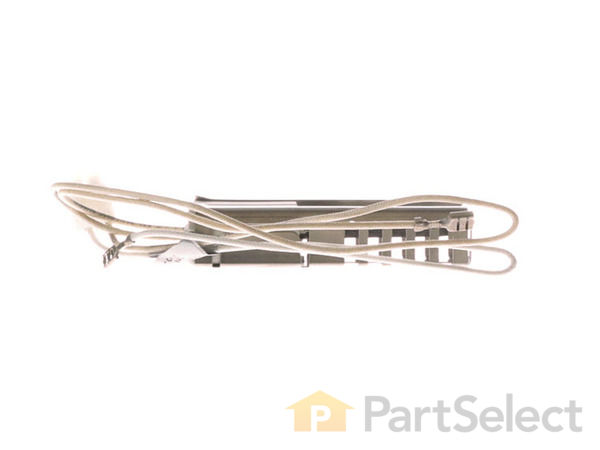
Oven Burner Igniter 5304509706
Rated by 10 customers
Really Easy
15 - 30 mins
Ratings submitted by customers like you who bought this part.
Get this part fast! Average delivery time for in-stock parts via standard shipping: 1.8 days.
Oven Burner Igniter Specifications

How Buying OEM Parts Can Save You Time and Money
-
5 Stars 23
-
4 Stars 2
-
3 Stars 0
-
2 Stars 1
-
1 Star 2
- < Prev
- 1
- 2
- 3
- Next >
- < Prev
- 1
- 2
- 3
- Next >
- < Prev
- 1
- Next >
It helps to remove the bottom drawer completely to gain easier access.
-
Dan from So Lake Tahoe, CA
-
Difficulty Level:Really Easy
-
Total Repair Time:15 - 30 mins
-
Tools:Nutdriver
-
Philip from FREDERICKSBRG, TX
-
Difficulty Level:Easy
-
Total Repair Time:15 - 30 mins
-
Tools:Pliers, Screw drivers
It was very self explationatry
Thank you parts select
I saved at least $400.
-
Vajai from RICHMOND HILL, NY
-
Difficulty Level:Very Easy
-
Total Repair Time:15 - 30 mins
-
Tools:Nutdriver, Screw drivers
-
RONALD from VIRGINIA BCH, VA
-
Difficulty Level:Very Easy
-
Total Repair Time:15 - 30 mins
-
Tools:Nutdriver, Wrench (Adjustable)
2. If possible, remove the storage drawer for ease of access.
3. Remove the screw from the metal plate in the left corner of the oven. Detach the end of the igniter cord t ... Read more hat you find plugged in there.
4. Remove the two screws that hold the igniter in place. The old igniter should fall to the bottom of the range.
5. Take a picture of the two other cord connections that run into the middle of the back wall. This will come in handy for reference when you install the new igniter.
6. Route the longer extension of the new igniter cord through the hole in the metal corner plate, attach the cord, and put the screw back in to secure the corner plate.
7. Affix the new igniter to the same spot the old one had been in, using the two screws from step 4.
8. Plug in the two shorter cord extensions, using the photo from step 5 if necessary.
9. Reattach the drawer if necessary and plug the range back in.
10. Set the clock, then set the oven to a desired temperature to begin heating. If the repair was successful, the igniter will light the gas piped into the range, and you will see a ring of flame.
-
Andrew from BANGOR, ME
-
Difficulty Level:Easy
-
Total Repair Time:1- 2 hours
-
Tools:Screw drivers, Wrench (Adjustable)
-
Aaron from MILLPORT, NY
-
Difficulty Level:Really Easy
-
Total Repair Time:15 - 30 mins
-
Tools:Screw drivers, Wrench (Adjustable)
Remove heat distribution plate (metal) by unscrewing a single nut with pliers.
Now the ignitor is visible. Unscrew old ignitor by backing off two screws.
Detach the wires and reattach to new ignitor. (a cover plate may have to unb ... Read more olt from the left back corner to get at one of the wiring connections.)
Reattach new ignitor and then flame distribution plate.
Put on splash cover and tighten back screws.
Test oven, it should light within 1 minute.
All is done.
-
John from PLACERVILLE, CA
-
Difficulty Level:Easy
-
Total Repair Time:Less than 15 mins
-
Tools:Nutdriver, Pliers, Screw drivers, Wrench (Adjustable)
-
David from JERSEY CITY, NJ
-
Difficulty Level:Very Easy
-
Total Repair Time:Less than 15 mins
-
Tools:Nutdriver, Screw drivers
-
BRADLEY from SHERIDAN, MI
-
Difficulty Level:Really Easy
-
Total Repair Time:15 - 30 mins
-
Tools:Nutdriver, Screw drivers
-
Thomas from CAMPTON, NH
-
Difficulty Level:Really Easy
-
Total Repair Time:30 - 60 mins
-
Tools:Nutdriver, Screw drivers
- < Prev
- 1
- Next >
Ask our experts a question about this part and we'll get back to you as soon as possible!
- < Prev
- 1
- 2
- 3
- Next >

13 people found this helpful.

10 people found this helpful.

7 people found this helpful.

6 people found this helpful.

5 people found this helpful.

3 people found this helpful.

1 person found this helpful.

1 person found this helpful.

1 person found this helpful.

1 person found this helpful.
- < Prev
- 1
- 2
- 3
- Next >


Manufacturer Part Number: 5304509706

Item is in stock and will ship today if your order is placed before 4:00 PM Eastern Standard Time.
If your order is placed after 4:00 PM EST, the in stock items will ship on the next business day.
Item is not in stock and usually ships 3-5 business days from the time you place your order.
Item is not in stock and usually ships 10-15 business days from the time you place your order.
This item is no longer being made by the manufacturer, and cannot be added to your shopping cart.


