Models > WTW4800XQ2 > Symptoms > Leaking

Parts That Fix Whirlpool Washer WTW4800XQ2 Leaking

Leaking is a commonly reported symptom for the WTW4800XQ2 Whirlpool Washer, and we have put together a full guide on how to fix this. This advice is based on feedback from people who own this exact appliance. We have listed the most common parts for your WTW4800XQ2 Whirlpool Washer that will fix Leaking. We have included repair instructions, and helpful step-by-step video tutorials. If you are experiencing this issue, not to worry, DIYers just like you have fixed this, and shared their experience to help you!

Fixes Symptom 27% of time
★★★★★
★★★★★
1 Review

Rated by 17 customers 


Easy 

30 - 60 mins 

Ratings submitted by customers like you who bought this part.   

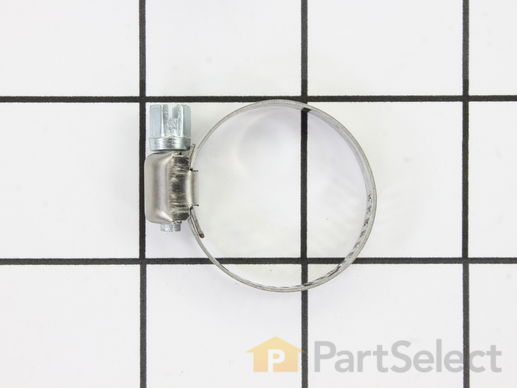
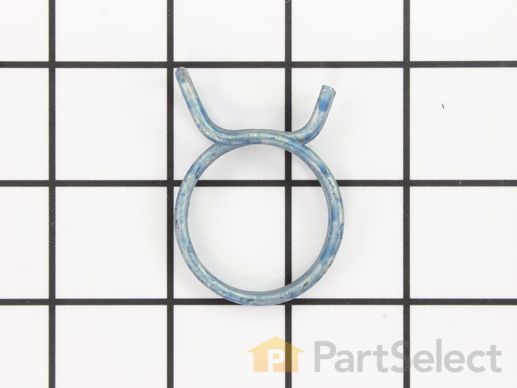
This hose clamp is used in a wide variety of household appliances. Most often it is found in washers, dishwashers, refrigerators, freezers, dehumidifiers, garbage disposals, or air conditioners. This clamp is used to securely attach a hose to another part of your appliance, which helps prevent leaks from those connections. Depending on the appliance, it can attach hoses to drain pumps, water inlet valves, pressure switches, and injector nozzles. We recommend you refer to model-specific diagrams for appropriate uses and exact placement. This hose clamp is made of metal, and is sold individually. To access and replace this part you will need a nut driver, pliers, and screwdrivers. Before you begin any repair work, make sure you have unplugged your appliance, and shut off the water supply if applicable.

$ 11.80
  In Stock
PartSelect Number PS11743008
Manufacturer Part Number WP596669

Replacing your Kenmore Washer Hose Clamp

Replacing your Hose Clamp
Fixes Symptom 17% of time
★★★★★
★★★★★
2 Reviews

Rated by 3 customers 


A Bit Difficult 

1- 2 hours 

Ratings submitted by customers like you who bought this part.   

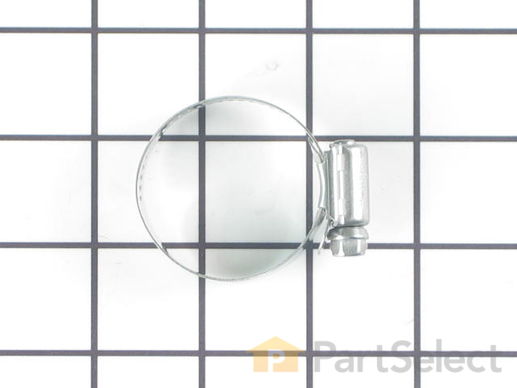
The hose clamp is used to hold the water hose in place which will prevent the hose from leaking water. Sometimes the clamp may lose its ability to latch on, causing a leaking washer. For the installation, you will need a flat head screw driver to replace the clamp and a drill to access the screws to remove the front of the washer. Be careful if you do not have specific clamp pliers as the clamp could fly off. Once the front of the washer has been removed, take a quick look for water damage or any obvious signs of where the leak is coming from. If it is not obvious, run water to test.

$ 11.10
  In Stock
PartSelect Number PS11740613
Manufacturer Part Number WP285655

Replacing your Kenmore Washer Hose Clamp

Replacing your Hose Clamp
Fixes Symptom 13% of time
★★★★★
★★★★★
11 Reviews

Rated by 77 customers 


Really Easy 

15 - 30 mins 

Ratings submitted by customers like you who bought this part.   

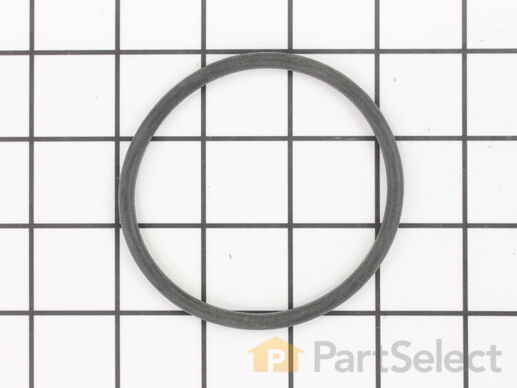
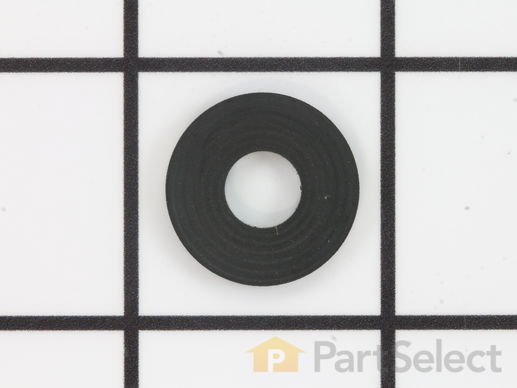
This is an inner cap seal, but may also be known as an O-ring, and it is a part for your washing machine. Some symptoms replacing this part will fix include: leaking from your appliance, uncontrollable shaking and moving, loud noise, pumps but will not spin, or if your appliance will not agitate. This model is off-black in color and 3 inches in diameter. You will find this part inside the agitator in the middle of your washing machine. It is recommended to wipe down the barrier before putting the new seal on.

$ 11.10
  In Stock
PartSelect Number PS11748108
Manufacturer Part Number WPW10072840

Replacing your Whirlpool Washer Seal, Inner Cap

Replacing your Seal, Inner Cap

Customer Repair Stories

The cap thingy seal broke and splattered fabric softener.

I pulled out the old cap with my hands and jammed the new thingy into place. The lady of house did the repair. Easy
  • Diane from Corvallis, OR
  • Difficulty Level:
    Really Easy
  • Total Repair Time:
    Less than 15 mins
Was this instruction helpful to you?
Thank you for voting!

The seal in the upper agitator cap broke

I just unscrewed the top agitator cap and slid the o-ring on and put it back. Done in seconds.
  • Veronica L from Junction City, KS
  • Difficulty Level:
    Really Easy
  • Total Repair Time:
    Less than 15 mins
0 of 2 people found this instruction helpful.
Was this instruction helpful to you?
Thank you for voting!
Fixes Symptom 9% of time
★★★★★
★★★★★
13 Reviews

Rated by 3 customers 


Easy 

1- 2 hours 

Ratings submitted by customers like you who bought this part.   

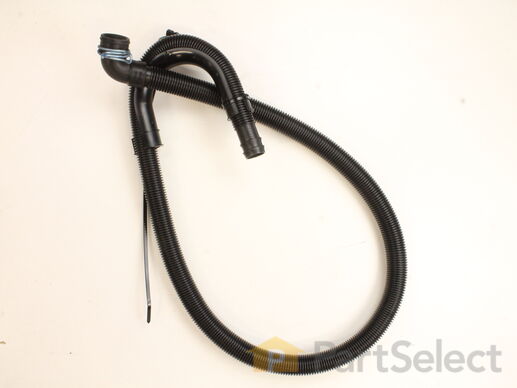
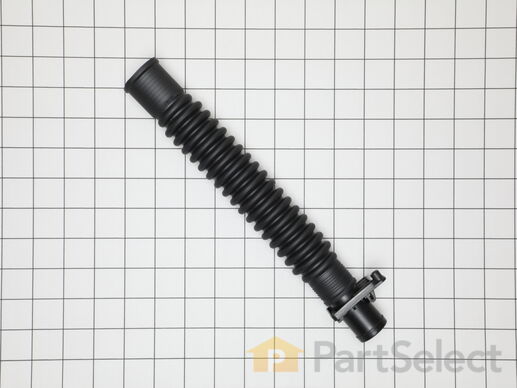
The drain hose carries used water from the washer to your house drain.

$ 24.94
  In Stock
PartSelect Number PS12578897
Manufacturer Part Number W11244231

Replacing your Whirlpool Washer Washer Drain Hose

Replacing your Washer Drain Hose

Customer Repair Stories

Replace drain hose

At first I had to position the washer so I could get access.. after having it positioned, I figured it out. Getting the clamp fastened, I was done.
  • Brian from DREXEL HILL, PA
  • Difficulty Level:
    Easy
  • Total Repair Time:
    30 - 60 mins
  • Tools:
    Pliers
2 of 7 people found this instruction helpful.
Was this instruction helpful to you?
Thank you for voting!

replaced drain hose that was missing

slipped the new drain hose on and with locking plyers slipped the wire clap in place after three trys
  • Delmar from EAST TROY, WI
  • Difficulty Level:
    Really Easy
  • Total Repair Time:
    30 - 60 mins
  • Tools:
    Pliers
11 of 16 people found this instruction helpful.
Was this instruction helpful to you?
Thank you for voting!
Fixes Symptom 8% of time
★★★★★
★★★★★
5 Reviews

$ 53.67
  In Stock
PartSelect Number PS3407958
Manufacturer Part Number W10324647

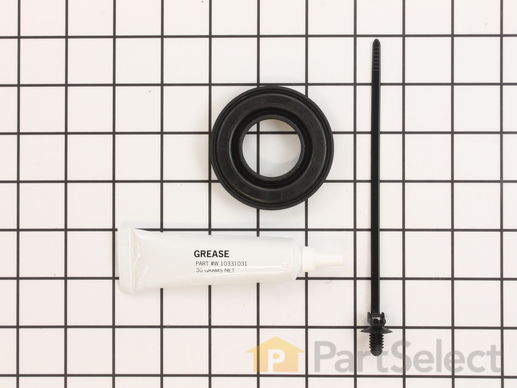
Replacing your Whirlpool Washer SEAL-TUB

Replacing your SEAL-TUB
Fixes Symptom 8% of time
★★★★★
★★★★★
11 Reviews

Rated by 30 customers 


Really Easy 

15 - 30 mins 

Ratings submitted by customers like you who bought this part.   

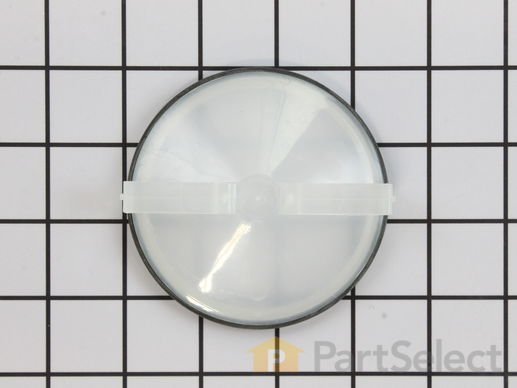
The O-Ring is included with this cap. It can be purchased separately as Part #WPW10072840.

$ 11.10
  In Stock
PartSelect Number PS11748113
Manufacturer Part Number WPW10074580

Replacing your Whirlpool Washer Agitator Cap Barrier with Seal

Replacing your Agitator Cap Barrier with Seal

Customer Repair Stories

The seal was broken on the agitator cap barrier

Removed the fabric softner at the top of the agitator (needed a screw driver to pry it loose) and reached in to grab the barrier with my hand and pulled it out, very simple to do.When I put the new one in I put some liquid soap on the gasket and it snapped right into place.Very easy to do, all is well now, thanks Part Select.
  • Ralph from New Milford, NJ
  • Difficulty Level:
    Really Easy
  • Total Repair Time:
    Less than 15 mins
  • Tools:
    Screw drivers
Was this instruction helpful to you?
Thank you for voting!

Found seal had split on agitator cap

I clean out the fabric softner dispenser on my machine on a regular basis and found the seal split. After looking at several sites to try and find this part, I found this one. Ordering couldn't have been easier and repair only required pulling up the cup for the softner and installing the cap.

Thanks for making finding part so easy . . . .
  • Kim from Cleveland, OH
  • Difficulty Level:
    Really Easy
  • Total Repair Time:
    Less than 15 mins
3 of 4 people found this instruction helpful.
Was this instruction helpful to you?
Thank you for voting!
Fixes Symptom 7% of time
★★★★★
★★★★★
2 Reviews

The tub-to-pump hose carries the water from the tub to the drain pump. Unplug the washer and shut off the water supply before installing this part. Wear work gloves to protect your hands

$ 33.73
  In Stock
PartSelect Number PS11765836
Manufacturer Part Number W10899966

Replacing your Whirlpool Washer Washer Tub-to-Pump Hose

Replacing your Washer Tub-to-Pump Hose
8 Washer
Fixes Symptom 3% of time
★★★★★
★★★★★
1 Review

Rated by 17 customers 


Easy 

15 - 30 mins 

Ratings submitted by customers like you who bought this part.   

This part goes on the agitator retaining bolt.

$ 7.69
  In Stock
PartSelect Number PS11742027
Manufacturer Part Number WP3949550

Replacing your Whirlpool Washer Washer

Replacing your Washer

Customer Repair Stories

agitator broke

very easy to repair , instructions very clear , parts person very good to talk to, parts got here fast
  • Joseph from Kalkaska, MI
  • Difficulty Level:
    Really Easy
  • Total Repair Time:
    Less than 15 mins
  • Tools:
    Socket set
0 of 1 people found this instruction helpful.
Was this instruction helpful to you?
Thank you for voting!
Fixes Symptom 3% of time
★★★★★
★★★★★
1 Review

This clamp helps to prevent leaking by holding the end of water hose in place.

$ 10.83
  In Stock
PartSelect Number PS11741854
Manufacturer Part Number WP356138
Fixes Symptom 2% of time
★★★★★
★★★★★
2 Reviews

Rated by 3 customers 


A Bit Difficult 

1- 2 hours 

Ratings submitted by customers like you who bought this part.   

This part is for large capacity belt drive and direct drive appliances.

$ 23.77
  In Stock
PartSelect Number PS11741977
Manufacturer Part Number WP389140

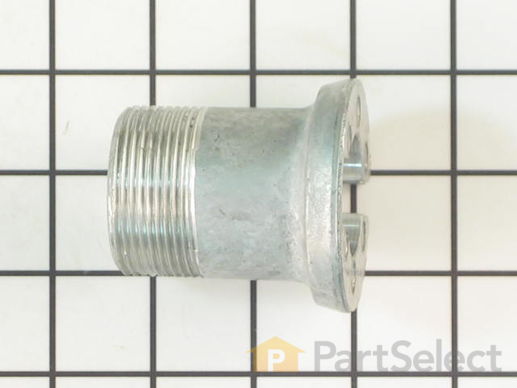
Replacing your Kenmore Washer Drive Block - 2 5/16 Inch High

Replacing your Drive Block - 2 5/16 Inch High

Customer Repair Stories

No spin on spin cycle

Easy, If your drive block has an open top, it's worn. Look at a picture of a new drive block and compare. If it doesn't match, then you need a new drive block. Note: Also check the drive clutch and clutch liners or pads...they may be worn. In my case it was the drive block this time. So to start, take off the fabric softenner dispenser in the center of the washer. Then pull out the seal. then remove the bolt. and pull off the agitator assembly. after that tap off the lock nut with a punch and hammer or if you have the special spanner wrench tool, use that. Once removed, pull out the inner tub and then pull the drive block off the shaft. Put the new drive block on and reverse the procedure from there. Tap the lock nut tight with the punch and hammer while re-installing. I'm so glad I did this repair. $15 is so much better than just giving in and buying a new washer!!!
  • Thomas from Port Jervis, NY
  • Difficulty Level:
    Really Easy
  • Total Repair Time:
    30 - 60 mins
  • Tools:
    Wrench (Adjustable)
Was this instruction helpful to you?
Thank you for voting!

Loud Banging Sound At The End Of Spin Cycle

First I removed the two screws on the back of the control console( at the bottom, phillips head). Flip that up and out of the way. Then you could remove the 2 big clips that hold the back of the washer to the cabinet. Disconnect the lid switch and flip the cabinet forward and out of the way. Remember when putting the cabinet back on, line up the slots on the bottom of the cabinet with the toungues on the base. Next pull off the fabric softner dispenser, then reach down in there and pull out the bottom seal of that to expose the bolt that hold the agitator on. Remove that bolt and pull off the agitator. Remove that little clip and the plastic piece above the spanner nut. I didn't have a spanner wrench so I hade to use a small extension from my socket set and a hammer to loosen it. Once that is removed then you could remove the ring around the top of the tub, and pull the tub off. Now you could see the block and probably all the metal shavings it's been creating. If the two ears that stick up and fit in to the block are worn, you should replace that too. I think you hve to replace that from the bottom. Now just put it all back together. Print out the exploded diagram from the web sit so you have it right there. Good luck!
  • John from Hawley, PA
  • Difficulty Level:
    Easy
  • Total Repair Time:
    30 - 60 mins
  • Tools:
    Pliers, Screw drivers, Socket set
132 of 540 people found this instruction helpful.
Was this instruction helpful to you?
Thank you for voting!
Fixes Symptom 2% of time
★★★★★
★★★★★
13 Reviews

Rated by 2 customers 


Easy 

1- 2 hours 

Ratings submitted by customers like you who bought this part.   

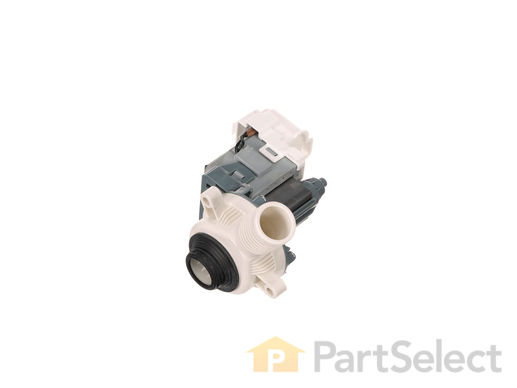
This pump helps expel water from the washing machine and is activated after the spin speed is maintained for a specific period of time

$ 149.62
  In Stock
PartSelect Number PS11751719
Manufacturer Part Number WPW10276397

Customer Repair Stories

The washer stopped draining.All the pump motor did was hum.

I drained the machine and pulled it away from the wall.Then I disconnected the drain hose and removed the back panel.Next,I removed the three screws holding the pump in place and disconnected the power plug from the motor.I then removed the short drain hose from the pump.Installation was the opposite of the removal sequence,and the machine worked fine right after I was done.The new part was identical the the old one,and the job was a snap.
  • Michael from Staten Island, NY
  • Difficulty Level:
    Easy
  • Total Repair Time:
    1- 2 hours
  • Tools:
    Pliers, Socket set
5 of 6 people found this instruction helpful.
Was this instruction helpful to you?
Thank you for voting!

Wouldn’t drain pump made loud noise

Removed old drain pump and found a sock in the inlet - must have burned out pump because after removing it pump was still defective. Installed new pump in about 30 minutes and off to the races no more issues
  • REED from BUCHANAN, NY
  • Difficulty Level:
    Easy
  • Total Repair Time:
    30 - 60 mins
  • Tools:
    Nutdriver, Pliers, Wrench (Adjustable)
10 of 13 people found this instruction helpful.
Was this instruction helpful to you?
Thank you for voting!
Fixes Symptom 1% of time

Rated by 1 customer 


Very Difficult 

More than 2 hours 

Ratings submitted by customers like you who bought this part.   

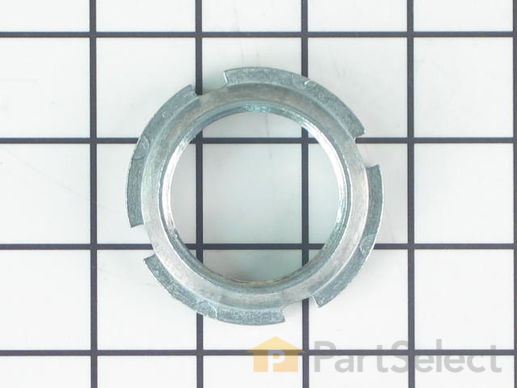
Right hand threaded nut holds the tub in place in direct drive, top loading washing machines. To remove the spanner nut you will need a spanner wrench.

$ 10.83
  In Stock
PartSelect Number PS11738884
Manufacturer Part Number WP21366
Fixes Symptom 1% of time
★★★★★
★★★★★
1 Review

Rated by 1 customer 


Very Easy 

15 - 30 mins 

Ratings submitted by customers like you who bought this part.   

$ 126.53
  In Stock
PartSelect Number PS11753661
Manufacturer Part Number WPW10356257

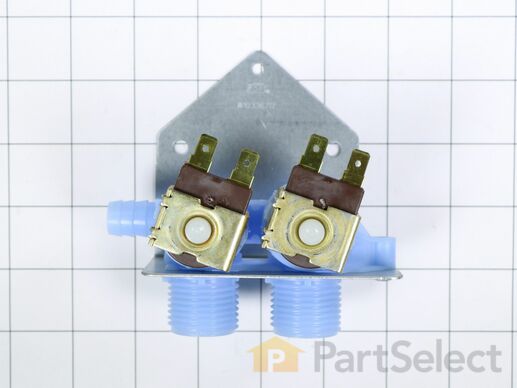
Replacing your Whirlpool Washer Water Inlet Valve

Replacing your Water Inlet Valve

Customer Repair Stories

water would drip into tub between uses

Unplugged washer, turn off water to washer, removed water lines from washer, pull washer away from wall, removed about 5 screws from top access panel and remove, used putty knife to release clips from both sides of front control panel and lay forward, removed three screws from valve, disconnect hose from valve. Reassemble in reverse order. Not a bad idea to run a little water into bucket from both supply line to remove any foreign material that may have let lose from shut off valve before reconnecting to washer.
  • Dale from MANDAN, ND
  • Difficulty Level:
    Very Easy
  • Total Repair Time:
    15 - 30 mins
  • Tools:
    Nutdriver, Pliers, Screw drivers
3 of 3 people found this instruction helpful.
Was this instruction helpful to you?
Thank you for voting!