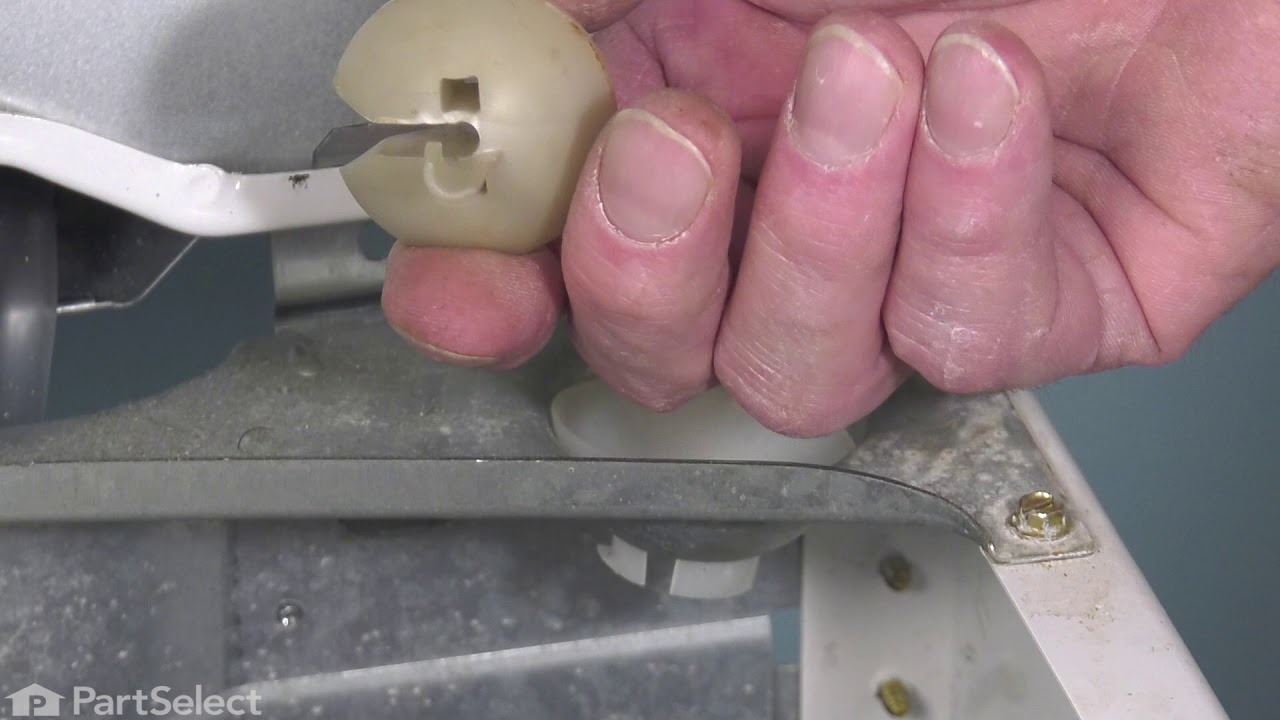
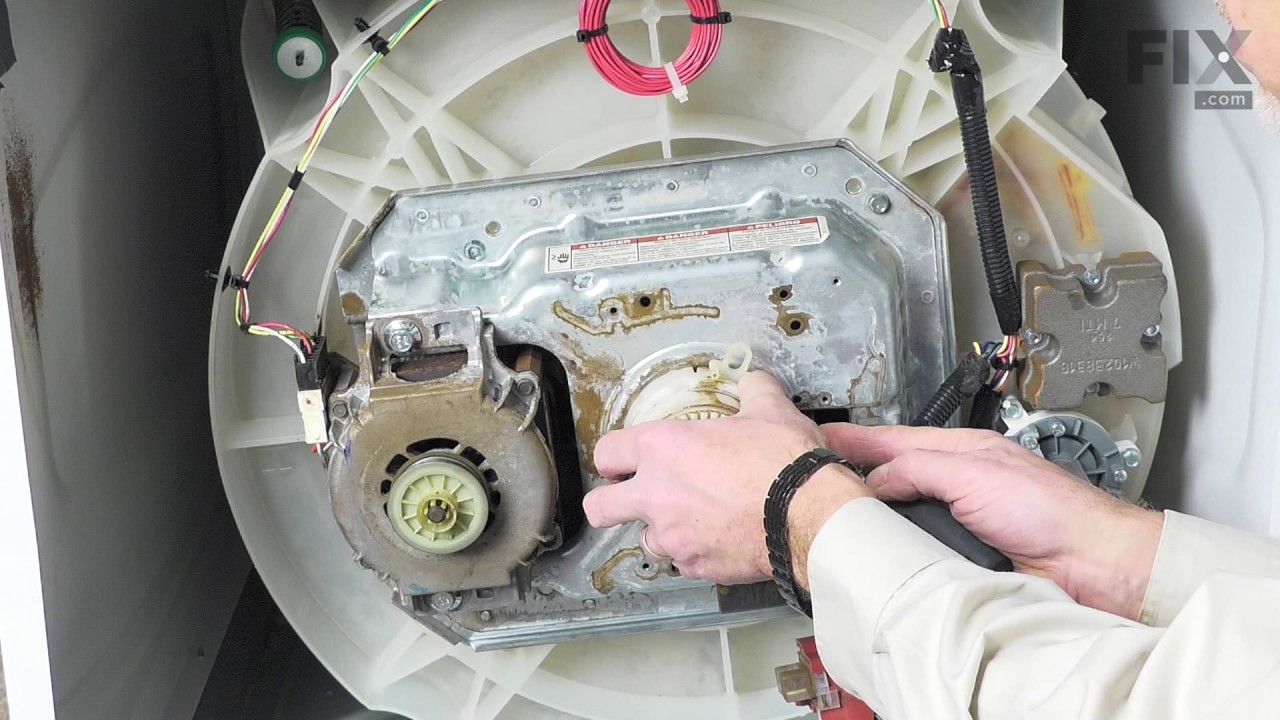
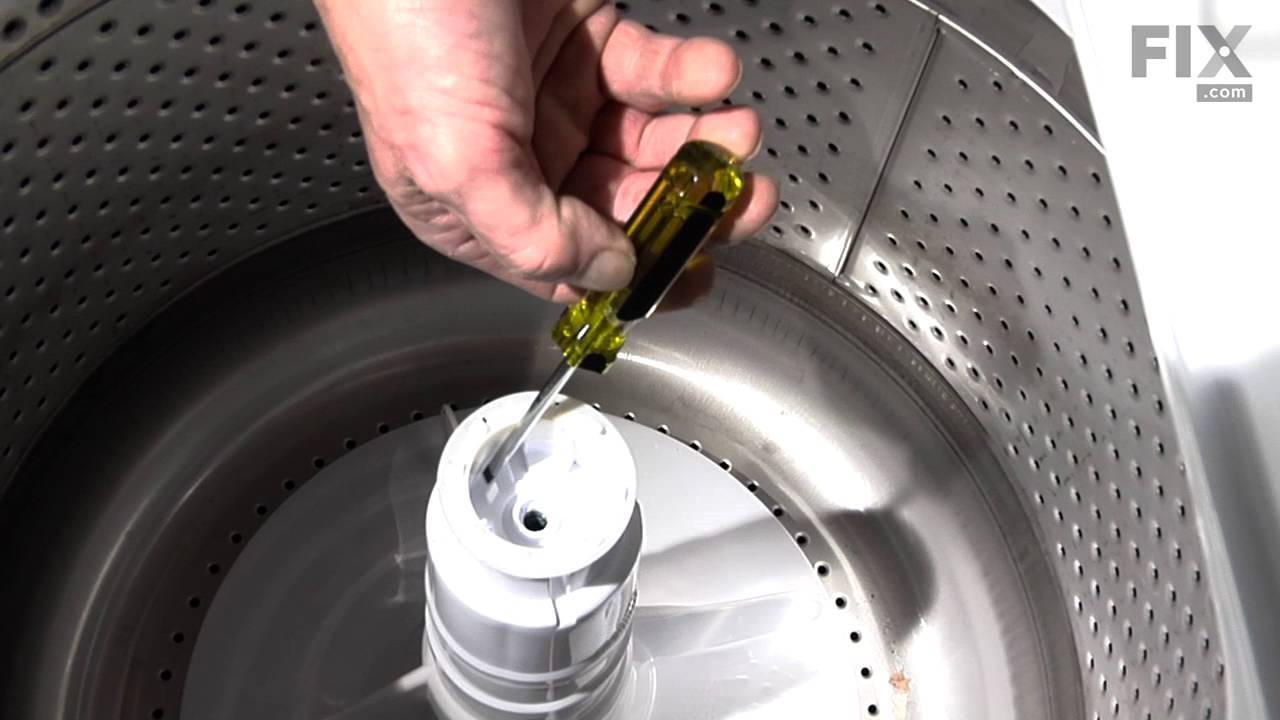
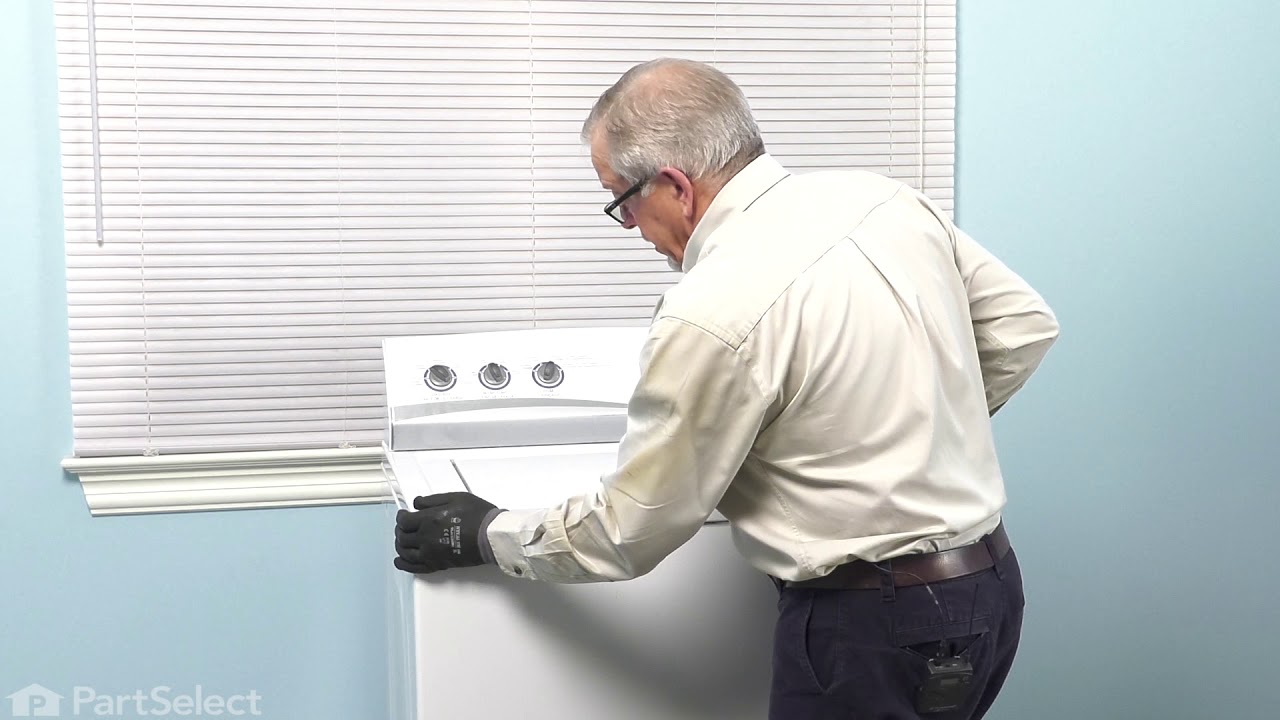
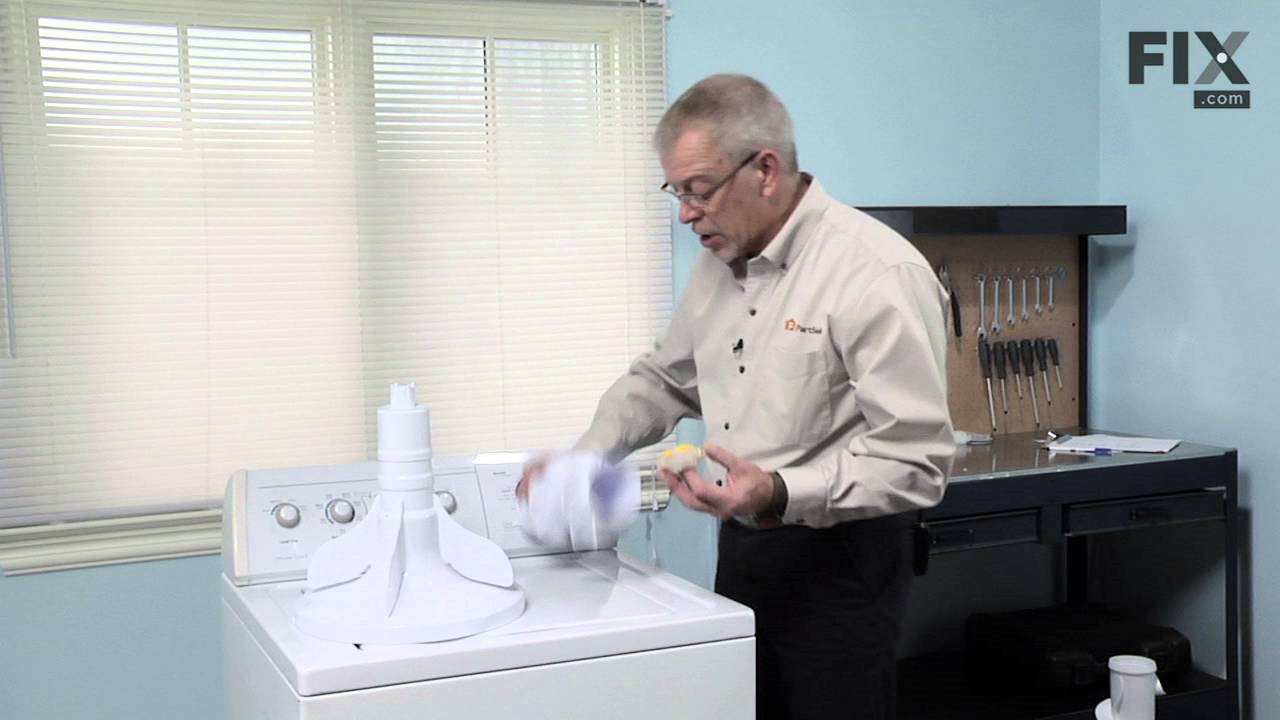
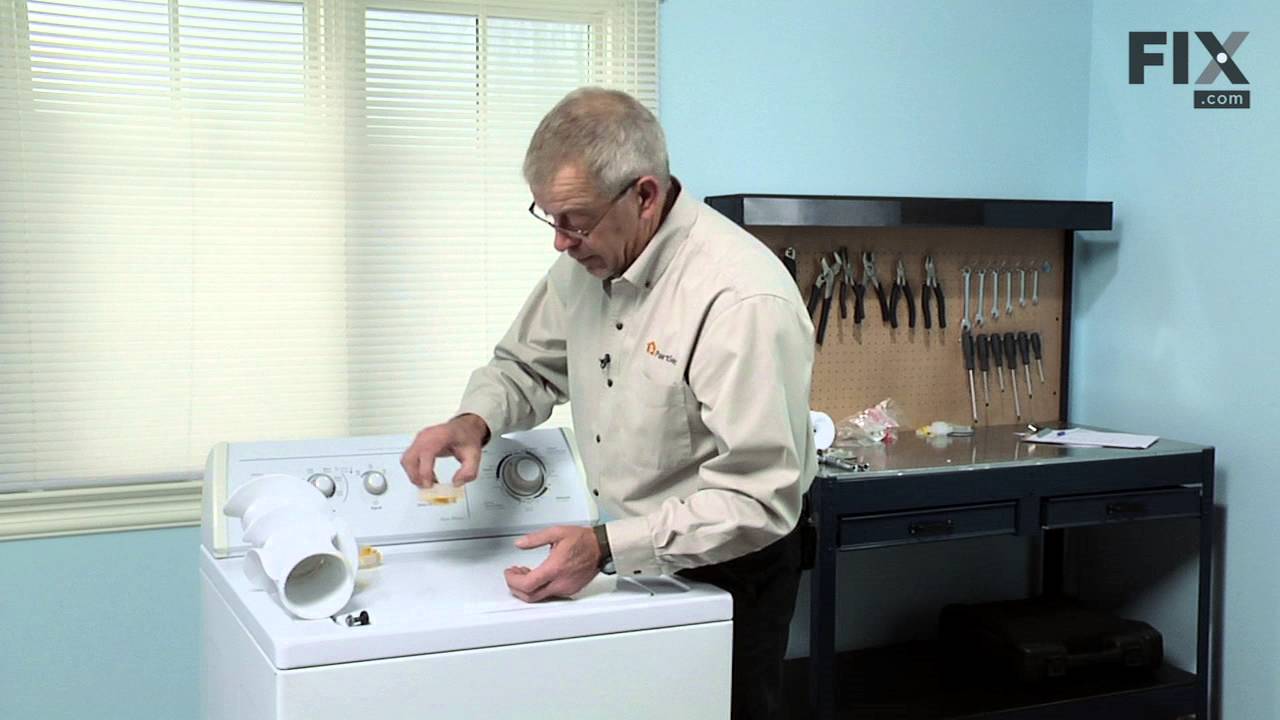
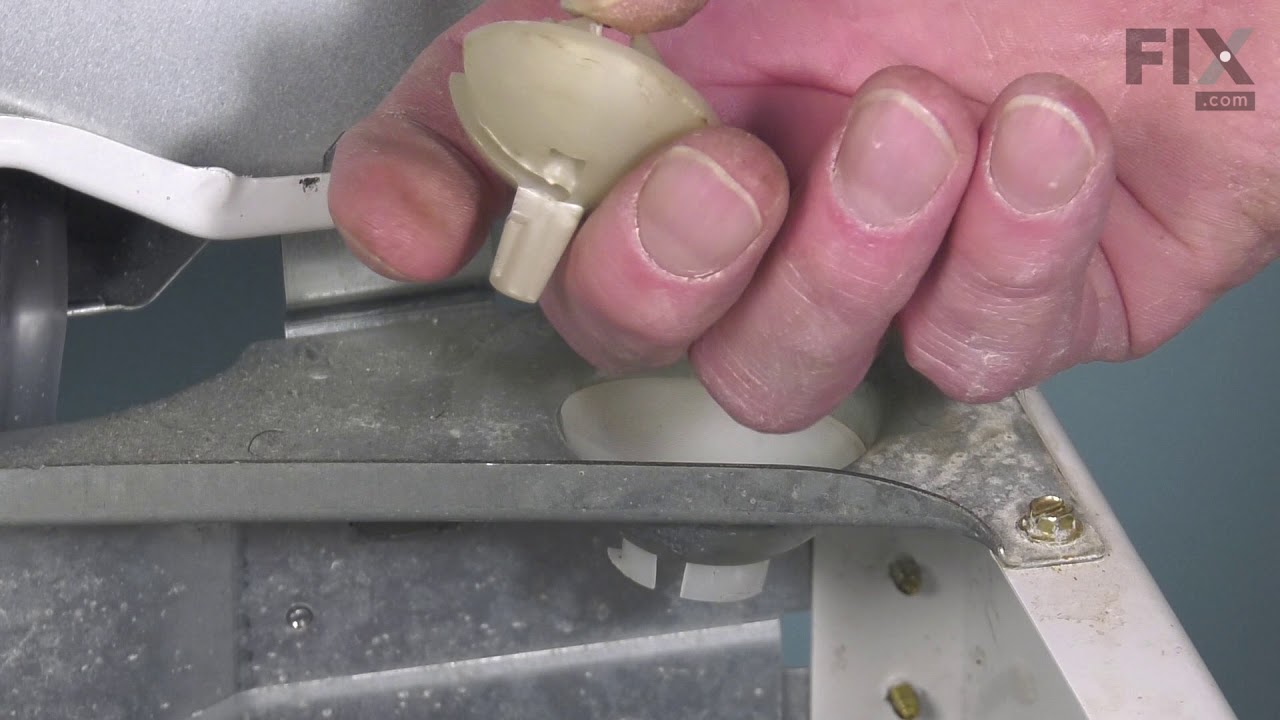
This kit is used for replacing the agitator directional cogs (Agitator Dogs, Agitator Repair Kit, Washer Agitator Dogs, Agitator Dog Ears). The agitator is what creates the thrusting motion in your washer to tumble your clothes during the washer cycle. Your agitator will rotate one way, and not the other. The agitator dogs are what preven...Read moret the agitator from rotating in both directions, while allowing it to rotate in one direction. Your agitator cogs may be malfunctioning if you can manually rotate the agitator in both directions. If broken they will need to be replaced. Cogs can be found by simply removing the softener dispenser and then removing the agitator cap. The are attached to the agitator. This replacement part features 4 agitator directional cogs. There are 4 cogs per package that are made up of high-quality plastic. This part comes in white/beige.
This is an inner cap seal, but may also be known as an O-ring, and it is a part for your washing machine. Some symptoms replacing this part will fix include: leaking from your appliance, uncontrollable shaking and moving, loud noise, pumps but will not spin, or if your appliance will not agitate. This model is off-black in color and 3 inc...Read morehes in diameter. You will find this part inside the agitator in the middle of your washing machine. It is recommended to wipe down the barrier before putting the new seal on.
This splutch cam kit is a genuine replacement assembly designed for select Whirlpool, Maytag, and affiliated brand washing machines. It plays a critical role in the wash and spin cycles by engaging the drive motor to rotate the washer basket. The kit includes the clutch assembly, cam ring, spring, basket drive gear, pulley, and mounting n...Read moreut. Replacing this component can resolve issues such as noisy operation, slow or failed spinning, poor agitation, and excessive moisture in clothes after a cycle. In some cases, a burning smell may also indicate a failing clutch. Installation requires basic tools and should be performed with the appliance disconnected from power. Compatibility should be confirmed using your washer’s model number.
This washer lid switch is a critical safety component designed to halt the spinning motion of the tub when the lid is opened. Its primary function is to prevent accidental contact with moving parts during operation, reducing the risk of injury. The switch activates automatically, interrupting the spin cycle as soon as the lid is lifted. I...Read moref the switch becomes faulty, the washer may not spin or may continue spinning with the lid open, posing a safety hazard. Replacement is recommended if the switch is damaged or no longer functioning properly.
This suspension rod kit is a genuine OEM kit specially designed for washing machines. Each kit includes a set of 4 rods, 4 suspension balls and 4 bushings. The suspension rods are responsible for supporting the washer tub and allowing it to move freely during the wash and spin cycles while minimizing vibrations and noise. The suspension r...Read moreods, balls and bushings may fail over time due to cracks, breaks, or excessive wear. If the suspension rod kit is faulty, you will likely notice excessive vibration or shaking during the spin cycle, loud banging noises, or the washer not balancing properly.
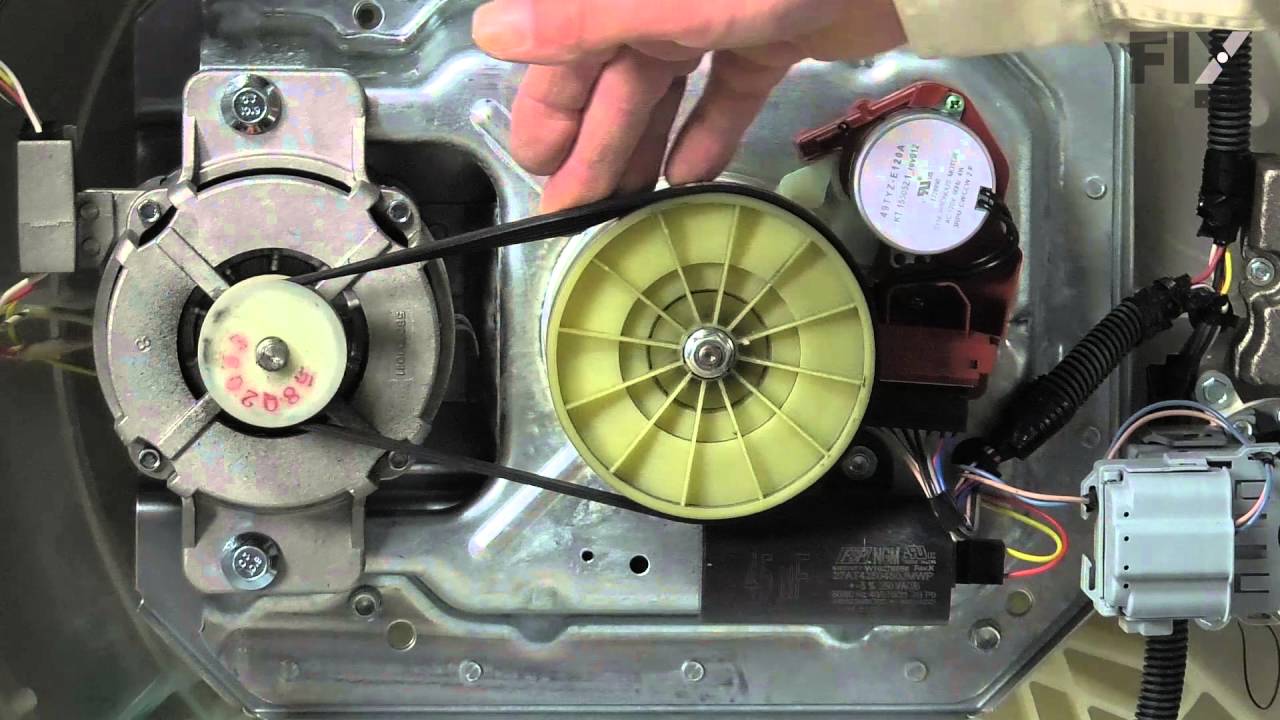
This genuine OEM drive belt is designed to transfer power from the motor to the drum in select Whirlpool, Maytag, Kenmore, and other compatible washing machines. Operating at 115 volts and 60 Hz, the belt enables the drum to spin and agitate during wash and spin cycles, ensuring effective cleaning and rinsing. Manufactured to Whirlpool’s ...Read morespecifications, this replacement part offers reliable performance and a precise fit. Common symptoms of a worn or broken belt include the drum not spinning, unusual noises, or a burning smell during operation. Replacing the belt can restore proper function and prevent further mechanical issues. Always verify compatibility with your specific model before ordering.
This hose clamp is used in a wide variety of household appliances. Most often it is found in washers, dishwashers, refrigerators, freezers, dehumidifiers, garbage disposals, or air conditioners. This clamp is used to securely attach a hose to another part of your appliance, which helps prevent leaks from those connections. Depending on th...Read moree appliance, it can attach hoses to drain pumps, water inlet valves, pressure switches, and injector nozzles. We recommend you refer to model-specific diagrams for appropriate uses and exact placement. This hose clamp is made of metal, and is sold individually. To access and replace this part you will need a nut driver, pliers, and screwdrivers. Before you begin any repair work, make sure you have unplugged your appliance, and shut off the water supply if applicable.
Ask our experts a question about this model and we'll get back to you as soon as possible!
We may have answered a similar question already! Search questions and answers left by others using simple keywords like "fit", "broken", "easy", or "quality" to find questions that match.
Search filter:
Clear Filter
Your search term must have 3 or more characters.
Sort by:
Prev
1
2
3
Next
Sorry, we couldn't find any existing answers that matched.Try using some different or simpler keywords, or submit your new question by using the "Ask a Question" button above!
Helen - For model number WTW4800XQ2
February 8, 2020
How many cubic feet is that model
Hello Helen,
Thank you for your question. Your washer model WTW4800XQ2 has a 3.4 cu ft total capacity. We hope this helps.
15 peoplefound this instruction helpful.
Was this helpful?
Thank you for voting!
Lanny - For model number WTW4800XQ2
June 24, 2021
Centering spring location
Hello Lanny, Thank you for the question. Please see the video attached to see where the Spring is located and how to install them. We hope this helps!
10 peoplefound this instruction helpful.
Was this helpful?
Thank you for voting!
Carl - For model number WTW4800XQ2
February 25, 2020
Washer hesitant to fill and start. When start button is pushed. When fills won't start. Any ideas ?
Hello and thank you for writing.
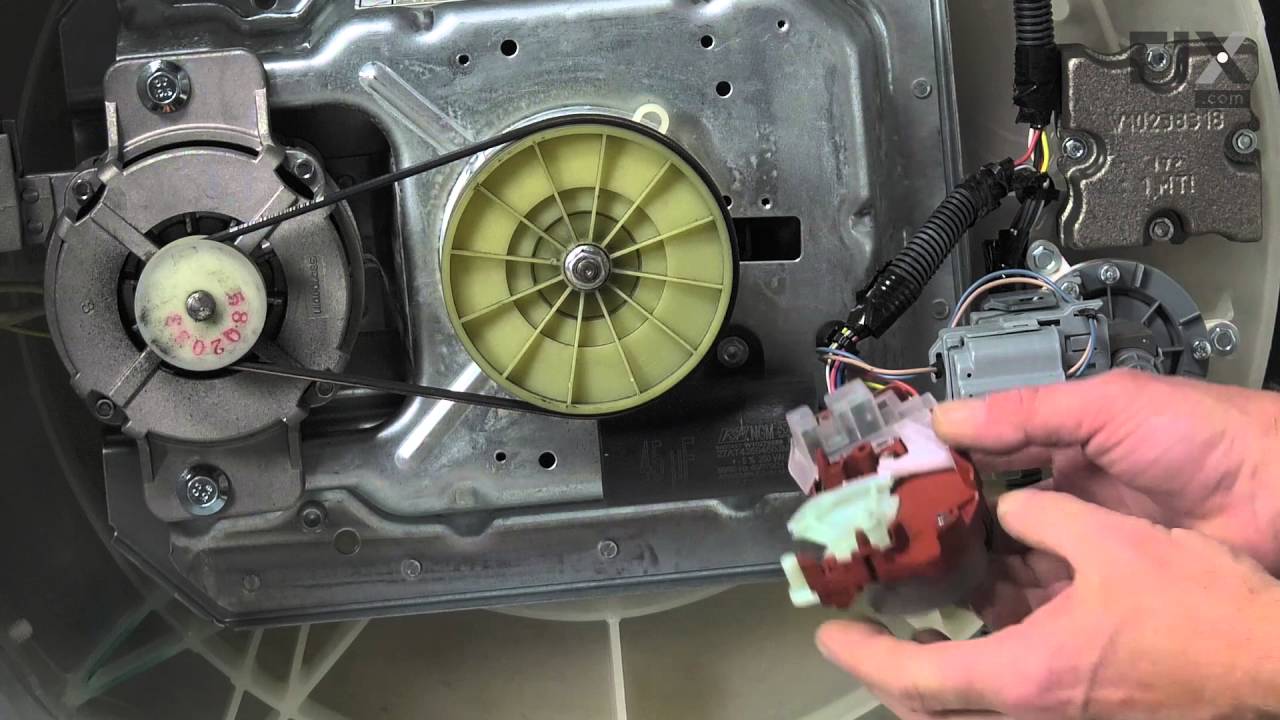
It certainly sounds like it could be a faulty Lid latch PS3497627 and/or possibly a malfunctioning shift actuator PS11747977you should check the part(s) for signs of damage or test with a multimeter, and replace the part(s) as needed. We hope this helps. Please contact us anytime if you require further assistance.
during the spin cycle its loud like the bearings need greased whats the problem
Hello Dave, thank you for contacting us. The issue is most likely related to a worn-out drive pulley, part number PS10057144. We would also recommend checking the drive block, part number PS11741977. Customer service is available 7 days a week if you require assistance placing an order. Thanks again for reaching out!
See how others fixed this model. Time, tools, difficulty, and steps that lead to victory!View More
Search repair tips from other customers using simple keywords like "replace", "fit", "remove", "inspect". DIY doesn't mean you have to do it alone!
Search filter:
Clear Filter
Your search term must have 3 or more characters.
washer wouldn't agitate
955 of 1057 peoplefound this instruction helpful.
mike from Kent, WA
Easy
15 - 30 mins
Screw drivers, Socket set
First pry off the cap of the agitator. Then using a socket remove the bolt that holds the plastic cup in place. Remove this cup by prying it loose from the two tabs that hold it in place. Once this cup is removed you can get to the broken cogs. Slip the new cogs into the underside of the cup, and slide the cup back down in the a
... Read moregitator housing using the slots on the side for a guide. (You may want to remove the entire agitator and assemble everything upside down, then flip it all back over to mount, so the cogs don't fall out). Tighten the bolt, snap the cap back in place on top of the agitator and your'e done. Easy repair.
Read less
Was this helpful?
Thank you for voting!
Lid Lock light blinking, machine will not start
324 of 404 peoplefound this instruction helpful.
David from Los Alamos, NM
A Bit Difficult
30 - 60 mins
Nutdriver, Screw drivers
A detailed Service Technician Service Manual is hidden inside the machine on the front panel. It is hidden by the bleach dispenser input. It gives a list of fault codes and instructions for calibration after repair, resetting fault codes, and a manual test mode for stepping the machine through each mode on command. The Tachometer faile
... Read mored which would not let the machine come up to maximum spin speed. The tachometer is part of the solenoid actuator that shifts the transmission. It is not specifically called out in the manual. Any failure causes the lid lock light to blink which gives the appearance of a lid lock failure
Read less
Was this helpful?
Thank you for voting!
top half of agitator did not move during wash cycle
288 of 337 peoplefound this instruction helpful.
dennis from new stanton, PA
Really Easy
Less than 15 mins
Socket set
pull off softner dispenser, pop off agitator cap by inserting straight screw driver into small slot, remove bolt inside agitator with socket wrench and long extension, pull agitator straight up off shaft, place agitator on floor, with feet holding bottom half pull top half apart from bottom half by pulling straight up, note direction of o
... Read moreld cogs remove and replace with new, reassemble




 My Orders