Models > WRS571CIDM01 > Symptoms > Light not working

Parts That Fix Whirlpool Refrigerator WRS571CIDM01 Light not working

Light not working is a commonly reported symptom for the WRS571CIDM01 Whirlpool Refrigerator, and we have put together a full guide on how to fix this. This advice is based on feedback from people who own this exact appliance. We have listed the most common parts for your WRS571CIDM01 Whirlpool Refrigerator that will fix Light not working. We have included repair instructions, and helpful step-by-step video tutorials. If you are experiencing this issue, not to worry, DIYers just like you have fixed this, and shared their experience to help you!

Fixes Symptom 63% of time
★★★★★
★★★★★
83 Reviews

Rated by 47 customers 


Really Easy 

Less than 15 mins 

Ratings submitted by customers like you who bought this part.   

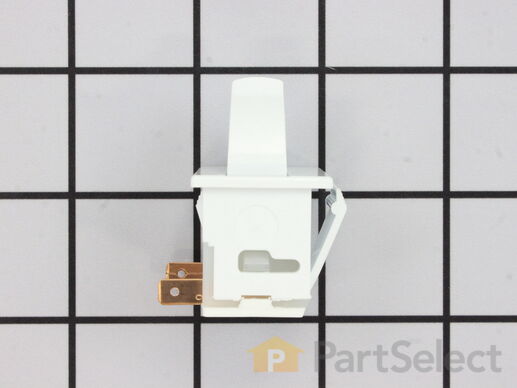
Door switch turns the light off when you close the door.

$ 38.48
  In Stock
PartSelect Number PS12728638
Manufacturer Part Number W11384469

Replacing your Kenmore Refrigerator Refrigerator Door Switch

Replacing your Refrigerator Door Switch

Customer Repair Stories

Light Switch broke

An easy job for smaller hands. Removed the two bolts holding the light cover. Removed two electrical connections from the old switch by pinching the retaining clip,removed the switch, snapped in the new one and re-attached the connectors. Your online illustrations helped me to know that the plastic housing for the light switch would only swing down so far and was not intended to be removed. Saved me from breaking that plastic cover's tabs. This home repair saved me more than 5 times the cost of hiring a professional to do it. Very happy homeowner.
  • James Richard from St. Cloud, MN
  • Difficulty Level:
    Easy
  • Total Repair Time:
    Less than 15 mins
  • Tools:
    Socket set
44 of 60 people found this instruction helpful.
Was this instruction helpful to you?
Thank you for voting!

Lights inside refrigerator not working

I used a flat-head screwdriver to pop out the old light rocker switch. Then, I unplugged the wires, plugged them into the new light rocker switch, and then popped the new switch into the hole. That's it! Lights began working again.
  • Clint from Rayville, MO
  • Difficulty Level:
    Really Easy
  • Total Repair Time:
    Less than 15 mins
  • Tools:
    Screw drivers
119 of 194 people found this instruction helpful.
Was this instruction helpful to you?
Thank you for voting!
Fixes Symptom 26% of time
★★★★★
★★★★★
33 Reviews

Rated by 25 customers 


Really Easy 

Less than 15 mins 

Ratings submitted by customers like you who bought this part.   

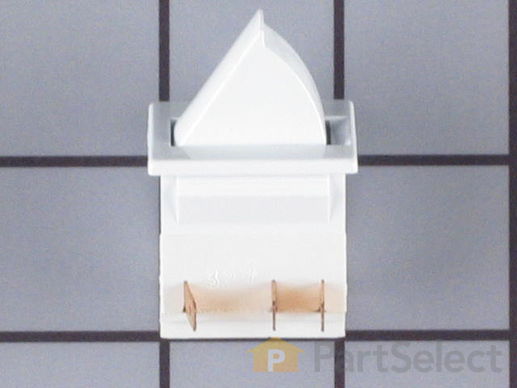
This light switch may also be known as a refrigerator door switch or a light switch kit, and is compatible with your refrigerator. The function of the refrigerator door switch is to turn on the light when your fridge door is open, and to make sure it is off when your refrigerator door is closed. The reason you would need to replace this part is if your light is not turning on when your door is open. For this repair, you will need a putty knife, and a small flat-blade screwdriver.

$ 27.65
  In Stock
PartSelect Number PS12731166
Manufacturer Part Number W11396033

Replacing your Maytag Refrigerator Door Switch

Replacing your Door Switch

Customer Repair Stories

Light switch rocker broke, disabling freezer internal light, water dispenser, and ice dispenser

Very simple. Matched female plugs with respective male color coded prong; pushed together then inserted unit in slot of freezer sidewall and rotated into position...job done.
  • Kenneth from Newton Grove, NC
  • Difficulty Level:
    Really Easy
  • Total Repair Time:
    Less than 15 mins
9 of 11 people found this instruction helpful.
Was this instruction helpful to you?
Thank you for voting!

while closing the door, the light switch fouled, resulting in the switch breaking

I used a flat screwdriver and released the lock tab on the bottom of the light switch, and pried the switch out, being careful to not damage the plastic around the mounting place of the switch, unplugged wiring from old switch, plugged in the new one and pushed the new switch into place. Job finished light switch now working.
  • Kevin from Beckley, WV
  • Difficulty Level:
    Really Easy
  • Total Repair Time:
    Less than 15 mins
  • Tools:
    Screw drivers
59 of 90 people found this instruction helpful.
Was this instruction helpful to you?
Thank you for voting!
Fixes Symptom 8% of time
★★★★★
★★★★★
6 Reviews

Rated by 8 customers 


Really Easy 

Less than 15 mins 

Ratings submitted by customers like you who bought this part.   

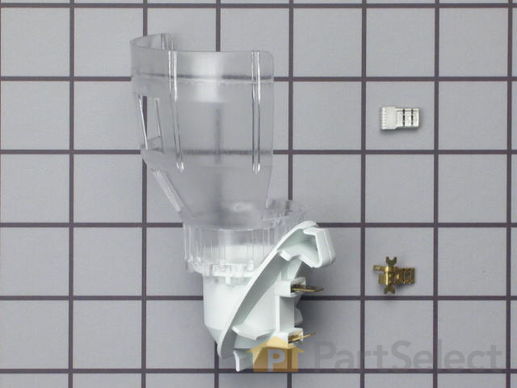
The light socket in your refrigerator houses the light bulb and connects it to the power source. If your refrigerator light is not coming on when you open the door, you may need to replace the light socket. Before you replace the light socket, be sure that your light bulb is in working condition, as this may solve the same problem. This light socket kit comes with 2 wire connectors, a light shield, and the new socket. The wire connectors that come with this kit are included so your new socket can replace a variety of old ones. If this light socket is different than your original, you will need to use the connectors to make it fit your refrigerator. Be sure to follow the instructions provided, so this part will fit your refrigerator properly.

$ 70.72
  In Stock
PartSelect Number PS371236
Manufacturer Part Number 4387478

Replacing your Kenmore Refrigerator Light Socket Kit

Replacing your Light Socket Kit

Customer Repair Stories

socket melted with bulb in it.

plastic warped in ,spaced out and, the socket snapped back in place.
  • martin l. from JACKSONVILLE,, IL
  • Difficulty Level:
    Really Easy
  • Total Repair Time:
    Less than 15 mins
12 of 18 people found this instruction helpful.
Was this instruction helpful to you?
Thank you for voting!

Light Would Not Go On In The Refrigerator

First I removed the old lightbulb from the socket and replaced it with a new one to confirm that the bulb was not the problem. I then pryed the socket out with a flat-head screwdriver. I could tell that the socket was anchored in its hole with clips so it was relatively easy to pry it out. Once the socket was out, I disconnected the lead wires and ordered a replacement socket kit from Partselect. When the new one arrived, I reconnected the lead wires to it, snapped it back into its hole, screwed in a new lightbulb, and presto!! The light was back on with no further problem. Thank you, Partselect!! A $15.00 part saved me what probably would have been at least a $100. service call and heaven knows what the technician would have told me I needed!!!
  • DANIEL from MINNEAPOLIS, MN
  • Difficulty Level:
    Easy
  • Total Repair Time:
    Less than 15 mins
  • Tools:
    Screw drivers
61 of 77 people found this instruction helpful.
Was this instruction helpful to you?
Thank you for voting!
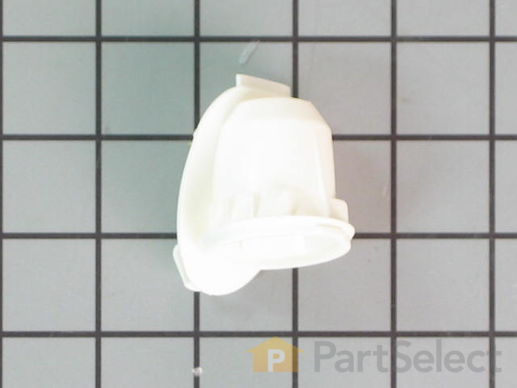
4 SOCKET
Fixes Symptom 1% of time
★★★★★
★★★★★
1 Review

$ 7.44
  In Stock
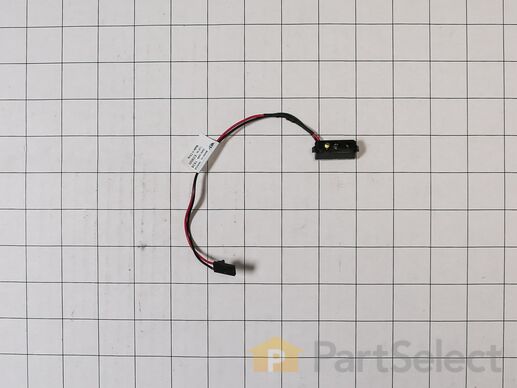
PartSelect Number PS12749532
Manufacturer Part Number W11447232
Fixes Symptom 1% of time

$ 51.21
  In Stock
PartSelect Number PS12584642
Manufacturer Part Number W11290115