Models > WFW94HEXW2 > Symptoms > Lid or door won’t close

Parts That Fix Whirlpool Washer WFW94HEXW2 Lid or door won’t close

Lid or door won’t close is a commonly reported symptom for the WFW94HEXW2 Whirlpool Washer, and we have put together a full guide on how to fix this. This advice is based on feedback from people who own this exact appliance. We have listed the most common parts for your WFW94HEXW2 Whirlpool Washer that will fix Lid or door won’t close. We have included repair instructions, and helpful step-by-step video tutorials. If you are experiencing this issue, not to worry, DIYers just like you have fixed this, and shared their experience to help you!

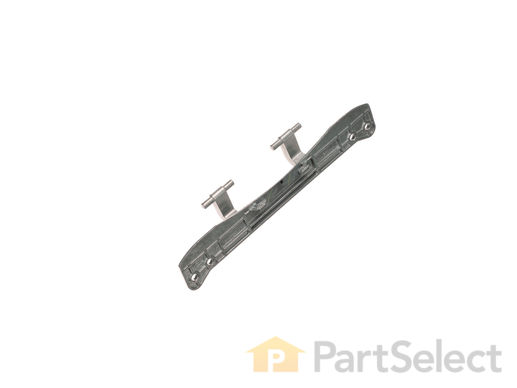
1 Hinge
Fixes Symptom 41% of time
★★★★★
★★★★★
22 Reviews

Rated by 4 customers 


Really Easy 

30 - 60 mins 

Ratings submitted by customers like you who bought this part.   

$ 92.75
  In Stock
PartSelect Number PS11750410
Manufacturer Part Number WPW10208415

Customer Repair Stories

Pins broken off hinge

So I was unable to get my model number so I took the hinge off the washer and was able to order the part. Before removing the hinge I used a marker and marked the hinge location on the washer. Once I got the part I removed the T15 screws on the inside part of the door and separate the pieces. I was able to remove the white tube for all 4 of the pins and put them on the hinge. I installed the hinge an then i put the front door pieces back together again while it was laying on the floor. I though I put it in wrong but I was correct. Once i had the hinge on the door and the door reassembled, I was able to attached the hinge to the washer. The hinge comes off the washer by pushing up on it and to reinstall you push down. I tighten the 4 T25 screws using the marks on the washer and the door is alligned correctly. I am able to close the washer door with one finger instead of my whole hand.
  • Patrick from ROCHESTER, NY
  • Difficulty Level:
    Really Easy
  • Total Repair Time:
    15 - 30 mins
3 of 3 people found this instruction helpful.
Was this instruction helpful to you?
Thank you for voting!

One of the hinges broke, making the door sag

Using the Torx Screwdriver, we removed the door from the unit. Then we removed all of the screws on the inside of the washer door. After that we flipped it over and opened it up exposing the inside. We couldn't separate them entirely because there was a screw under the latch piece that we couldn't figure out how to get to. However with all the screws out on the inside of the door, we did have enough room to open it up and access the place cover that holds the hinges in. Once we accessed that we removed the roller tips from the old unit and placed them on the new one. Then we reversed the process. With a couple screws in we realized we had put the hinge in reversed from what it needed to be, so we reopened it and switched it around. Then completed replacing all the screws and reattached it to the washer. It opens and closes perfectly and we saved a couple hundred dollars for sure, as the quote to come out had been a $150 trip charge.
  • Sandy from MILWAUKIE, OR
  • Difficulty Level:
    Easy
  • Total Repair Time:
    1- 2 hours
10 of 16 people found this instruction helpful.
Was this instruction helpful to you?
Thank you for voting!
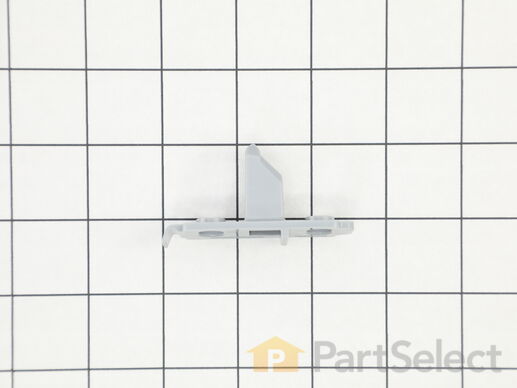
2 Strike
Fixes Symptom 29% of time
★★★★★
★★★★★
2 Reviews

Rated by 1 customer 


Really Easy 

Less than 15 mins 

Ratings submitted by customers like you who bought this part.   

This part attaches to the door and fits into the door lock when the door closes.

$ 11.10
  In Stock
PartSelect Number PS11755543
Manufacturer Part Number WPW10488048

Customer Repair Stories

Broken Strike on Washer Door - prevented door from latching, and washer would not start

The end of the strike had broken off, and the pictures did not clearly show there was a cross-member at the end of the strike. That crossmember is what broke on the old strike. The strike has only two screws, both requiring a Torx bit (#20, I believe). Unscrew both screws to remove the strike plate. It was a little difficult to get out - it has a curved top to lock into the top slot, but the bottom slides slightly down into another slot. There isn't a lot of room in the opening to slide the strike up and down and get it out. Putting the new strike on is easier - ensure the curved end fits into the slot at the top and slide it up just a bit, push the bottom of the strike plate in, then let it drop right into place, and reinsert the screws. The only problem I had was the strike's holes for the screws are slotted horizontally, so the strike can be positioned across almost 3/8". The latch would not engage the strike the first time, so I had to loosen the screws and reposition the strike a bit. This time it latched, but the fit wasn't quite right, so I adjusted it again to get it where I needed it.
  • David D from Severn, MD
  • Difficulty Level:
    Really Easy
  • Total Repair Time:
    Less than 15 mins
  • Tools:
    Screw drivers
0 of 1 people found this instruction helpful.
Was this instruction helpful to you?
Thank you for voting!
Fixes Symptom 19% of time
★★★★★
★★★★★
6 Reviews

Rated by 2 customers 


Really Easy 

30 - 60 mins 

Ratings submitted by customers like you who bought this part.   

$ 156.17
  In Stock
PartSelect Number PS11745083
Manufacturer Part Number WP8183270

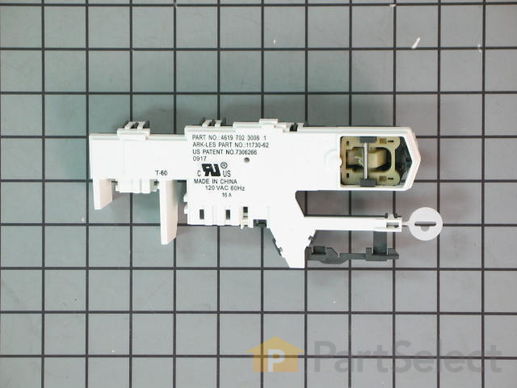
Replacing your Whirlpool Washer Door Lock/Latch

Replacing your Door Lock/Latch

Customer Repair Stories

Washer would not start reliably.

Followed the video on the website. Very easy to replace the part and it fixed the problem. The trickiest part was reinstalling the ring that holds the rubber gasket in place.
  • Andrew from ROCKVILLE, MD
  • Difficulty Level:
    Easy
  • Total Repair Time:
    Less than 15 mins
  • Tools:
    Pliers, Screw drivers
5 of 5 people found this instruction helpful.
Was this instruction helpful to you?
Thank you for voting!

broken door latch

looked repair on you tube followed instructions. took off broken latch. compared to pictures on sites. ordered part. part arrived in 2 days. put part on. suggest using first method quick and easy.
  • Marvin J. from NICHOLASVILLE, KY
  • Difficulty Level:
    Really Easy
  • Total Repair Time:
    1- 2 hours
  • Tools:
    Pliers, Screw drivers
10 of 11 people found this instruction helpful.
Was this instruction helpful to you?
Thank you for voting!
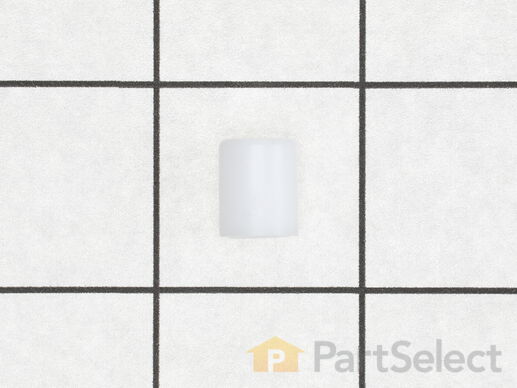
4 Cap
Fixes Symptom 11% of time
★★★★★
★★★★★
1 Review

$ 22.58
  In Stock
PartSelect Number PS11750408
Manufacturer Part Number WPW10208398