Models > MEDC200XW1 > Symptoms > Noisy

Parts That Fix Maytag Dryer MEDC200XW1 Noisy

Noisy is a commonly reported symptom for the MEDC200XW1 Maytag Dryer, and we have put together a full guide on how to fix this. This advice is based on feedback from people who own this exact appliance. We have listed the most common parts for your MEDC200XW1 Maytag Dryer that will fix Noisy. We have included repair instructions, and helpful step-by-step video tutorials. If you are experiencing this issue, not to worry, DIYers just like you have fixed this, and shared their experience to help you!

Fixes Symptom 33% of time
★★★★★
★★★★★
38 Reviews

Rated by 20 customers 


Easy 

1- 2 hours 

Ratings submitted by customers like you who bought this part.   

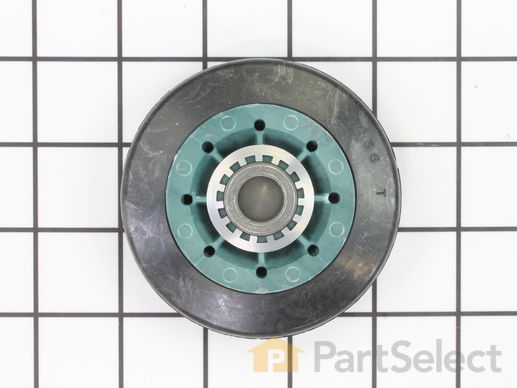
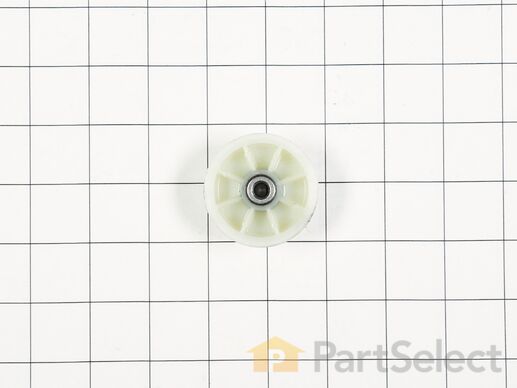
This drum support roller is sold individually. Most dryers require two. The tri-rings are included. This is a drum support roller for a dryer. It is a genuine replacement part. The part includes the drum roller only and does not include the tri-rings. This part is sold separately. Most dryers require two drum rollers. It is recommended to check and replace both drum support rollers at the same time to ensure proper drum rotation and because they often wear at the same rate. The drum support roller holds the drum in the proper position while it spins on the support wheels. If rollers are worn out, they will cause the dryer to be noisy.

$ 22.69
  In Stock
PartSelect Number PS11752609
Manufacturer Part Number WPW10314173

Replacing your Whirlpool Dryer Dryer Drum Support Roller

Replacing your Dryer Drum Support Roller

Customer Repair Stories

Dryer drum turned hard because rollers were worn

Remove top, front and drum. Top is removed by sliding a putty knife under the front corners and pushing the tabs back. Front is held with screws. Disconnect two electrical connectors. Rollers are easily accessible and changed.
  • Paul from STONE CREEK, OH
  • Difficulty Level:
    Easy
  • Total Repair Time:
    30 - 60 mins
  • Tools:
    Nutdriver, Pliers
3 of 3 people found this instruction helpful.
Was this instruction helpful to you?
Thank you for voting!

noisy drum

the job would have gone faster if the right parts had been sent in the first place. I would have never paid for two day shipping. In the repair, I removed the rear panel, clipped the plastic triangle holding the bearing, installed the new bearing and new clip.
  • Jeff from Mesa, AZ
  • Difficulty Level:
    A Bit Difficult
  • Total Repair Time:
    30 - 60 mins
  • Tools:
    Nutdriver, Screw drivers, Wrench (Adjustable), Wrench set
20 of 27 people found this instruction helpful.
Was this instruction helpful to you?
Thank you for voting!
Fixes Symptom 15% of time
★★★★★
★★★★★
5 Reviews

Rated by 15 customers 


Easy 

1- 2 hours 

Ratings submitted by customers like you who bought this part.   

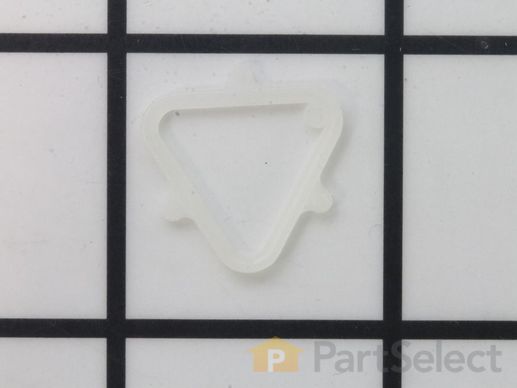
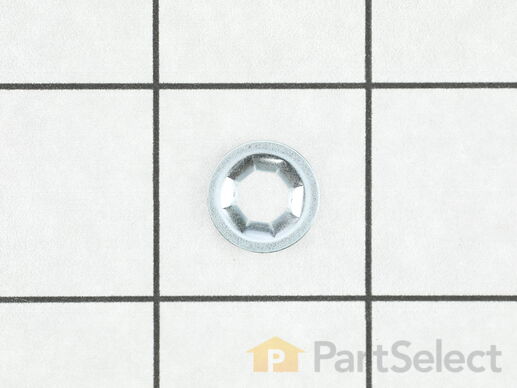
If you notice that your dryer is noisy or will not tumble, you may need to replace the tri ring. This part is triangular, and is less than an inch in size. Tri rings can be found both on the idler pulley shaft, or on the rear drum roller shaft. In either case, you will need to remove the front panel of the dryer and the drum to access the part for repair. Once you have accessed the damaged tri ring, you will simply need to slip it off and replace it with the new one. This part is sold individually. Be sure to disconnect the power source from the dryer before you begin this repair.

$ 13.42
  In Stock
PartSelect Number PS11755850
Manufacturer Part Number WPW10512946

Replacing your Kenmore Dryer Roller Support Tri-Ring

Replacing your Roller Support Tri-Ring

Customer Repair Stories

My daughter threw a heavy wet comforter into the dryer and the tri-ring sheared off.

I ordered the part(and a backup) and had it in two days. 5 days less than ordering from sears.
  • Joe from St. Louis, MO
  • Difficulty Level:
    Easy
  • Total Repair Time:
    30 - 60 mins
  • Tools:
    Nutdriver, Pliers
1 person found this instruction helpful.
Was this instruction helpful to you?
Thank you for voting!
Fixes Symptom 10% of time
★★★★★
★★★★★
41 Reviews

Rated by 24 customers 


Easy 

1- 2 hours 

Ratings submitted by customers like you who bought this part.   

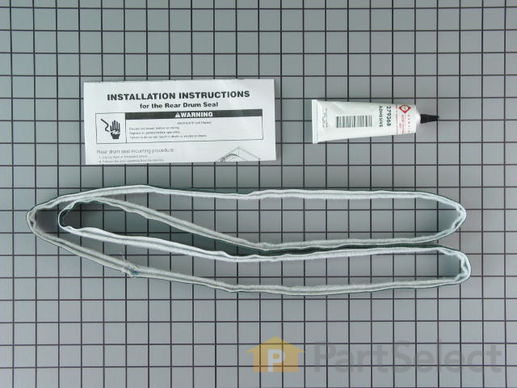
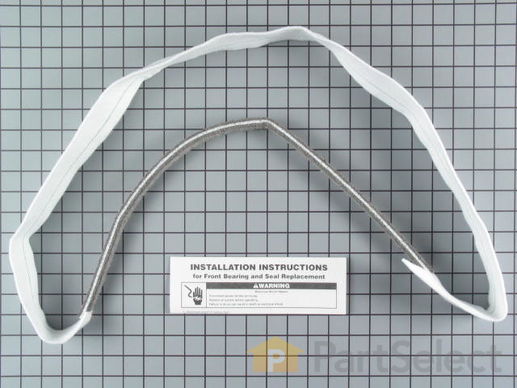
This seals Includes adhesive. This part helps seal the drum to prevent hot air from escaping.

$ 64.69
  In Stock
PartSelect Number PS8691753
Manufacturer Part Number W10612022

Replacing your Whirlpool Dryer Rear Drum Felt Seal

Replacing your Rear Drum Felt Seal

Customer Repair Stories

Aft seal deterioated and causing brown spot on clothing due to netal to metal contact.

Removed top and front of dryer then drum and followed the instructions in the package. It was a real simple procedure. I did additional cleaning while the dryer was disassembled.
  • Cleo from Laurinburg, NC
  • Difficulty Level:
    Easy
  • Total Repair Time:
    1- 2 hours
  • Tools:
    Nutdriver, Screw drivers
11 of 12 people found this instruction helpful.
Was this instruction helpful to you?
Thank you for voting!

Rear Dryer Seal was old and staining clothing

After unplugging the dryer,I removed 2 bolts on the back top of the dryer, then removed the two screws in the lint box area. I used a screw driver to help force the top panel of the dryer up. When open, I removed the top screws that held the front and side panels together. I then lifted the front panel up and away from the dryer, so there would be room to take the drum out. I removed the belt from the pulley (located under the drum) and slid the drum out. I removed the old seal, cleaned up the drum and the inside of the dryer, then glued the new seal on. After the glue was dry, I put the drum back in (with the belt on the drum), put the belt back on the pulley and proceeded to put the dryer front back on. Once the front was on, I put the top back on and replaced the bolts on the back of the dryer. I plugged it in and it is working great! By the way, before this, I had NEVER attempted to repair a dryer before and I am female. If I could do it, so can anyone else willing to try :)
  • Grace from Phoenix, AZ
  • Difficulty Level:
    Easy
  • Total Repair Time:
    30 - 60 mins
  • Tools:
    Screw drivers, Socket set
58 of 64 people found this instruction helpful.
Was this instruction helpful to you?
Thank you for voting!
Fixes Symptom 7% of time
★★★★★
★★★★★
24 Reviews

Rated by 69 customers 


Easy 

1- 2 hours 

Ratings submitted by customers like you who bought this part.   

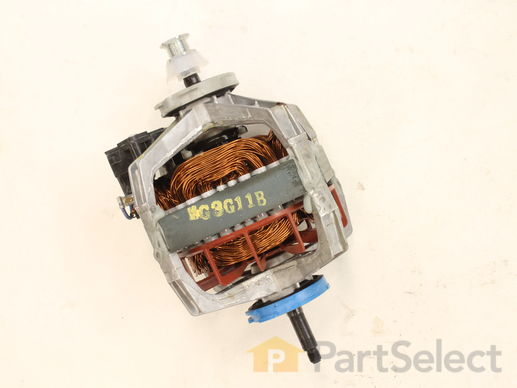
This motor fits most Whirlpool incorporated dryer brands before 1996. NOTE: Pulley is NOT available separately.

$ 124.64
  In Stock
PartSelect Number PS334304
Manufacturer Part Number 279827

Replacing your Kenmore Dryer Drive Motor with Pulley

Replacing your Drive Motor with Pulley

Customer Repair Stories

had to replace the motor

Follow the advice given in the partsselect website. However, while removing the blower, my hand slipped into the housing and cut my thumb. Connected the wires to the junction box on the motor but didn't realize that the contacts would hit the drum when reinstalled. The original junction box was at a 90 degree rotation relative to the new box. When trying to test the breaker tripped. Using the multitester I found out that I burned out the thermal fuse, and froze the door switch. I replace both those parts and started the dryer and could hear a grinding sound. Inspection revealed that the housing of the motor was rubbing against the drum. Removing the drum yet again, I rotated the housing and replaced the drum. The dryer was finally working well.
  • charles from parker, CO
  • Difficulty Level:
    A Bit Difficult
  • Total Repair Time:
    More than 2 hours
  • Tools:
    Nutdriver, Screw drivers
30 of 42 people found this instruction helpful.
Was this instruction helpful to you?
Thank you for voting!

Make humming noise when pressing start button. Would not start

After looking on the website for advice I walked throught the simple steps of disassembling the front, removing the drum, removed the back, disconnected the wire harness. Then removed the blower housing in the back. The blower, mounted on the back side of the motor was very tight. I used a pipe wrench wedged in place and help by my 10 year old Grand-daughter while I used an adjustable wrench to turn the shaft on the front of the motor. Spun the blower off, removed the two clips holding the motor. Then reversed the process when I received the new motor. Care should be taken to avoid damaging the blower fan if a lot of pressure is required.
  • James from Moscow, IA
  • Difficulty Level:
    Easy
  • Total Repair Time:
    30 - 60 mins
  • Tools:
    Nutdriver, Screw drivers
95 of 109 people found this instruction helpful.
Was this instruction helpful to you?
Thank you for voting!
Fixes Symptom 7% of time
★★★★★
★★★★★
10 Reviews

Rated by 11 customers 


Easy 

1- 2 hours 

Ratings submitted by customers like you who bought this part.   

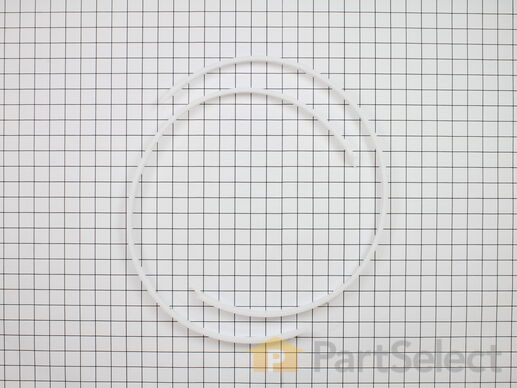
This is a replacement bearing ring kit for your dryer. The bearing rings are found on the top and bottom lips of the dryer drum. If your dryer is unusually noisy, or the drum will not turn during operation, or if there are marks left on your clothes after a cycle, you may need to replace the bearing ring kit. The kit comes with 2 bearings, one for the top and one for the bottom of the dryer drum. Remove the front panel of your dryer to access the dryer drum for this repair. At this point you can use a pair of needle nose pliers to release the old bearing rings from the drum. Snap the new bearing rings on, and reassemble the dryer to complete your repair.

$ 58.72
  In Stock
PartSelect Number PS334199
Manufacturer Part Number 279441

Replacing your Whirlpool Dryer Two-Piece Split Ring Bearing

Replacing your Two-Piece Split Ring Bearing

Customer Repair Stories

making thumping noise because bearing was easy

Took old bearing off replaced with new
  • Eunice from Boyne City, MI
  • Difficulty Level:
    Easy
  • Total Repair Time:
    30 - 60 mins
  • Tools:
    Nutdriver, Screw drivers
Was this instruction helpful to you?
Thank you for voting!

The dryer tub became jammed, unable to turn.

I followed disassembly directions found on youtube and replaced th two-piece ring bearing that was identified by a parts diagra fron PartSelect. The repair was easy. Fix time was about thirty mionutes.
  • Terry from Lindsay, CA
  • Difficulty Level:
    Really Easy
  • Total Repair Time:
    15 - 30 mins
  • Tools:
    Nutdriver, Pliers, Screw drivers
3 of 6 people found this instruction helpful.
Was this instruction helpful to you?
Thank you for voting!
Fixes Symptom 7% of time
★★★★★
★★★★★
18 Reviews

Rated by 13 customers 


A Bit Difficult 

1- 2 hours 

Ratings submitted by customers like you who bought this part.   

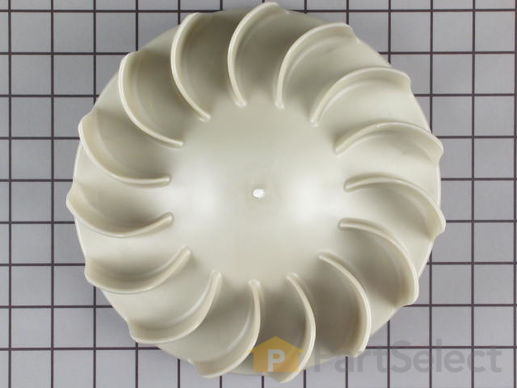
The blower wheel is a squirrel cage type wheel whose purpose is to move the air through the room or appliance. The blower wheel spins on the motor shaft to blow air through the dryer drum and out through the exhaust.

$ 36.63
  In Stock
PartSelect Number PS11743785
Manufacturer Part Number WP694089

Replacing your Kenmore Dryer Dryer Blower wheel

Replacing your Dryer Blower wheel

Customer Repair Stories

Dead motor

1. Shut off gas and disconnected dryer.
2. Opened cabinet. Easy sheet metal screws and fairly obvious how everything goes together. NB: You'll need a block (or a helper to hold things while you run to look for one) to hold the drum while removing the front.
3. The motor is connected with a single harness, so wiring is a snap.
4. Removing the blower wheel from the back was hard. I braced the motor shaft and turned with all the leverage I could muster, but it was stuck. Plan B: Recip saw to cut the shaft. Motor comes out one side and the fan comes out the other.
5. The fan, of course, was unusable because there was still a piece of motor shaft stuck in the thread. This is why I had to spring for a new wheel.
6. Put everything back together and receive wife's adoring praise...
  • Robert from Glencoe, IL
  • Difficulty Level:
    A Bit Difficult
  • Total Repair Time:
    1- 2 hours
  • Tools:
    Screw drivers, Socket set
17 of 24 people found this instruction helpful.
Was this instruction helpful to you?
Thank you for voting!

Bought motor, then bought blower wheel also

couldn't get blower wheel off of the motor. really tight. rounded off the wheel's square hub while trying to hold it still as I turned the motor shaft out. No, I wasn't turning it the wrong way :) I ended up going to the back of the dryer and using the multimax to quickly cut the wheel away from the hub. I love that oscillating saw! Just for fun, I put the motor in a bench vise and got the wheel hub off (in pieces). VERY tight! Ordered new wheel, and the job was smooth sailing from there on. I am guessing that experienced repair people automatically order the motor and blower wheel at the same time(?) BTW both parts were perfect matches for the originals. Not surprised; this has always been my experience with partselect.com!
  • Daniel from Coatesville, PA
  • Difficulty Level:
    Easy
  • Total Repair Time:
    More than 2 hours
  • Tools:
    Nutdriver, Screw drivers, Wrench (Adjustable)
94 of 110 people found this instruction helpful.
Was this instruction helpful to you?
Thank you for voting!
Fixes Symptom 7% of time
★★★★★
★★★★★
4 Reviews

Rated by 6 customers 


Easy 

1- 2 hours 

Ratings submitted by customers like you who bought this part.   

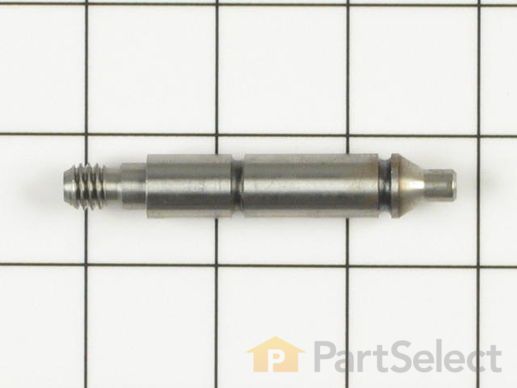
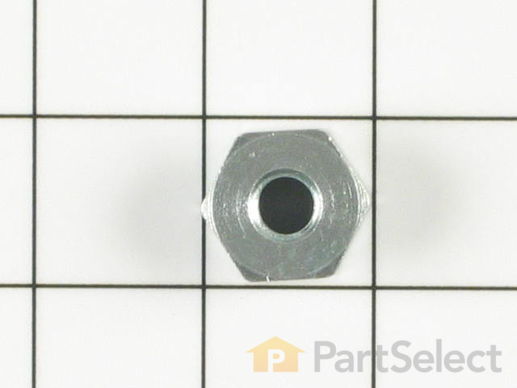
Replace the shaft of your left side drum support roller with this part from Whirlpool/Kenmore. This replacement shaft is 2-7/8 inches long. It is meant for use with many of Whirlpool/Kenmore's gas and electric clothes dryers that have been manufactured since 1965. Also known as Drum Roller Shaft.

$ 64.43
  In Stock
PartSelect Number PS11753706
Manufacturer Part Number WPW10359270

Replacing your Kenmore Dryer Drum Roller Shaft - Left Side

Replacing your Drum Roller Shaft - Left Side
Fixes Symptom 4% of time

Rated by 4 customers 


A Bit Difficult 

1- 2 hours 

Ratings submitted by customers like you who bought this part.   

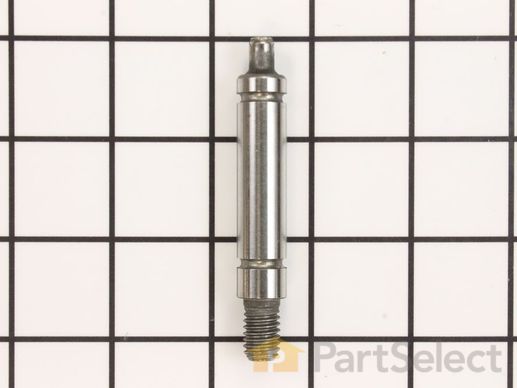
Replace the shaft of your right side drum support roller with this part. This replacement shaft is 3-3/16 inches long, but does not require a washer or a nut.

$ 62.32
  In Stock
PartSelect Number PS11753705
Manufacturer Part Number WPW10359269

Replacing your Kenmore Dryer Drum Support Roller Shaft - Right Side

Replacing your Drum Support Roller Shaft - Right Side
Fixes Symptom 4% of time
★★★★★
★★★★★
6 Reviews

Rated by 15 customers 


Easy 

1- 2 hours 

Ratings submitted by customers like you who bought this part.   

This front panel seal kit doesn't include the plastic retainers, reuse the old retainers. No glue is needed, the seal stretches to fit.

$ 69.34
  In Stock
PartSelect Number PS11773177
Manufacturer Part Number W11035878

Replacing your Whirlpool Dryer Seal and Bearing

Replacing your Seal and Bearing

Customer Repair Stories

Loud screeching noise when dryer running

First, removed the bottom cover below the dryer door. This is just held on with two clips that can be pushed in with a flat screw driver. Then remove the springs that go from the bottom of the dryer to the inside of the dryer door. We had to remove the entire front of the dryer, so the easiest way we found was to loosen the two screws on the bottom of the front panel, but not remove them. Then pop up the top of the dryer. To lift the top, first remove the two screws under the little door where the lint trap goes. The top is hinged in the back, and it snaps down onto two clips that can easily be popped up with a flat screw driver) With the top opened, there are two screws accessible. When the front of the dryer is removed, there will be nothing to support the drum, so what we found was that if you rotate the drum, you'll find a point where there's a hole in the top of the drum. If you take the springs that you removed from the bottom of the door you can hook them into this hole, and hook the other end into a hole in the back wall of the dryer just behind the drum. The springs are the perfect size for this, and it keeps the drum from falling when you remove the front panel. then just disconnect the three wires going to the switch inside the front panel, and remove the two screws from the top of the front panel. It should then lift right off. The bearing can just be pulled away and the new one installed. Put everything together again in reverse order.
  • Stephen from Charlotte, NC
  • Difficulty Level:
    Easy
  • Total Repair Time:
    30 - 60 mins
  • Tools:
    Nutdriver, Screw drivers
6 of 6 people found this instruction helpful.
Was this instruction helpful to you?
Thank you for voting!
Fixes Symptom 1% of time

Rated by 4 customers 


Easy 

1- 2 hours 

Ratings submitted by customers like you who bought this part.   

$ 5.36
  In Stock
PartSelect Number PS11741763
Manufacturer Part Number WP348197
Fixes Symptom 1% of time
★★★★★
★★★★★
1 Review

Rated by 2 customers 


Really Easy 

1- 2 hours 

Ratings submitted by customers like you who bought this part.   

Sold Individually.

$ 5.36
  In Stock
PartSelect Number PS11746832
Manufacturer Part Number WP90296
12 Belt
Fixes Symptom 1% of time
★★★★★
★★★★★
2 Reviews

Rated by 1 customer 


A Bit Difficult 

30 - 60 mins 

Ratings submitted by customers like you who bought this part.   

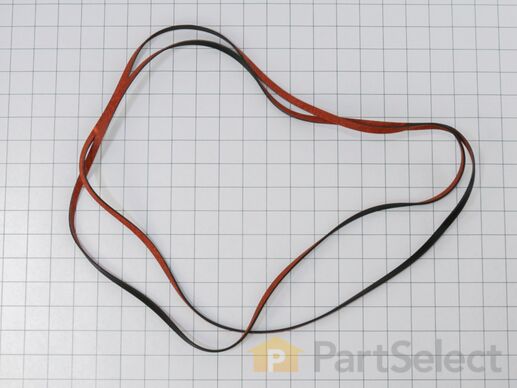
This authentic OEM drum belt is designed to fit with various models of dryers. The belt is a narrow strip of rubber that wraps around the drum and connects it to the dryer motor. This allows the drum to rotate smoothly and circulate warm air evenly through the drum. If the drum belt is faulty the drum will be unable to turn, you may hear unusual grinding, scraping a banging noise, and the belt itself may be frayed, cracked, or hanging loosely off the drum. If the belt is no longer able to support the drum, it should be replaced promptly to prevent further damage to the dryer and ensure it continues to run efficiently.

$ 58.43
  In Stock
PartSelect Number PS11750135
Manufacturer Part Number WPW10198086
Fixes Symptom 1% of time
★★★★★
★★★★★
13 Reviews

Rated by 6 customers 


Really Easy 

15 - 30 mins 

Ratings submitted by customers like you who bought this part.   

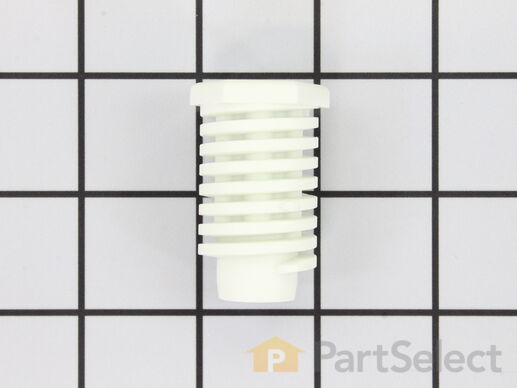
If your washer shakes or vibrates loudly when it reaches its max speed, check that the leveling legs are even. To ensure that the washer is firmly on the ground using all four legs, adjust the legs so that the machine is level, and tighten the locking nuts on the legs that are threaded. Keep the washer as close to the floor as possible. Your model might have rear legs that level themselves, or it might have threaded legs all around. Make sure the rubber feet have not worn out. Replace any missing or damaged legs and feet. This replacement part is sold individually.

$ 11.40
  In Stock
PartSelect Number PS1609293
Manufacturer Part Number 49621

Replacing your Kenmore Dryer Leveling Foot

Replacing your Leveling Foot

Replacing your Kenmore Dryer Leveling Foot

Replacing your Leveling Foot

Customer Repair Stories

Washer overflowed

Once I watched a YouTube video showing me how to do the job I ordered the part from you. Am so impressed with your fast shipping and best prices via the Internet. Thank you SO much! The water level switch was easy to install, it ws getting the cover on the washer back on that was hard for me since I am 68 yrs old and have a bad knee. Its why it took me two hours to do what most people could do in 20 minutes.
  • Beth from Valley Springs, CA
  • Difficulty Level:
    Really Easy
  • Total Repair Time:
    1- 2 hours
  • Tools:
    Screw drivers
Was this instruction helpful to you?
Thank you for voting!

No leveling feet on dryer.

This could not have been easier. The hardest part was tipping the dryer over on its' side.
Instructions:
1. Tip dryer over onto a non-scratch surface. I used a tarp on the floor.
Insert leveling foot into the foot opening on the bottom of the dryer &
screw in with fingers until it is difficult to turn.
2. Use the adjustable wrench on the hexed foot (not the threads) to adjust to the desired level.
3. Tip dryer upright taking care not to exert pressure on the feet closest to floor. I used a folded-up tarp under the bottom edge of the dryer while lifting it to the upright position.
4. Use a level, back to front & side to side, to determine if feet need further adjustment.
5. Adjustments can be made with the dryer in the upright position, using the adjustable wrench on the hexed foot.
  • Bobbie from BEND, OR
  • Difficulty Level:
    Very Easy
  • Total Repair Time:
    Less than 15 mins
  • Tools:
    Wrench (Adjustable)
2 of 2 people found this instruction helpful.
Was this instruction helpful to you?
Thank you for voting!
Fixes Symptom 1% of time
★★★★★
★★★★★
8 Reviews

Rated by 12 customers 


Easy 

1- 2 hours 

Ratings submitted by customers like you who bought this part.   

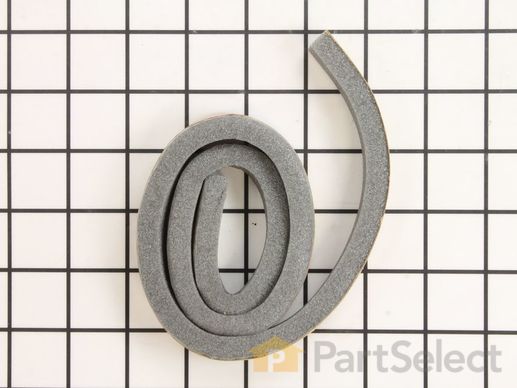
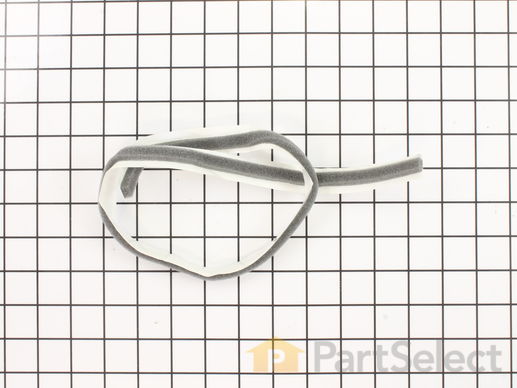
This is foam seal for your dryer. It forms a seal to prevent air from escaping the rear of the dryer drum and the lint duct. This model comes with adhesive backing and is located in between the lint chute and the bulkhead of your appliance. This foam seal is just over 28 inches long and under 1 inch wide. You may need to replace this part if your clothing is taking too long to dry, or if your dryer is not generating enough heat or no heat at all.

$ 9.76
  In Stock
PartSelect Number PS11741506
Manufacturer Part Number WP339956

Replacing your Kenmore Dryer Lint Trap Housing Seal

Replacing your Lint Trap Housing Seal
Fixes Symptom 1% of time
★★★★★
★★★★★
7 Reviews

Rated by 4 customers 


Easy 

1- 2 hours 

Ratings submitted by customers like you who bought this part.   

Sold individually.

$ 52.92
  In Stock
PartSelect Number PS11744884
Manufacturer Part Number WP8066184

Replacing your Whirlpool Dryer Motor Pulley - 60 Hz.

Replacing your Motor Pulley - 60  Hz.

Customer Repair Stories

Needed to repair and replace dryer motor pulley and pully

this was very was very easy. But I deviated from the You Tube instructions. One to release the motor pulley. I needed to use 2 adjustable wrenches for a longer lever. I needed to use a hammer to help release pulley. Second to remove the dryer cable I needed to use a small screw driver to aid in the release. ---- the part from the company was a perfect fit.
  • Rob from GAITHERSBURG, MD
  • Difficulty Level:
    Really Easy
  • Total Repair Time:
    30 - 60 mins
  • Tools:
    Wrench (Adjustable)
5 of 5 people found this instruction helpful.
Was this instruction helpful to you?
Thank you for voting!

Replaced a broken pulley.

Half of my pulley was broken off so there were no wrench flats to take it off. I was able to remove it using Channel Locks and the 7/16 wrench shown in the video.

Hint: Use a one gallon ice cream bucket to hold up the drum while connecting the belt. It makes it much easier and gives you more clearance.
  • Brian from IMLAY CITY, MI
  • Difficulty Level:
    Very Easy
  • Total Repair Time:
    15 - 30 mins
  • Tools:
    Nutdriver, Pliers, Screw drivers, Wrench set
9 of 11 people found this instruction helpful.
Was this instruction helpful to you?
Thank you for voting!
Fixes Symptom less than 1% of time
★★★★★
★★★★★
3 Reviews

Rated by 2 customers 


Very Easy 

30 - 60 mins 

Ratings submitted by customers like you who bought this part.   

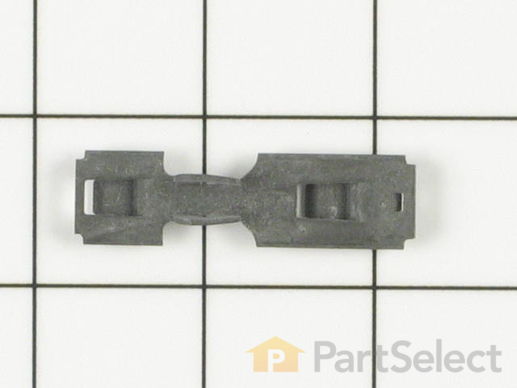
This part is the replacement single front panel clip for your dryer. It is made of metal and is approximately 2 inches long and ¾ inch wide. The front panel retainer clip is what holds the front panel on to the dryer. If the clip is damaged or missing, or if the front panel appears loose, you may need to replace the clip. This part is sold individually and is an authentic OEM part.

$ 16.46
  In Stock
PartSelect Number PS11731288
Manufacturer Part Number W10854425

Customer Repair Stories

Broken clips

Turned off power and pulled power plug from the wall. Removed the two screws at the lint screen. Raised the top to by depressing the top spring clips. Removed the two 5/16" screws from front top. Removed wiring clips from front panel. Set the front aside while I removed the two broken panel clips. Installed the two new panel clips. reinstalled the front panel by placing the front panel above the sides. Opened the front panel door and supported the drum while allowing the front panel to slide down onto the new front panel clips. Reinstalled the wiring clip. reinstalled the two 5/16 screws. Turned the drum to ensure that the felt seals and drive belt weere installed properly. Lowered the top and reinstalled the two screws at lint screen. Reinstalled power plug and turned on power. No rattles or squeeks!!!
  • Roger from Twinsburg, AL
  • Difficulty Level:
    Easy
  • Total Repair Time:
    30 - 60 mins
  • Tools:
    Nutdriver, Screw drivers
Was this instruction helpful to you?
Thank you for voting!
17 SEAL
Fixes Symptom less than 1% of time
★★★★★
★★★★★
4 Reviews

Rated by 11 customers 


Easy 

1- 2 hours 

Ratings submitted by customers like you who bought this part.   

This seal comes with the adhesive backing.

$ 17.93
  In Stock
PartSelect Number PS12745423
Manufacturer Part Number W11415783

Replacing your Kenmore Dryer SEAL

Replacing your SEAL
Fixes Symptom less than 1% of time

Rated by 1 customer 


Easy 

1- 2 hours 

Ratings submitted by customers like you who bought this part.   

1 1/2 diameter.

$ 9.94
  In Stock
PartSelect Number PS11741428
Manufacturer Part Number WP3388703
Fixes Symptom less than 1% of time

$ 5.36
  In Stock
PartSelect Number PS11743764
Manufacturer Part Number WP691362