Models > MAH3000AWW > Symptoms > Leaking

Parts That Fix Maytag Washer MAH3000AWW Leaking

Leaking is a commonly reported symptom for the MAH3000AWW Maytag Washer, and we have put together a full guide on how to fix this. This advice is based on feedback from people who own this exact appliance. We have listed the most common parts for your MAH3000AWW Maytag Washer that will fix Leaking. We have included repair instructions, and helpful step-by-step video tutorials. If you are experiencing this issue, not to worry, DIYers just like you have fixed this, and shared their experience to help you!

1 Bellow
Fixes Symptom 51% of time

Rated by 32 customers 


A Bit Difficult 

1- 2 hours 

Ratings submitted by customers like you who bought this part.   

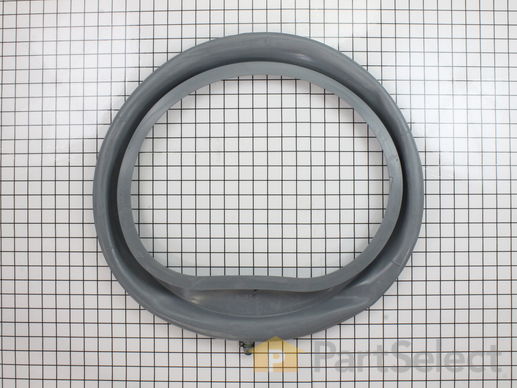
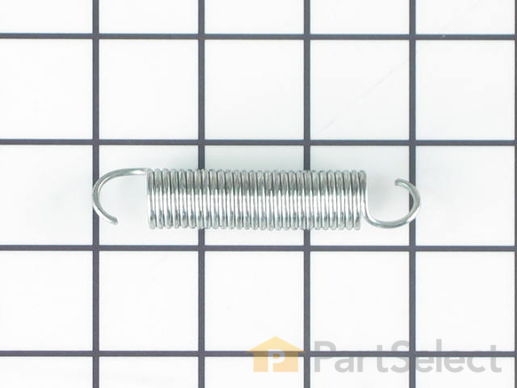
Also known as the door boot seal. This part includes the drain and plug. The seal is located around the door of the washer to prevent water from leaking.

  No Longer Available
PartSelect Number PS2003890
Manufacturer Part Number 12002533

Replacing your Maytag Washer Bellow

Replacing your Bellow

Customer Repair Stories

mold on door gasket

Apparently the only way to solve the notorious mold problem on the rubber gasket of the Maytag Neptune front-loading washer is by replacing the door gasket. I ordered the boot kit from you and my husband attempted to do the job without the benefit of an instruction sheet, but I was finally forced to download the repair manual from the Maytag website. Using a screwdriver to remove the the front door, the detergent dispenser, and the shroud, he was able to remove the old gasket, though stretching the spring that held the gasket in place required some strength. The only tricky part was stretching the spring again that holds the replacement gasket in place. With a little ingenuity, a screwdriver (and some dishwashing liquid to make the task a little easier) he finally accomplished it. It took him over 3 hours, but the job is done and the washer seems to be working fine. Your service was fast and efficient and I wouldn't hesitate using your service again, but enclosing a detailed instruction sheet would have been helpful. Now that he knows how to do the job he acknowledges that the it shouldn't take him more than an hour the next time, should the gasket need replacement again. Meanwhile I am going to try tackling the mold problem by leaving the front door open after wiping out the water that remains on the door gasket after each wash.
  • Roberta from Ocean Isle Beach, NC
  • Difficulty Level:
    A Bit Difficult
  • Total Repair Time:
    More than 2 hours
  • Tools:
    Screw drivers, Socket set
57 of 63 people found this instruction helpful.
Was this instruction helpful to you?
Thank you for voting!

Leak from Door boot

My washer was leaking when i opened the front panel to check i found that the water was leaking from door boot which had gashes in it. the task was real easy. and took me 30 minutes to fix it, this was my first time repairing any appliance and i found real easy to do. here are the steps i took:
1. unscrew 2 door screws and the 2 screws opposite to them on the other side (on right if you are facing the washer)
2. take door out by lifting it slightly and then pulling it out.
3. hold front panel from both sides and then push in and twist outward this willl diengage front panel from the hooks on side.
4. tilt front panel towards you about 40 deg. adn pull it up.
5. to take top out, first remove all 4 screws from soap dispenser and take the dispenser out (just pull up after unscrewing)
6. unscrew the electrical unit (where bulb is) in front top by taking out the 2 nuts Note: you must take out left most socket/coupler by pulling it before unscrewing the left nut that will give space for your wrench.
7. In the front corner the Top is bolted to side frame bars you will have to look under top corner and you will see 1 nut on each side, unscrew those nuts and the lift the top ( if you have enough space (about a foot) behind the washer the Top ca n actually go all the way back and rest on wall.)
8. from top view you will see a spring and metal wire system holding your boot, notice the spring position, spring has 2 hooks on each side, with needle nose pliers pull on the spring hook and have someone else disengage wire from spring hook. ( when it is time to put the wire back on the new boot just follow the same thing)
9. once wire is out take the boot out by pulling it from all directions. note: you may still have water in the washer system so before you take the boot out be ready with a bucket to catch it write under the boot plug.
10. your boot is still connected to washer withe the plug at the bottom. with help from needle plier press on clamp and pull plug out. note: if you see water flowing out from drain pipe (where the boot plug goes in try to keep it up to lwer the level of water that will stop the water flowing out (i took help from my 6 year old daughter for this job) now your old boot is out, trash it.:)
11. put the new boot the lip of drum and put the wire back on (again i enlisted my wife and my daughter to keep the wire in place, you cannot do it alone. with 3 of us putting wire was a breeze. put the spring back at the exact same place and with exact orientation.
Note: when you start to put wire and new boot on washer drum lip make sure the tiny cuts/slots on the boot slip into the the notches on washer lip other you will have leak from these spaces.
12.now rest is all easy. attach the drain plug back on and then push the tabs of boot into the frontto secure it.
13. put all the thing that you took out in the same order all the way to door and you are ready to go
NOTE: i did not front panel back on for couple of days to make sure there i no other leak and also to make sue that boot is not leaking.

have fun
  • Sirish from Thorndale, PA
  • Difficulty Level:
    Easy
  • Total Repair Time:
    15 - 30 mins
  • Tools:
    Nutdriver, Pliers, Screw drivers
143 of 150 people found this instruction helpful.
Was this instruction helpful to you?
Thank you for voting!
Fixes Symptom 15% of time
★★★★★
★★★★★
1 Review

Rated by 17 customers 


Easy 

30 - 60 mins 

Ratings submitted by customers like you who bought this part.   

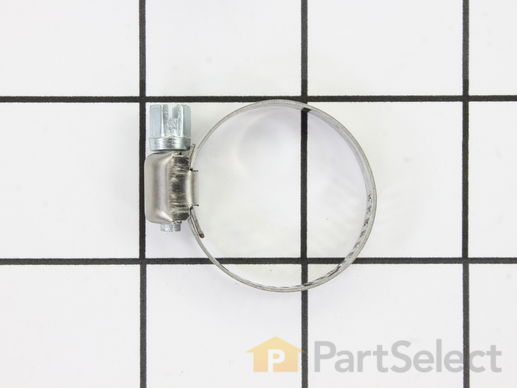
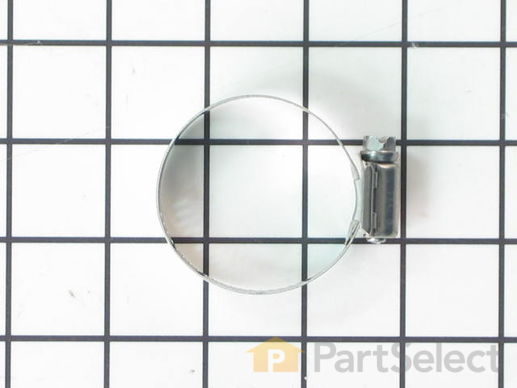
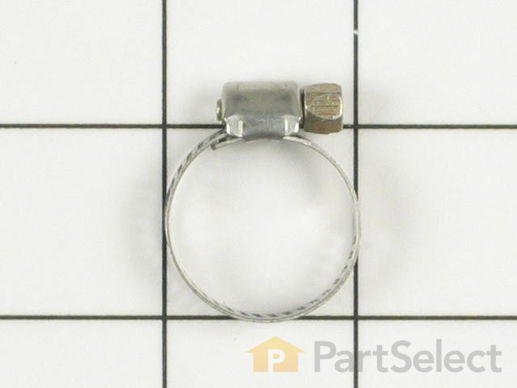
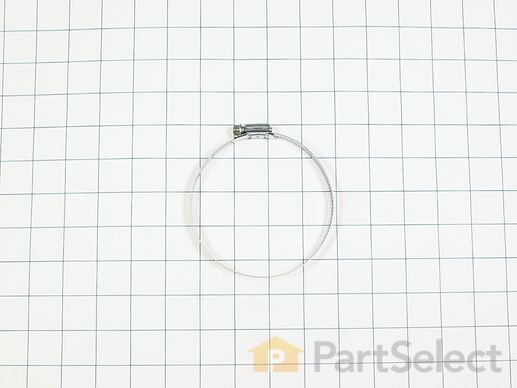
This hose clamp is used in a wide variety of household appliances. Most often it is found in washers, dishwashers, refrigerators, freezers, dehumidifiers, garbage disposals, or air conditioners. This clamp is used to securely attach a hose to another part of your appliance, which helps prevent leaks from those connections. Depending on the appliance, it can attach hoses to drain pumps, water inlet valves, pressure switches, and injector nozzles. We recommend you refer to model-specific diagrams for appropriate uses and exact placement. This hose clamp is made of metal, and is sold individually. To access and replace this part you will need a nut driver, pliers, and screwdrivers. Before you begin any repair work, make sure you have unplugged your appliance, and shut off the water supply if applicable.

$ 11.80
  In Stock
PartSelect Number PS11743008
Manufacturer Part Number WP596669

Replacing your Kenmore Washer Hose Clamp

Replacing your Hose Clamp
Fixes Symptom 10% of time
★★★★★
★★★★★
2 Reviews

Rated by 3 customers 


A Bit Difficult 

1- 2 hours 

Ratings submitted by customers like you who bought this part.   

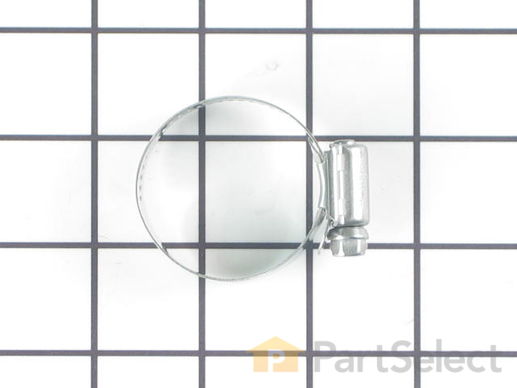
The hose clamp is used to hold the water hose in place which will prevent the hose from leaking water. Sometimes the clamp may lose its ability to latch on, causing a leaking washer. For the installation, you will need a flat head screw driver to replace the clamp and a drill to access the screws to remove the front of the washer. Be careful if you do not have specific clamp pliers as the clamp could fly off. Once the front of the washer has been removed, take a quick look for water damage or any obvious signs of where the leak is coming from. If it is not obvious, run water to test.

$ 11.10
  In Stock
PartSelect Number PS11740613
Manufacturer Part Number WP285655

Replacing your Kenmore Washer Hose Clamp

Replacing your Hose Clamp
Fixes Symptom 4% of time
★★★★★
★★★★★
2 Reviews

Rated by 16 customers 


A Bit Difficult 

More than 2 hours 

Ratings submitted by customers like you who bought this part.   

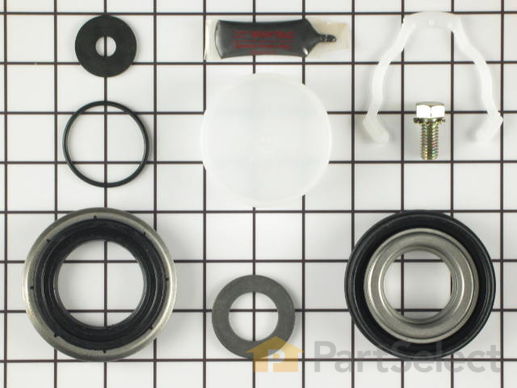
This kit comes with grease, earlier lip seal, revised lip seal, o-ring, seal tool, and washer kit. Used primarily on front load washers. NOTE: Bearing is NOT sold separately. It is only available with the outer tub assembly.

$ 143.93
  In Stock
PartSelect Number PS2003500
Manufacturer Part Number 12002022

Replacing your Maytag Washer Lip Seal Kit

Replacing your Lip Seal Kit

Customer Repair Stories

Bad bearings on inner drum

Unplug and turn off water.....Removed belt drive cover. Rolled belt off of pulley. Removed pulley from back of splined shaft. Removed front door and front panel. Removed two screws that hold top of washer down, 4 screws that hold detergent/bleach tray to top and tilted top back. Removed 4 screws that hold door seal assembly to frame. Popped clips from back of seal away from outer drum. Note locations to reinstall. Pulled small hose away from seal assembly (located at bottom of door seal. Removed door seal assembly. Removed torx screws from tumblers in inner drum to access nylock nuts that hold inner drum to spinner. Removed inner drum. Pulled spinner shaft from outter drum. Removed seal from inside outer drum where shaft passes through bearings. Knocked outside bearing out with drift from inside outer drum. Be careful no to nick/scratch bearing fit or shoulder. Go to the back of the machine and knock the inner bearing out using same method. TAKE YOUR TIME. Outer drum 600 bucks, so don't mess it up. Bearings are available at local bearing shop. NSK 6206DU and NSK 6207DU. Cleaned well and made sure that bearing fits were in good shape. Cleaned up spacer that fits between bearings. Note the way it comes out of the bearing holder (it is tapered on one end). Tapped outer race of inside and outside bearings into fits (barely) after lying the spacer between the bearings in the bearing sleeve. Used threaded rod and some washers of the proper size to pull bearings together. Tapped outer races to make sure that they were seated. Check spacer sleeve fit between inner races (hold it up in the proper location with your fingers....should be snug. Pressed new seal in per directions. Trial fit spinner into bearings/spacer. Installed pulley and belt. Note how bearing spacer and shoulders and pulley clamp inner races together so that you don't get any slip/slop/slap. Reassembled in reverse. Only problem I had was with the door latch manual releast that I accidently clamped between the bleach/detergent dispenser and lid when closing it up....had to adjust. Drank beer and bragged to wife. Been about 20 loads no....no leaks and as quiet as it was new. Took about 2 hours to take it apart and about 3 to put back together....Not a bad job. Definitely cheaper than an outer drum assembly.
  • Michael from Cache, OK
  • Difficulty Level:
    A Bit Difficult
  • Total Repair Time:
    More than 2 hours
  • Tools:
    Nutdriver, Pliers, Screw drivers, Socket set, Wrench (Adjustable), Wrench set
159 of 162 people found this instruction helpful.
Was this instruction helpful to you?
Thank you for voting!

Spinner making loud whining noise.

As Typical with this Neptune front load washer, the Water Seal fails to keep water from getting into the bearings. The bearings start to sound like a jet engine at high speed spins once the grease is washed out (nice grease splatter at the back of the cabinet). You can replace the Lip Seal but the bearings are not part of the kit. It is a waste of time to replace the seal kit if the bearings are already bad or going bad. You can't buy the bearings from here or any other appliance part store. You have to purchase a new tub in order to get new bearings, at $500+. Not worth it. I purchased the Lip Seal Kit with the intention of removing the bearings and replacing. The instructions that come with the kit explain with diagrams how to disassemble. In order to remove the spinner from the outer tub, I had to remove the whole tub, place it face down on some 2x4's and hit the spinner shaft with a hammer and block of wood to get it out of the old bearings. It came out fairly quickly. I removed the old lip seal (you can use the two access holes at the back of the outer tub to bang out the lip seal with a nail) and using a hammer and screwdriver, banged out the front bearing in the outer tub from the back and through the back bearing. This took a little while of moving around the bearing edge and tapping out, especially since there is a pipe spacer between the 2 bearings. It can be moved partly out of the way. The spacer will fall out with the front bearing. I then removed the C-clip that holds in the back bearing and banged out using the same method as the front bearing but from the inside. It too took a lot of tapping around the edges due to lots of corrosion. Once I had the bearings out, I looked up the make and model printed on the covers. Order using a DDU designation which is a rubber seal on both sides, like originals. I cleaned up the bearing mounting surfaces using a dremel tool and wire brush attachment. Make sure you get the metal free of any contamination. Use grit paper if necessary. I also sanded down the spinner shaft and got the spindle nice and shiny. I inserted the larger front bearing first (use a little grease on outside edge), it was a very tight fit and had to tap in using a hammer and metal rod. Make sure it is all the way in. Install the new seal kit (mine was the crummy original design, not the revised one). With the spinner tub on the floor shaft up on some 2x4's (light coating of grease on shaft), place the outer tub over the spinner with the shaft inserting through the new bearing and out the back. The shaft isn't an interference fit with the front bearing so it should slide in easily. WIth the shaft fully inserted, install the pipe spacer (cleaned up) then place the back bearing (outside edge greased) over the shaft and into the outer tub. This is an interference fit and will have to be tapped into place. It also was a tight fit into the tub. WIth it part of the way into the tub, I installed the belt pulley and tightened it down using a longer bolt than supplied, and this pushed the bearing the rest of the way in. I then installed the the C-ring. Not sure why the C-ring is needed with the bearing being such a tight fit. I installed the tub assembly back into the washing machine cabinet and installed the pulley and belt.. After reassembling the complete washer (after much cleaning of dust and soap scum, etc) I ran the unit once with no clothes to make sure any contaminates (grease, etc) where washed out first. So far so good, nice and quiet. If it last me another 5-10 years I will be happy. It will fail again for the same reason since I had to use the same lame seal kit and didn't have the revised version un
  • Richard from Greenville, NH
  • Difficulty Level:
    A Bit Difficult
  • Total Repair Time:
    More than 2 hours
  • Tools:
    Nutdriver, Pliers, Screw drivers, Socket set, Wrench (Adjustable), Wrench set
322 of 345 people found this instruction helpful.
Was this instruction helpful to you?
Thank you for voting!
Fixes Symptom 3% of time
★★★★★
★★★★★
1 Review

Rated by 4 customers 


Easy 

15 - 30 mins 

Ratings submitted by customers like you who bought this part.   

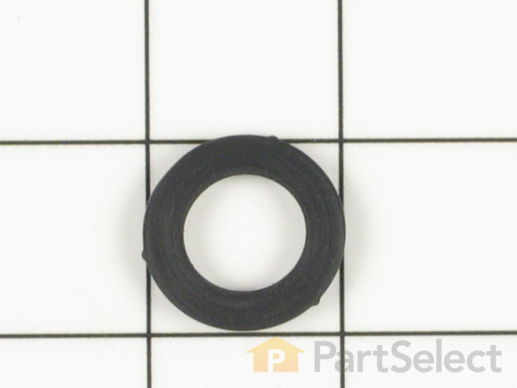
This inlet hose washer, also known as a high pressure inlet hose washer, is used in washing machines, refrigerators, freezers, and dishwashers. The function of this part is to create a watertight seal in the appliance. If your gasket gets dry and brittle over time it will start to crack and will lose its function. In this case, it is important to replace it. Refer to the manual provided by the manufacturer for further installation instructions and accurate guidance. As a safety precaution, remember to unplug your washer from the power source before beginning.

$ 8.00
  In Stock
PartSelect Number PS11757437
Manufacturer Part Number WPY013783
Fixes Symptom 3% of time
★★★★★
★★★★★
3 Reviews

Rated by 3 customers 


Easy 

30 - 60 mins 

Ratings submitted by customers like you who bought this part.   

$ 36.54
  Special Order
PartSelect Number PS11739421
Manufacturer Part Number WP22003262

Replacing your Maytag Washer Tub to Pump Hose

Replacing your Tub to Pump Hose

Customer Repair Stories

leaking water

removed one panel and front door to access under tub.leak solved!!!! thanks
  • richard from amston, CT
  • Difficulty Level:
    Easy
  • Total Repair Time:
    Less than 15 mins
  • Tools:
    Socket set
2 of 5 people found this instruction helpful.
Was this instruction helpful to you?
Thank you for voting!

leaking water

Opened a small door in the rear of the washer and loosen the two braces with a screw driver and pulled the old hose and replaced with the new hose replace the door and that was all.
  • JOSE from HACIENDA HEIGHTS, CA
  • Difficulty Level:
    Really Easy
  • Total Repair Time:
    Less than 15 mins
  • Tools:
    Screw drivers
7 of 7 people found this instruction helpful.
Was this instruction helpful to you?
Thank you for voting!
Fixes Symptom 2% of time

Rated by 4 customers 


Easy 

30 - 60 mins 

Ratings submitted by customers like you who bought this part.   

Note: This part has been updated by the manufacturer. It may appear different but will still function the same as the original. The hose clamp is about 2 inches in diameter and made of stainless steel. A hose clamp generally attaches hoses and tubes to various equipment This part consists of a band and a screw that tightens along the slots when it is turned. This part works with washers, dishwashers, food waste disposers, and ice makers. This will need to be replaced if you notice leaking coming from the appliance.

$ 9.81
  Special Order
PartSelect Number PS11743289
Manufacturer Part Number WP616099
Fixes Symptom 2% of time

Rated by 2 customers 


Really Easy 

30 - 60 mins 

Ratings submitted by customers like you who bought this part.   

This part may differ in appearance, but still functions same as original.

$ 46.59
  In Stock
PartSelect Number PS11739534
Manufacturer Part Number WP22004477

Customer Repair Stories

Increasing water leak

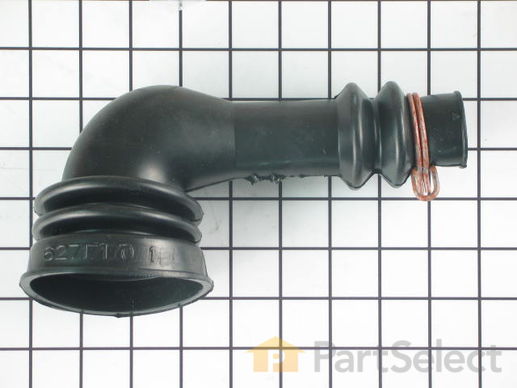
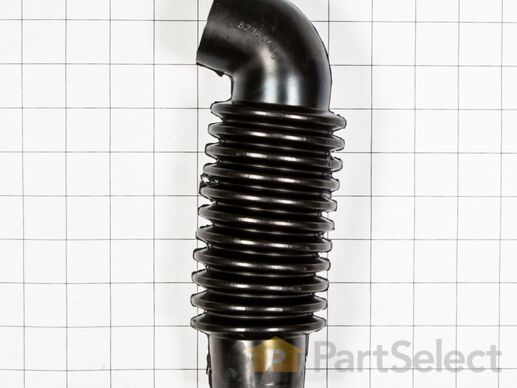
The machine had the old style boot drain hose with built-in bellows. The constant flexing of this tube caused a small crack in one of the bellows that gradually increased in size over time, causing water to leak into the bottom front part of the machine. Repair accomplished by removing the door (crosspoint screws), the retangular panel above the apron over the door, the apron above the door (5/16 socket), and the front lower panel (crosspoint screws). Pliers used to open the spring hose clamps, old leaky tube removed (re-use the rubber clearance washer that is on the tube). New tube installed easily, then panels reinstalled. 10 minutes total.
  • James from Scotts Valley, CA
  • Difficulty Level:
    Easy
  • Total Repair Time:
    Less than 15 mins
  • Tools:
    Pliers, Screw drivers, Socket set
Was this instruction helpful to you?
Thank you for voting!
9 Clamp
Fixes Symptom 2% of time

Rated by 2 customers 


Really Easy 

1- 2 hours 

Ratings submitted by customers like you who bought this part.   

This clamp is sold individually.

$ 7.43
  In Stock
PartSelect Number PS11742760
Manufacturer Part Number WP489503
Fixes Symptom 1% of time

Rated by 3 customers 


A Bit Difficult 

1- 2 hours 

Ratings submitted by customers like you who bought this part.   

$ 32.50
  In Stock
PartSelect Number PS11739329
Manufacturer Part Number WP22002077

Customer Repair Stories

leaking water at the seal between the drum and door assembly

I took the door off, front panel, soap dispenser(to lift the top out of the way)and took off the cross braces on the front of the machine. I pealed the door bellows off and took the drain hose apart; there was much gunk and debris to clean out...maybe something here was clogged? Removed all the snap clips and took the front of the tub off;the tub seal seemed good, but lots of grime/gunk build up.I cleaned all surfaces, put the new tub seal on,and put it all back togther. The hardest part was working the snap clips back on; I worked a few on both sides, top and bottom, and then filled in the rest. The machine has been working fine for a month now, no leaks:)
  • max from antioch, IL
  • Difficulty Level:
    Easy
  • Total Repair Time:
    1- 2 hours
  • Tools:
    Pliers, Screw drivers, Socket set
6 of 12 people found this instruction helpful.
Was this instruction helpful to you?
Thank you for voting!
Fixes Symptom 1% of time
★★★★★
★★★★★
1 Review

Rated by 3 customers 


Easy 

15 - 30 mins 

Ratings submitted by customers like you who bought this part.   

$ 183.36
  Special Order
PartSelect Number PS2020827
Manufacturer Part Number 22003083

Customer Repair Stories

inner panel of washer door had been damaged/worn through

removed phillips headed screws from sides (hinge on one side) and bottome of door, placed door flat on counter top. Removed interior vent, disassembled the door latching mechanism - somewhat difficult to figure out because needed to undo snapped in parts (used flat screwdriver to pry). Then removed inner panel from door, placed new inner panel into door interior, reassembled door latch mechaninsm, replaced vent tube. screwed in phillips head screws to bottom and non-hinged side of door. Brought door back over to machine and attached hinges to door.
  • anthony from SAINT CHARLES, MO
  • Difficulty Level:
    Really Easy
  • Total Repair Time:
    30 - 60 mins
  • Tools:
    Pliers, Screw drivers
1 person found this instruction helpful.
Was this instruction helpful to you?
Thank you for voting!

Washed a stroller seat w/ a semi hard plastic back and it wore a large friction hole in the door liner.

First I removed the door itself from the unit by taking out 2 screws and lifting the door slightly so that the hinges can slide out of their slots. I then preceded to remove the liner assembly from the door. Once all the screws where removed I separated the liner from the door and continued to remove the additional hardware from the damaged liner and transfered it to the new one. I paid close attention to how items were removed but other than the hinges, all other items can only fit one way. The liner was then replaced and the door put back on the unit. Pay close attention to the door hinges, reattaching them wrong won't allow the door to line up or close properly.
  • Mike from Kissimmee, FL
  • Difficulty Level:
    Easy
  • Total Repair Time:
    15 - 30 mins
  • Tools:
    Screw drivers
6 of 6 people found this instruction helpful.
Was this instruction helpful to you?
Thank you for voting!
Fixes Symptom 1% of time
★★★★★
★★★★★
1 Review

Rated by 20 customers 


Really Easy 

15 - 30 mins 

Ratings submitted by customers like you who bought this part.   

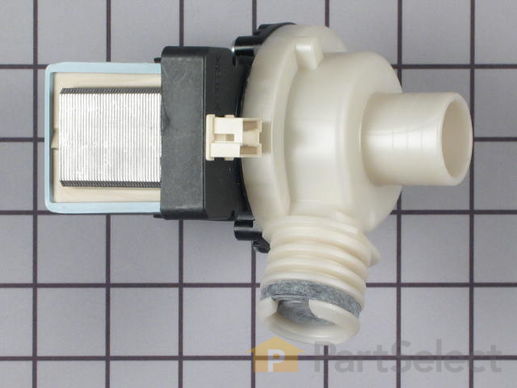
This remote style pump and motor assembly with check valve is used for some washing machines. The motor attached to this pump carries 120 volts and 60 hertz.

$ 145.35
  In Stock
PartSelect Number PS11739411
Manufacturer Part Number WP22003059

Replacing your Maytag Washer Remote Style Pump with Motor - 120V 80W

Replacing your Remote Style Pump with Motor - 120V 80W

Customer Repair Stories

change stuck in drain pump, damaged the motor

just replaces the pump , the replacement pump was a little different than OE , mounting bracket different but was able to remove housing and bracket from broke pump and put on new pump , all works fine
  • gordon from indianapolis, IN
  • Difficulty Level:
    Really Easy
  • Total Repair Time:
    Less than 15 mins
  • Tools:
    Pliers, Screw drivers
7 of 8 people found this instruction helpful.
Was this instruction helpful to you?
Thank you for voting!

Washer not draining

Unplug washer, turn off water, disconnect supply hoses.
Drain washer by removing the one screw holding the hose on the bottom rear of the washer, drop the hose to the floor and let it drain (you may want to take washer outside)
Remove four screws holding rear panel
Locate the pump and disconnect the two wires. Wires can be attached to either terminal when reinstalling, orientation is not important.
Using 5/16 driver, loosen the hose clamps on the inlet and outlet pump hoses then remove hoses from pump.
Twist the pump counter clockwise then pull straight up to remove.
  • Timothy from Bremerton, WA
  • Difficulty Level:
    Easy
  • Total Repair Time:
    30 - 60 mins
  • Tools:
    Nutdriver, Screw drivers
65 of 68 people found this instruction helpful.
Was this instruction helpful to you?
Thank you for voting!
13 Clamp
Fixes Symptom 1% of time

Rated by 1 customer 


Easy 

15 - 30 mins 

Ratings submitted by customers like you who bought this part.   

This screw-type clamp, also known as a hose clamp, is made of metal and is used within various models of washers to secure the tub-to-pump hose and tub/drum of the washer. Without this clamp, the hose is vulnerable to leaking and disconnecting from the tub during the wash cycle of the washer, which can present a serious safety hazard for the machine and your home. Clamps can wear out and lose their tension due to excessive vibrations, mechanical damage, and normal wear and tear, all things present within a washing machine. To replace this clamp, you will first need to turn off your washer and you will need access to the lower portion of the washer chassis, which may require one or multiple screwdrivers and wrenches. Once you have access, use your screwdriver to loosen this clamp, which can then be removed and replaced with the new clamp, which will need to be tightened securely. Then you can simply reassemble the rest of the washer you originally disassembled.

$ 7.29
  In Stock
PartSelect Number PS11743796
Manufacturer Part Number WP696392
Fixes Symptom 1% of time
★★★★★
★★★★★
1 Review

Rated by 2 customers 


Easy 

30 - 60 mins 

Ratings submitted by customers like you who bought this part.   

$ 39.91
  On Order
PartSelect Number PS11739415
Manufacturer Part Number WP22003075
Fixes Symptom 1% of time

Rated by 1 customer 


Easy 

30 - 60 mins 

Ratings submitted by customers like you who bought this part.   

$ 21.32
  On Order
PartSelect Number PS11739331
Manufacturer Part Number WP22002099
Fixes Symptom 1% of time
★★★★★
★★★★★
1 Review

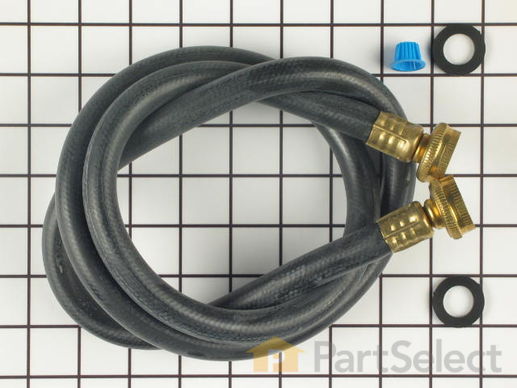
This hose is almost 5 feet long and now comes with the washers for proper installation. It is used to bring water into your washer for the cycles.

$ 43.96
  In Stock
PartSelect Number PS2016880
Manufacturer Part Number 202860
Fixes Symptom 1% of time

Rated by 1 customer 


Really Easy 

30 - 60 mins 

Ratings submitted by customers like you who bought this part.   

$ 87.74
  In Stock
PartSelect Number PS11739330
Manufacturer Part Number WP22002083

Customer Repair Stories

water leaking around washer

First ya have to find the problem that takes time.
Pulled the front off via the four screws, two on the door and two on the opp side. Removed the two top hold down brackets that hold the top on (on the front), popped out the four screws for the detergent and the top hinged up, The hose was right there. Removed the two hose clamps, found the crack ordered if from you guys.(very fast) slapped it in and put a load in.
  • Dennis from Bethel, CT
  • Difficulty Level:
    Really Easy
  • Total Repair Time:
    30 - 60 mins
  • Tools:
    Nutdriver, Screw drivers
5 of 6 people found this instruction helpful.
Was this instruction helpful to you?
Thank you for voting!