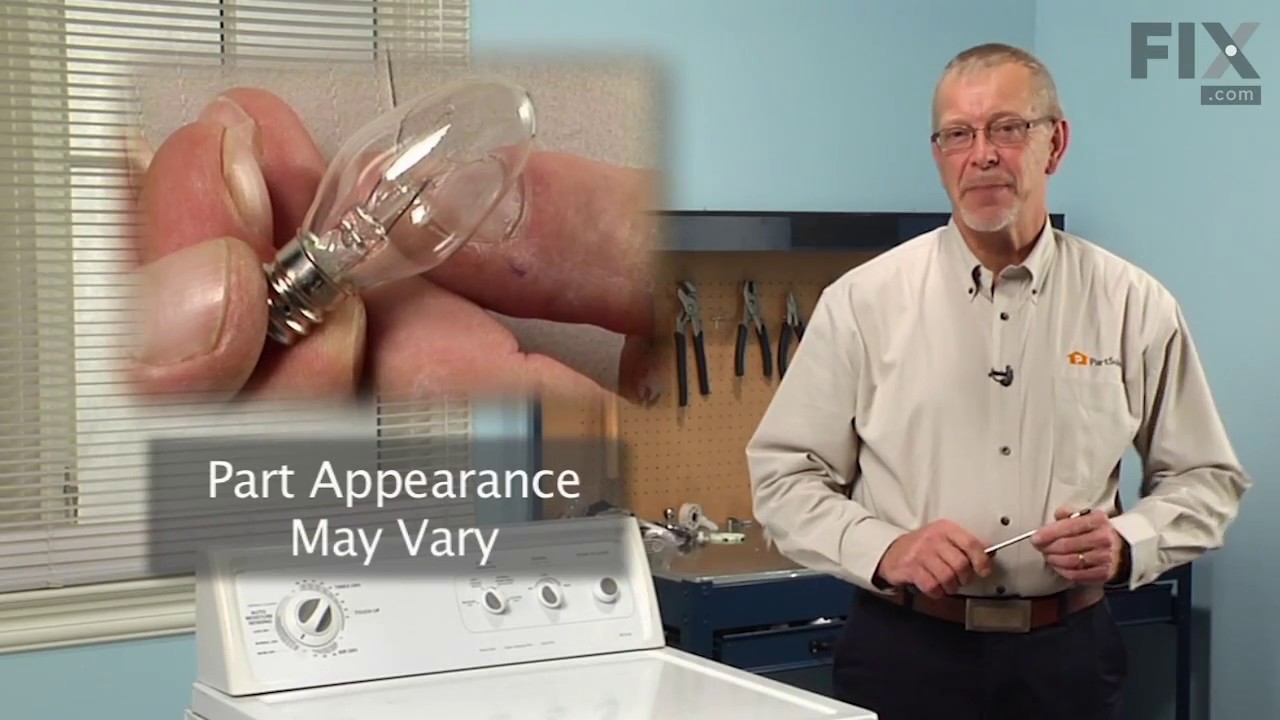
This 10-watt clear incandescent light bulb is designed to provide reliable interior illumination for household appliances such as dryers and refrigerators. Measuring approximately 2 inches in length, it fits securely into standard appliance sockets and activates when the appliance door is opened, offering clear visibility inside the drum ...Read moreor compartment. The bulb is suitable for use in a wide range of models across multiple appliance brands and is engineered to deliver consistent performance and durability. Installation is straightforward—simply screw the bulb into the designated socket within the appliance. Ensure the appliance is powered off before installation to maintain safety.
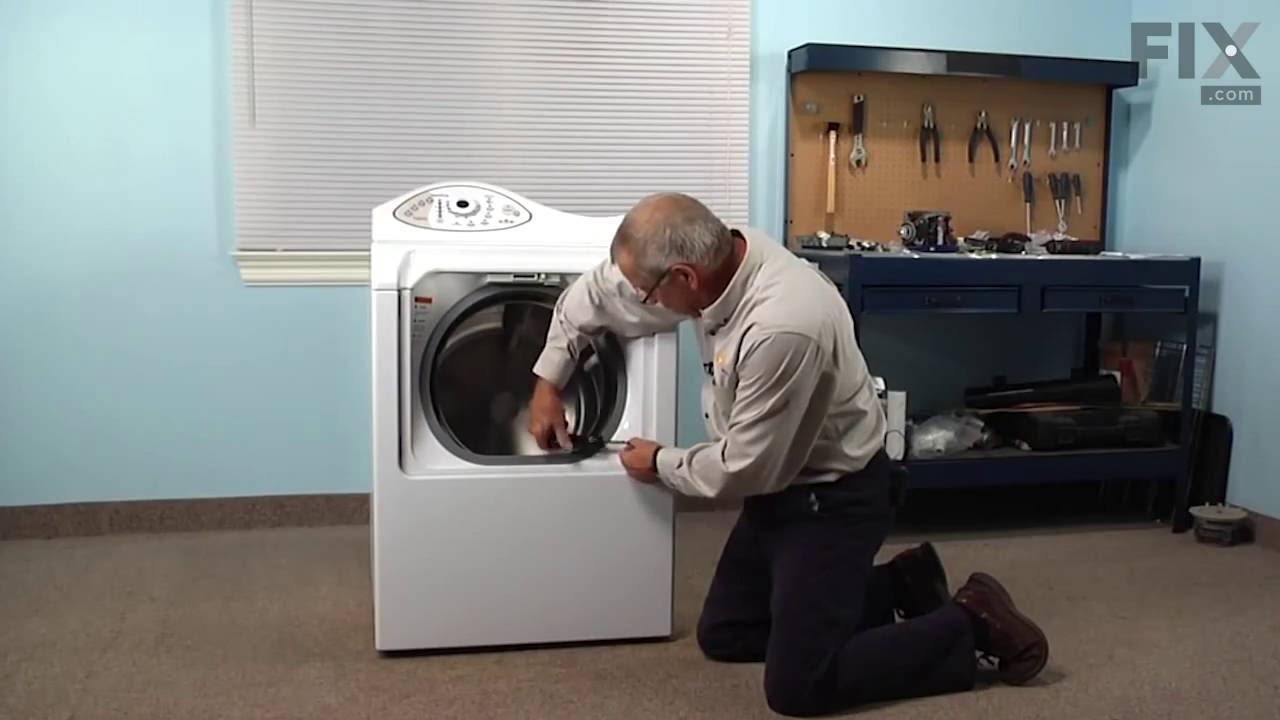
Also known as the door boot seal. This part includes the drain and plug. The seal is located around the door of the washer to prevent water from leaking.
This hose clamp is used in a wide variety of household appliances. Most often it is found in washers, dishwashers, refrigerators, freezers, dehumidifiers, garbage disposals, or air conditioners. This clamp is used to securely attach a hose to another part of your appliance, which helps prevent leaks from those connections. Depending on th...Read moree appliance, it can attach hoses to drain pumps, water inlet valves, pressure switches, and injector nozzles. We recommend you refer to model-specific diagrams for appropriate uses and exact placement. This hose clamp is made of metal, and is sold individually. To access and replace this part you will need a nut driver, pliers, and screwdrivers. Before you begin any repair work, make sure you have unplugged your appliance, and shut off the water supply if applicable.
The leveling leg pad or foot pad fits over the leveling leg on your washing machine. The foot pad is designed to protect your floor and keep the washing machine level and in place. This foot pad is just over an inch in diameter. It is made entirely of rubber and is gray in color. This pad is intended for use with washers and some dryers. ...Read moreMany of our customers have rated this repair as very easy. To complete the repair, turn the old leg counter clockwise to remove it. Then, simply remove the old pad and replace it with the new one. Finally, re-attach the leg by turning clockwise. Ensure that the washer is level, and adjust the leg accordingly if it is not.
This genuine lip seal kit is designed for front-loading washing machines and serves as a critical component in maintaining a watertight seal around the spinner shaft between the spin basket and the outer tub. By preventing water leakage, it helps preserve the integrity of the drum assembly and ensures efficient washer performance. The kit...Read more includes an earlier and revised lip seal, grease, an O-ring, a seal tool, a washer kit, and installation instructions. Compatible with select models from Whirlpool, Maytag, KitchenAid, and related brands, this OEM kit is commonly used during drum rebuilds to restore proper sealing and reduce the risk of water damage. Installation requires disassembly of the tub and careful application of the included components.
The short dispenser door retaining pin latches your washing machine door to the hinge. If you find that your washing machine will not dispense detergent, or the lid will not latch properly, you may need to replace the short dispenser door retaining pin. This pin is less than one inch in diameter, and is the shorter of the two hinge pins. ...Read moreTo find the larger hinge pin, search WP6-912678. This part is cylindrical and is made of metal. The short dispenser door retaining pin is sold individually. This is an OEM part sourced directly from the manufacturer.
This kit contains a flat drive belt, two motor isolators, and an instructions sheet. The drive belt is made to slip on the pulley until the basket gets up the desired speed.
Ask our experts a question about this model and we'll get back to you as soon as possible!
We may have answered a similar question already! Search questions and answers left by others using simple keywords like "fit", "broken", "easy", or "quality" to find questions that match.
Search filter:
Clear Filter
Your search term must have 3 or more characters.
Sort by:
Prev
1
Next
Sorry, we couldn't find any existing answers that matched.Try using some different or simpler keywords, or submit your new question by using the "Ask a Question" button above!
Leslie - For model number MAH3000AWW
December 16, 2019
My washer stops midcycle ,usually at the spin cycle. But not everytime. Would this be thebest controlof panel?
Hello Leslie and thanks for writing.
It certainly sounds like a faulty control board PS11739406 check the part and replace it if needed. We hope this helps. Please contact us anytime.
All the wash cycles work except the spin cycle. The tub spins and drains but does not extract water from clothes.
Hello Michael, Thank you for the question. This sounds like it might not be spinning fast enough to spin the water from the clothes. We suggest checking the Belt PartSelect Number PS2003327 for wear. We hope this helps.
Hello Thomas, thank you for contacting us. The compatible drain pump for this model is part number PS11739411. If you need help placing an order, customer service is open 7 days a week!
My washer belt came off. How do i replace the belt on the pulley and drive sprocket?
Hello Ted, thank you for your question. The Belt is part PS2003327. This kit contains a flat drive belt, two motor isolators, and an instructions sheet. The Pulley is part PS2020240. We have a video for you to access. If you need help placing an order, customer service is open 7 days a week. Please feel free to give us a call. We look forward to hearing from you.
See how others fixed this model. Time, tools, difficulty, and steps that lead to victory!View More
Search repair tips from other customers using simple keywords like "replace", "fit", "remove", "inspect". DIY doesn't mean you have to do it alone!
Search filter:
Clear Filter
Your search term must have 3 or more characters.
Spinner making loud whining noise.
328 of 351 peoplefound this instruction helpful.
Richard from Greenville, NH
A Bit Difficult
More than 2 hours
Nutdriver, Pliers, Screw drivers, Socket set, Wrench (Adjustable), Wrench set
As Typical with this Neptune front load washer, the Water Seal fails to keep water from getting into the bearings. The bearings start to sound like a jet engine at high speed spins once the grease is washed out (nice grease splatter at the back of the cabinet). You can replace the Lip Seal but the bearings are not part of the kit. It i
... Read mores a waste of time to replace the seal kit if the bearings are already bad or going bad. You can't buy the bearings from here or any other appliance part store. You have to purchase a new tub in order to get new bearings, at $500+. Not worth it. I purchased the Lip Seal Kit with the intention of removing the bearings and replacing. The instructions that come with the kit explain with diagrams how to disassemble. In order to remove the spinner from the outer tub, I had to remove the whole tub, place it face down on some 2x4's and hit the spinner shaft with a hammer and block of wood to get it out of the old bearings. It came out fairly quickly. I removed the old lip seal (you can use the two access holes at the back of the outer tub to bang out the lip seal with a nail) and using a hammer and screwdriver, banged out the front bearing in the outer tub from the back and through the back bearing. This took a little while of moving around the bearing edge and tapping out, especially since there is a pipe spacer between the 2 bearings. It can be moved partly out of the way. The spacer will fall out with the front bearing. I then removed the C-clip that holds in the back bearing and banged out using the same method as the front bearing but from the inside. It too took a lot of tapping around the edges due to lots of corrosion. Once I had the bearings out, I looked up the make and model printed on the covers. Order using a DDU designation which is a rubber seal on both sides, like originals. I cleaned up the bearing mounting surfaces using a dremel tool and wire brush attachment. Make sure you get the metal free of any contamination. Use grit paper if necessary. I also sanded down the spinner shaft and got the spindle nice and shiny. I inserted the larger front bearing first (use a little grease on outside edge), it was a very tight fit and had to tap in using a hammer and metal rod. Make sure it is all the way in. Install the new seal kit (mine was the crummy original design, not the revised one). With the spinner tub on the floor shaft up on some 2x4's (light coating of grease on shaft), place the outer tub over the spinner with the shaft inserting through the new bearing and out the back. The shaft isn't an interference fit with the front bearing so it should slide in easily. WIth the shaft fully inserted, install the pipe spacer (cleaned up) then place the back bearing (outside edge greased) over the shaft and into the outer tub. This is an interference fit and will have to be tapped into place. It also was a tight fit into the tub. WIth it part of the way into the tub, I installed the belt pulley and tightened it down using a longer bolt than supplied, and this pushed the bearing the rest of the way in. I then installed the the C-ring. Not sure why the C-ring is needed with the bearing being such a tight fit. I installed the tub assembly back into the washing machine cabinet and installed the pulley and belt.. After reassembling the complete washer (after much cleaning of dust and soap scum, etc) I ran the unit once with no clothes to make sure any contaminates (grease, etc) where washed out first. So far so good, nice and quiet. If it last me another 5-10 years I will be happy. It will fail again for the same reason since I had to use the same lame seal kit and didn't have the revised version un
Read less
Was this helpful?
Thank you for voting!
Bad bearings on inner drum
163 of 166 peoplefound this instruction helpful.
Michael from Cache, OK
A Bit Difficult
More than 2 hours
Nutdriver, Pliers, Screw drivers, Socket set, Wrench (Adjustable), Wrench set
Unplug and turn off water.....Removed belt drive cover. Rolled belt off of pulley. Removed pulley from back of splined shaft. Removed front door and front panel. Removed two screws that hold top of washer down, 4 screws that hold detergent/bleach tray to top and tilted top back. Removed 4 screws that hold door seal assembly to frame
... Read more. Popped clips from back of seal away from outer drum. Note locations to reinstall. Pulled small hose away from seal assembly (located at bottom of door seal. Removed door seal assembly. Removed torx screws from tumblers in inner drum to access nylock nuts that hold inner drum to spinner. Removed inner drum. Pulled spinner shaft from outter drum. Removed seal from inside outer drum where shaft passes through bearings. Knocked outside bearing out with drift from inside outer drum. Be careful no to nick/scratch bearing fit or shoulder. Go to the back of the machine and knock the inner bearing out using same method. TAKE YOUR TIME. Outer drum 600 bucks, so don't mess it up. Bearings are available at local bearing shop. NSK 6206DU and NSK 6207DU. Cleaned well and made sure that bearing fits were in good shape. Cleaned up spacer that fits between bearings. Note the way it comes out of the bearing holder (it is tapered on one end). Tapped outer race of inside and outside bearings into fits (barely) after lying the spacer between the bearings in the bearing sleeve. Used threaded rod and some washers of the proper size to pull bearings together. Tapped outer races to make sure that they were seated. Check spacer sleeve fit between inner races (hold it up in the proper location with your fingers....should be snug. Pressed new seal in per directions. Trial fit spinner into bearings/spacer. Installed pulley and belt. Note how bearing spacer and shoulders and pulley clamp inner races together so that you don't get any slip/slop/slap. Reassembled in reverse. Only problem I had was with the door latch manual releast that I accidently clamped between the bleach/detergent dispenser and lid when closing it up....had to adjust. Drank beer and bragged to wife. Been about 20 loads no....no leaks and as quiet as it was new. Took about 2 hours to take it apart and about 3 to put back together....Not a bad job. Definitely cheaper than an outer drum assembly.
Read less
Was this helpful?
Thank you for voting!
Leak from Door boot
144 of 152 peoplefound this instruction helpful.
Sirish from Thorndale, PA
Easy
15 - 30 mins
Nutdriver, Pliers, Screw drivers
My washer was leaking when i opened the front panel to check i found that the water was leaking from door boot which had gashes in it. the task was real easy. and took me 30 minutes to fix it, this was my first time repairing any appliance and i found real easy to do. here are the steps i took: 1. unscrew 2 door screws and the 2 sc
... Read morerews opposite to them on the other side (on right if you are facing the washer) 2. take door out by lifting it slightly and then pulling it out. 3. hold front panel from both sides and then push in and twist outward this willl diengage front panel from the hooks on side. 4. tilt front panel towards you about 40 deg. adn pull it up. 5. to take top out, first remove all 4 screws from soap dispenser and take the dispenser out (just pull up after unscrewing) 6. unscrew the electrical unit (where bulb is) in front top by taking out the 2 nuts Note: you must take out left most socket/coupler by pulling it before unscrewing the left nut that will give space for your wrench. 7. In the front corner the Top is bolted to side frame bars you will have to look under top corner and you will see 1 nut on each side, unscrew those nuts and the lift the top ( if you have enough space (about a foot) behind the washer the Top ca n actually go all the way back and rest on wall.) 8. from top view you will see a spring and metal wire system holding your boot, notice the spring position, spring has 2 hooks on each side, with needle nose pliers pull on the spring hook and have someone else disengage wire from spring hook. ( when it is time to put the wire back on the new boot just follow the same thing) 9. once wire is out take the boot out by pulling it from all directions. note: you may still have water in the washer system so before you take the boot out be ready with a bucket to catch it write under the boot plug. 10. your boot is still connected to washer withe the plug at the bottom. with help from needle plier press on clamp and pull plug out. note: if you see water flowing out from drain pipe (where the boot plug goes in try to keep it up to lwer the level of water that will stop the water flowing out (i took help from my 6 year old daughter for this job) now your old boot is out, trash it.:) 11. put the new boot the lip of drum and put the wire back on (again i enlisted my wife and my daughter to keep the wire in place, you cannot do it alone. with 3 of us putting wire was a breeze. put the spring back at the exact same place and with exact orientation. Note: when you start to put wire and new boot on washer drum lip make sure the tiny cuts/slots on the boot slip into the the notches on washer lip other you will have leak from these spaces. 12.now rest is all easy. attach the drain plug back on and then push the tabs of boot into the frontto secure it. 13. put all the thing that you took out in the same order all the way to door and you are ready to go NOTE: i did not front panel back on for couple of days to make sure there i no other leak and also to make sue that boot is not leaking.




 My Orders