Parts That Fix KitchenAid Range KSGG700ESS0 Little to no heat when baking
Little to no heat when baking is a commonly reported symptom for the KSGG700ESS0 KitchenAid Range, and we have put together a full guide on how to fix this. This advice is based on feedback from people who own this exact appliance. We have listed the most common parts for your KSGG700ESS0 KitchenAid Range that will fix Little to no heat when baking. We have included repair instructions, and helpful step-by-step video tutorials. If you are experiencing this issue, not to worry, DIYers just like you have fixed this, and shared their experience to help you!
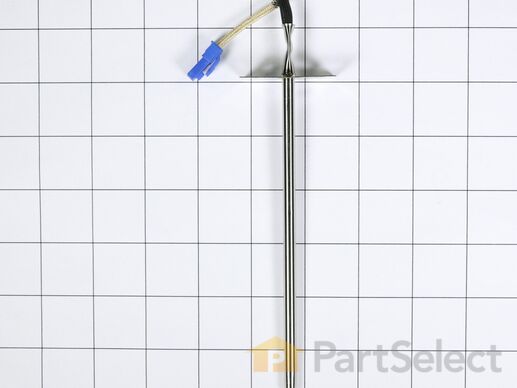
This is a manufacturer-made oven temperature sensor for various models of range. This sensor is designed to accurately detect the internal temperature of your oven and communicate with the control board to control the level of heat inside of it. Over time and through extended exposure to hot temperatures, this sensor can fail and cause your oven to have issues heating or staying at a consistent heat level, at which point it needs to be replaced. This sensor features a wire harness to connect to the control board of the oven, as well as two mounting screws to install it. Replacing this sensor is easy and only requires a screwdriver to unthread it from the lower portion of your oven. This sensor is sold on its own, and does not come with any other necessary parts, like its securing screws.
Customer Repair Stories
Oven temperature was WAY off, sometimes 50 degrees.
The only remotely challenging part was disconnecting the old sensor. I had to figure out where to pres ... Read more s with the flat screwdriver to get it to release.
I had found a good YouTube video and didn't use the app.
-
Sarah from Raleigh, NC
-
Difficulty Level:Really Easy
-
Total Repair Time:15 - 30 mins
-
Tools:Screw drivers
Customer Repair Stories
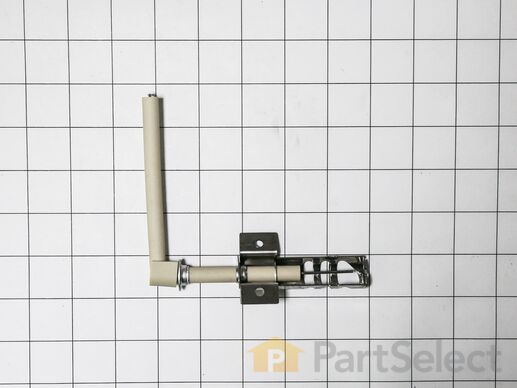
Ignoter gave out
-
Michael from CHICAGO, IL
-
Difficulty Level:Really Easy
-
Total Repair Time:15 - 30 mins
-
Tools:Screw drivers
Faulty ignitor
-
Mark from HOLLAND, MI
-
Difficulty Level:Very Easy
-
Total Repair Time:15 - 30 mins
-
Tools:Screw drivers, Socket set


