Models > JVM1540DM5WW > Symptoms > No heat

Parts That Fix General Electric Microwave JVM1540DM5WW No heat

No heat is a commonly reported symptom for the JVM1540DM5WW General Electric Microwave, and we have put together a full guide on how to fix this. This advice is based on feedback from people who own this exact appliance. We have listed the most common parts for your JVM1540DM5WW General Electric Microwave that will fix No heat. We have included repair instructions, and helpful step-by-step video tutorials. If you are experiencing this issue, not to worry, DIYers just like you have fixed this, and shared their experience to help you!

Fixes Symptom 65% of time
★★★★★
★★★★★
4 Reviews

Rated by 6 customers 


Easy 

30 - 60 mins 

Ratings submitted by customers like you who bought this part.   

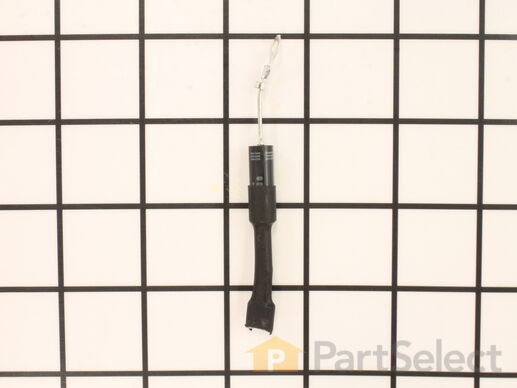
This part is the replacement high-voltage diode for your microwave. It is approximately 3 inches long and is sold individually. The high voltage diode is an electrical current control device inside your microwave. Be sure to disconnect power to the microwave, and use extreme caution when completing this repair, as microwaves can still retain an electrical charge even when unplugged. This part is an authentic OEM part sourced directly from the manufacturer.

$ 8.54
  In Stock
PartSelect Number PS16219547
Manufacturer Part Number WB27X35382

Customer Repair Stories

Microwave not heating.

Followed the instructions on your website and a YouTube video. The diode was at a 90 degree angle which made it a little trickier. Unfortunately the repair did not resolve the problem. I ended up buying a new microwave for temporary use for less than ordering any more parts. We are pleased with your website, instructions, ease of installation though!
  • Seven from MOUNT AIRY, MD
  • Difficulty Level:
    Easy
  • Total Repair Time:
    15 - 30 mins
  • Tools:
    Screw drivers
5 of 5 people found this instruction helpful.
Was this instruction helpful to you?
Thank you for voting!

Microwave made loud buzz noise and did not heat

I followed the generic trouble shooting directions on the web site. It suggested either diode, capacitor and/or magnetron. I test each. All tested OK except diode. It was supposed to measure open in one direction and appox 200k ohms in the other direction. My diode measured open in both directions (tried multiple times, multiple settings). I replaced the diode. The order process was great and it shipped immediately. I knew I was in trouble when I measured the new diode and it too was open in both directions. It was easy to install but unfortunately no joy - did not solve the problem. At this point it is likely cheaper just to buy a new one
  • Gregg from Santa Ana, CA
  • Difficulty Level:
    Really Easy
  • Total Repair Time:
    Less than 15 mins
  • Tools:
    Screw drivers
39 of 66 people found this instruction helpful.
Was this instruction helpful to you?
Thank you for voting!
Fixes Symptom 20% of time
★★★★★
★★★★★
11 Reviews

Rated by 8 customers 


Really Easy 

30 - 60 mins 

Ratings submitted by customers like you who bought this part.   

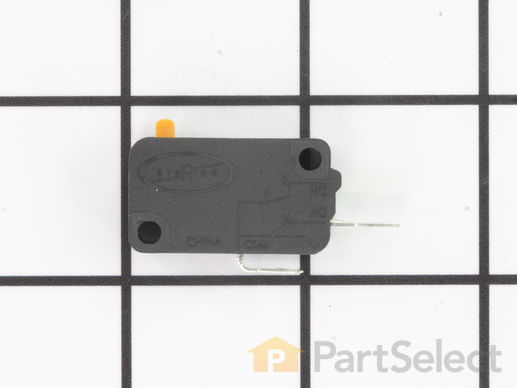
This is a replacement primary interlock door switch for your microwave. When the door is latched properly, the switch is actuated, and the microwave will operate. If your microwave will not start when the door is latched, you could have a faulty switch. The switch is black in color and has two metal terminals. It is approximately 1 inch long and ½ an inch wide. This part is sold individually and is an OEM part sourced directly from the manufacturer.

$ 15.68
  In Stock
PartSelect Number PS2370055
Manufacturer Part Number WB24X10180

Customer Repair Stories

Bad interlock switch

Took off vent cover and front panel, replaced switches.
  • Dan from STRONGSVILLE, OH
  • Difficulty Level:
    Easy
  • Total Repair Time:
    30 - 60 mins
  • Tools:
    Screw drivers
3 of 3 people found this instruction helpful.
Was this instruction helpful to you?
Thank you for voting!

Turntable did not rotate and food did not heat up

Suspected door switch after researching on You tube. (There are three of them). Ordered top switch and removed top vent panel and control panel to gain access. Saw that there were burn marks on the switch where the wire connected to it. Be careful when removing the old switch and installing new as it snaps in and it takes some finesse so you don't break off the retention tabs.....This is the second time I fixed this oven...The first time the door latch spring hook broke so I drilled a small hole to attach the spring into.
  • Rich from DES PLAINES, IL
  • Difficulty Level:
    Easy
  • Total Repair Time:
    30 - 60 mins
  • Tools:
    Screw drivers
6 of 6 people found this instruction helpful.
Was this instruction helpful to you?
Thank you for voting!
Fixes Symptom 11% of time

Rated by 2 customers 


Really Easy 

30 - 60 mins 

Ratings submitted by customers like you who bought this part.   

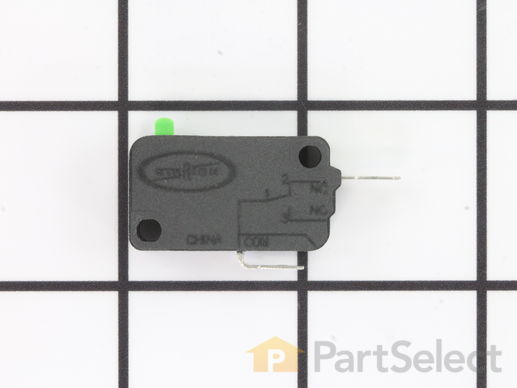
$ 12.48
  In Stock
PartSelect Number PS2370056
Manufacturer Part Number WB24X10181
Fixes Symptom 4% of time

Rated by 2 customers 


Easy 

More than 2 hours 

Ratings submitted by customers like you who bought this part.   

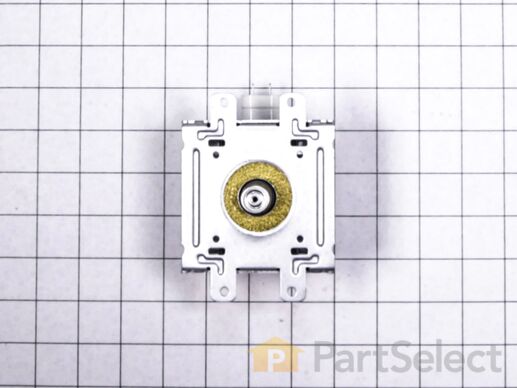
This part is used to generate microwave energy/heat.

$ 195.67
  In Stock
PartSelect Number PS1481236
Manufacturer Part Number WB27X10927

Customer Repair Stories

Microwave stopped heating

Using some help, removed the above the range microwave. Took apart parts of the microwave to get to the magnetron. Removed existing magnetron, inserted the new magnetron. Put the microwave back together. Tested the microwave to insure the magnetron was working before reinstalling. It did heat. Then reinstalled it back above the range.
  • Mary from CORRIGAN, TX
  • Difficulty Level:
    Really Easy
  • Total Repair Time:
    1- 2 hours
  • Tools:
    Screw drivers
5 of 6 people found this instruction helpful.
Was this instruction helpful to you?
Thank you for voting!