Parts That Fix General Electric Range JBP23DN1WW Little to no heat when broiling
Little to no heat when broiling is a commonly reported symptom for the JBP23DN1WW General Electric Range, and we have put together a full guide on how to fix this. This advice is based on feedback from people who own this exact appliance. We have listed the most common parts for your JBP23DN1WW General Electric Range that will fix Little to no heat when broiling. We have included repair instructions, and helpful step-by-step video tutorials. If you are experiencing this issue, not to worry, DIYers just like you have fixed this, and shared their experience to help you!
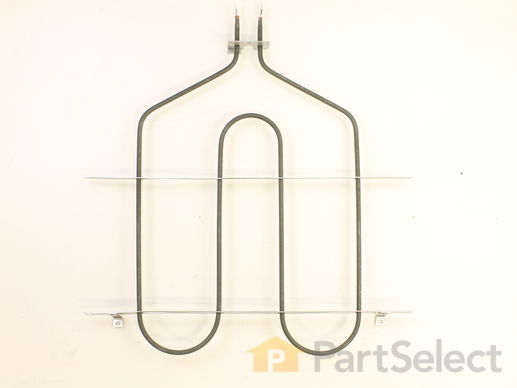
This broil element is found on the upper part of the oven cavity.
Customer Repair Stories
Broiler Unit was burnt out
I reconnected the two c ... Read more onnectors and screwed the brace into the back of the oven. Then replaced the screws into the ceiling of the oven to hold the unit in place.
I was very pleased to have been able to do this project on my own and the broiler is working fine.
-
Brenda from LaFollette, TN
-
Difficulty Level:A Bit Difficult
-
Total Repair Time:1- 2 hours
-
Tools:Nutdriver, Wrench set
Broiler element failed
-
paul from west grove, PA
-
Difficulty Level:Really Easy
-
Total Repair Time:15 - 30 mins
-
Tools:Nutdriver
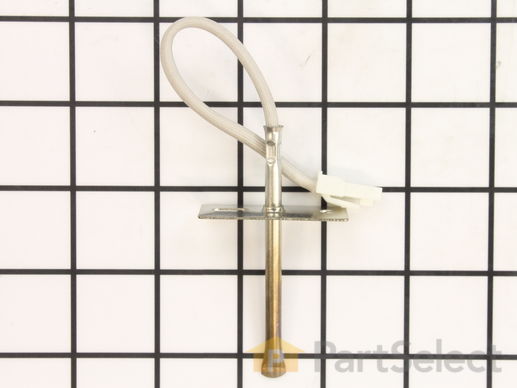
The temperature sensor, also known as the oven temperature sensor assembly is usually found in the back of the oven. The function of the oven temperature sensor assembly is to measure the temperature inside your oven while it is on and send the temperature back up to the electronic control, which adjusts as necessary. If your oven is having difficulty achieving warmer temperatures and/or keeping warmer temperatures up, you may want to test your temperature sensor. Before you make this repair remember to unplug your range from the power source, and turn off the gas shut off valve.
Replacing your General Electric Range Temperature Sensor

Customer Repair Stories
Oven wouldn't preheat above 300 degrees
-
Gerald from Cape Canaveral, FL
-
Difficulty Level:Really Easy
-
Total Repair Time:15 - 30 mins
-
Tools:Nutdriver
Oven would go in to a F2 Error
-
Peter from stamford, CT
-
Difficulty Level:Really Easy
-
Total Repair Time:15 - 30 mins
-
Tools:Nutdriver
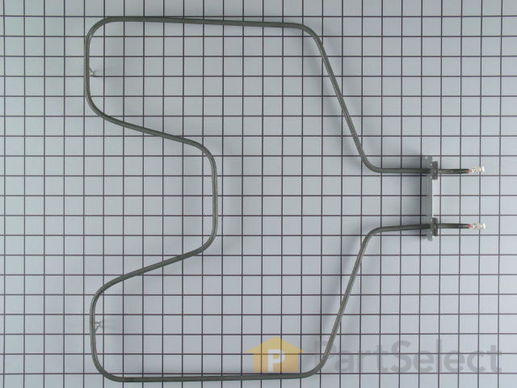
This is an OEM bottom bake element for your oven. Make sure to wait until your oven is cool before replacing this part, and disconnect power to the oven. In order to replace this part, you will need to pull out the oven and open up the back panel to disconnect the bake element wires and install the new ones.
Customer Repair Stories
Bake Element fell apart
-
Ronald from Citrus Springs, FL
-
Difficulty Level:Really Easy
-
Total Repair Time:Less than 15 mins
-
Tools:Nutdriver, Screw drivers
Bake Element burned out, bunt like a sparkler.
The lower (Bake) element is held in by 2 screws. Remove them and gently pull out the element to remove the power wires connected to the element. These wires are ... Read more very short and there is not much room in which to work. After having removed the wire connectors one slipped from my fingers and went back in the small opening in the back of the oven where the element is inserted. It took some time to fish out the wire. Not wanting to slide out the range I used some surgical forcepts I happen to have grab the wire ( handy to clip wires or compontents in place for some delicate repairs). Its all blind and the opening is very small plus the insulation must be pushed back to gain access. Anyway I managed to grab the wire, attached both wires to the element, replaced the plate and screws holding the element in place, all finished. Worked great. Other ranges I have owned provided a socket to plug in the element, I guess the bottom line gets in the way of quality.. Being 60 years old the worst part of this job is the getting down on my knees to do the work and getting back up again.
-
Brad from Bedford, KY
-
Difficulty Level:Easy
-
Total Repair Time:15 - 30 mins
-
Tools:Pliers, Screw drivers


