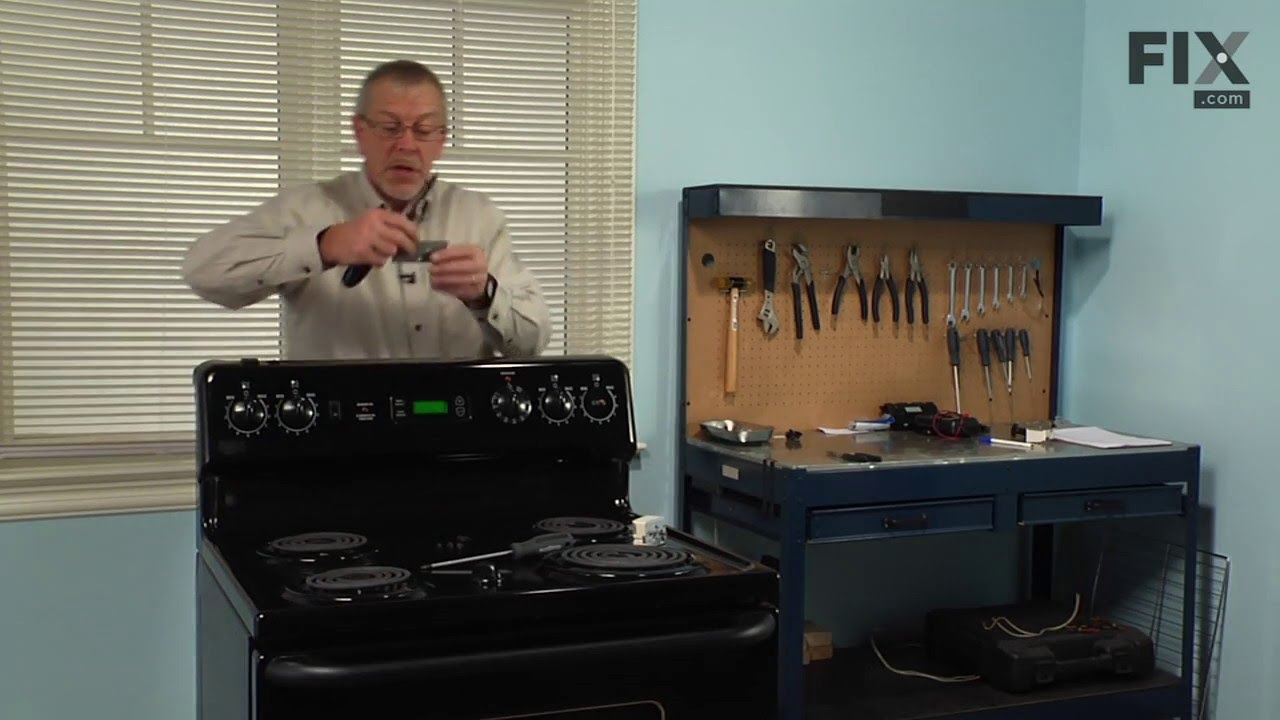
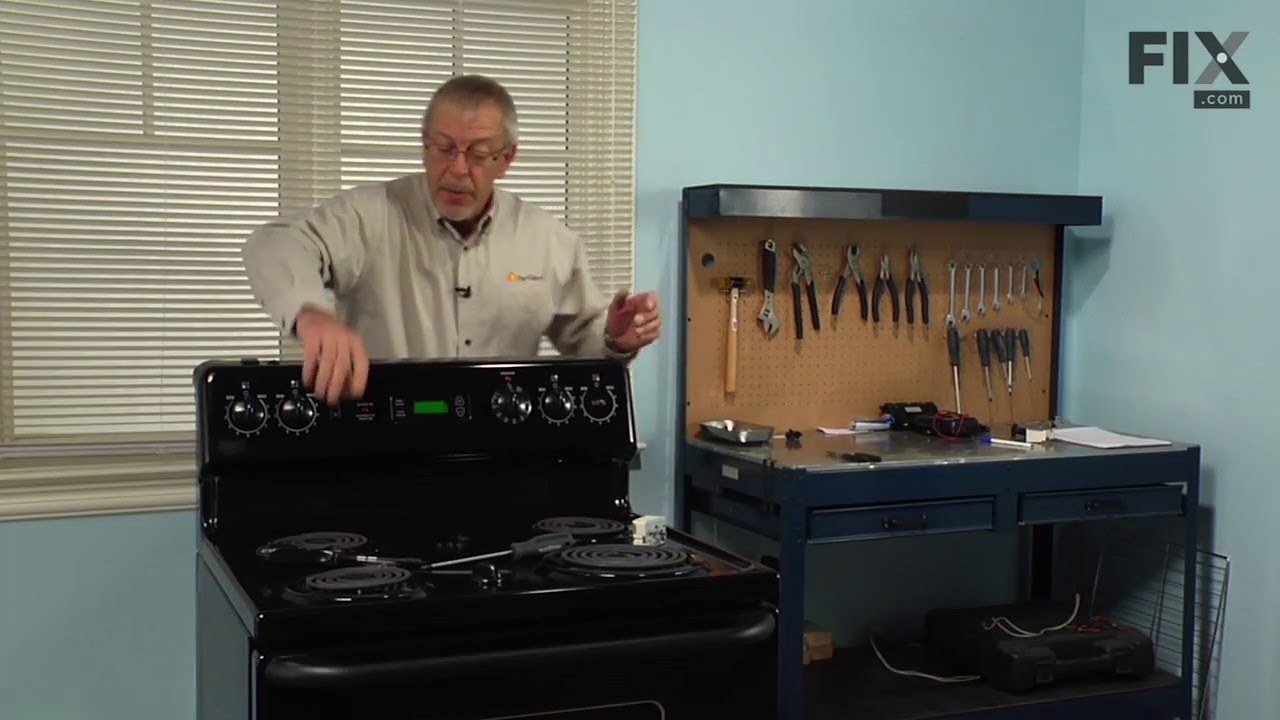
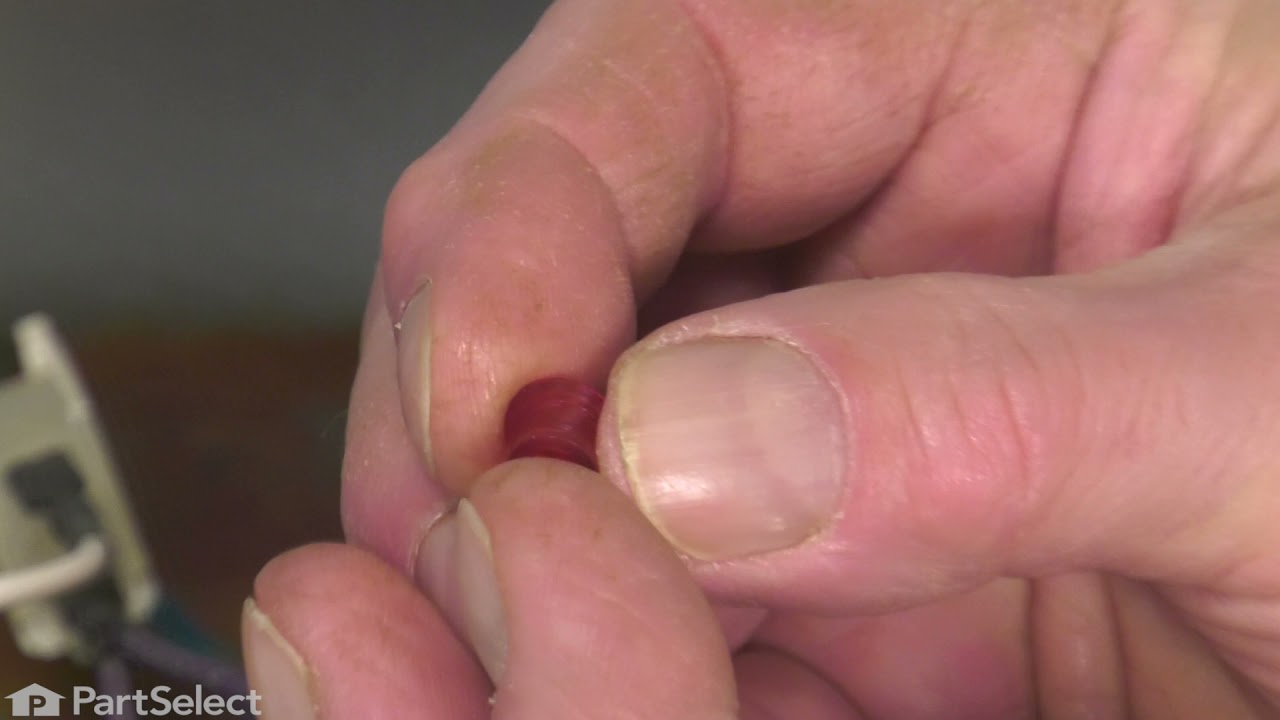
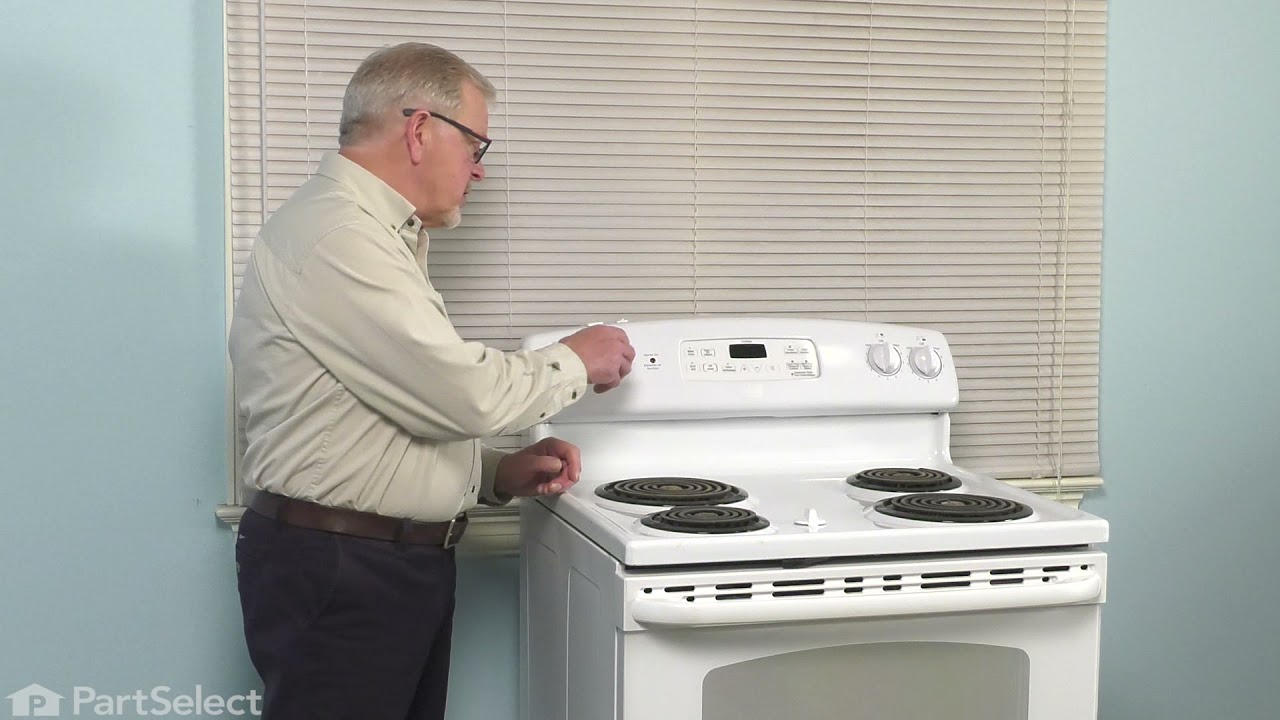
This drip bowl, also known as the drip pan or burner bowl, is 6 inches in internal diameter to match the burner, but actually measures closer to 8 inches in total diameter to its outer edges. This authentic manufacturer-approved part is used to catch spills from cooking on the top burner. If your bowls are getting stained, dirty, or rust...Read moreed, this replacement can solve it. First, remove the element from the stove top, and pull out the old drip pan. Insert the new bowl and make sure it is aligned to where the element is plugged in. Lastly, you can put the element back in. For safety precautions, make sure to unplug the range from the power source and wait until the surface is cool before replacing this part. This part is sold individually, if you are replacing more than one drip bowl on your stove at once, you will need to account for this. To replace, simply pull the old surface elements and burner bowls off, give everything a thorough clean, and install the new parts with no tools necessary.
This Drip Bowl, also known as a burner bowl or drip pan, is made to fit an element 8 inches in diameter and comes in chrome. The actual total diameter of this drip bowl is closer to 10 inches, but don't worry, it will fit your 8-inch burner. This bowl is used to catch drippings and food that falls when cooking on the oven element. The dri...Read morep bowl might burn, become rusty, and wear down over time, and will need to be replaced. Replacing the drip pan is very easy. The elements on the oven must be removed to access the pan underneath. When replacing the bowl, make sure to line up the hole with the terminal block where the element plugs into, and always remove power to your appliance and ensure it is completely cool before commencing your repair. These drip bowls are sold individually, not as a set for your appliance, so you will need to purchase each separately if upgrading all the drip bowls for your range.
This is an OEM bottom bake element for your oven. Make sure to wait until your oven is cool before replacing this part, and disconnect power to the oven. In order to replace this part, you will need to pull out the oven and open up the back panel to disconnect the bake element wires and install the new ones.
The 8-inch surface element switch is also known as an infinite heat switch, and is a part for your range. It controls the large surface element. It will turn the element on and off, and allow you to change the heat intensity. The knob to adjust the heat setting mounts on the shaft of this swtich. The burner knob is sold separately. If you...Read morer large surface element will not turn on, or you cannot adjust the heat intensity, you may have a broken or damaged surface burner switch. Be sure you disconnect your range from the power source before you begin this repair.
The temperature sensor, also known as the oven temperature sensor assembly is usually found in the back of the oven. The function of the oven temperature sensor assembly is to measure the temperature inside your oven while it is on and send the temperature back up to the electronic control, which adjusts as necessary. If your oven is havi...Read moreng difficulty achieving warmer temperatures and/or keeping warmer temperatures up, you may want to test your temperature sensor. Before you make this repair remember to unplug your range from the power source, and turn off the gas shut off valve.
This 40-Watt light bulb is sold individually.
It is specially designed to withstand extreme temperatures, so this bulb is compatible with a variety of appliance types including refrigerators, ranges, microwaves, and dryers. It features a frosted glass bulb with a standard metal socket base, which allows you to easily unscrew the burnt-out light and twist the new bulb into place.
This electronic control board is the central component of your wall oven, managing functions such as temperature regulation and heating elements. The manufacturer has modified the wiring on this part, so professional installation may be necessary for proper setup. Before installation, shut off the circuit breaker or unplug the oven for sa...Read morefety. This genuine OEM part ensures optimal oven performance and compatibility with select models.
This genuine GE drawer support is an original replacement part sourced from the manufacturer and is designed for use with electric ranges. Made of durable plastic, it attaches to the rear of the drawer and provides stable support by securing the rear side in place. This part includes the necessary mounting screw for installation and is so...Read moreld individually. It’s a simple yet essential component for maintaining smooth drawer operation and proper alignment.
This surface element control switch, also known as an infinite switch, regulates the power supplied to a 6-inch, 1560-watt heating element on electric ranges. It allows for precise adjustment of heat levels by cycling the element on and off, rather than relying on fixed temperature settings. Operating at 240 volts and drawing between 4.4 ...Read moreto 7.4 amps, the switch ensures consistent and responsive heat control. Replacing a faulty switch can resolve issues such as the element not heating, staying stuck on high, or fluctuating in temperature. This component is essential for maintaining safe and efficient cooking performance.
Ask our experts a question about this model and we'll get back to you as soon as possible!
We may have answered a similar question already! Search questions and answers left by others using simple keywords like "fit", "broken", "easy", or "quality" to find questions that match.
Search filter:
Clear Filter
Your search term must have 3 or more characters.
Sort by:
Prev
1
Next
Sorry, we couldn't find any existing answers that matched.Try using some different or simpler keywords, or submit your new question by using the "Ask a Question" button above!
Melanie - For model number JBP23DN1WW
February 16, 2023
How can I buy a thermal fuse? My tenant used all the burners and oven at one time and we think it overheated and burnt out the fuse. Do you think it might be something else? Like a motherboard?
Hello Melanie, thank you for reaching out. According to our research, before replacing the control board, part number PS3493488, we recommend checking the following parts to fix your problem: temperature sensor, part number PS10059162, broil element, part number PS249284, and surface burner terminal block kit, part number PS783534. We hope this helps!
Hi David, thank you for contacting us. According to our research, error code f3 indicates that there is a failure somewhere along the temperature sensor. We recommend checking the temperature sensor, part number PS10059162, to fix the issue. The function of the temperature sensor is to measure the temperature inside your oven while it is on and send the temperature back up to the electronic control board. We hope that helps!
the temperature control will not go above 350 degrees it will go down the top element does not glow at 350 degrees
Hi Elmer, thank you for reaching out. The most likely cause is a faulty oven temperature sensor, part number PS10059162. If the oven will not heat above 350°F and the bake element is not receiving enough power, the sensor may be sending incorrect temperature readings to the control, causing it to stop heating too early. Replacing the oven temperature sensor can help restore proper temperature regulation. We hope this solves your problem!
is the top broiler element come on in the bake mode this one does not if so what will fix it
Hi Elmer, thank you for contacting us. No, the top broiler element does not usually stay on or glow orange during the bake mode. Turn the oven to broil and let it run for a few minutes. If you can’t feel any heat on the element and it’s visibly darkened or broken, the element needs to be replaced. Its part number is WB44T10009. We hope that helps!
Was this helpful?
Thank you for voting!
Prev
1
Next
✖
Ask a Question
Ask our experts a question on this model and we'll respond as soon as we can.
Ordered the part on Friday, got it on Saturday, very impressive. Be sure to unplug the range or disconnect the power at the breaker box before any repairs are started.
The lower (Bake) element is held in by 2 screws. Remove them and gently pull out the element to remove the power wires connected to the element. These wires are
... Read more very short and there is not much room in which to work. After having removed the wire connectors one slipped from my fingers and went back in the small opening in the back of the oven where the element is inserted. It took some time to fish out the wire. Not wanting to slide out the range I used some surgical forcepts I happen to have grab the wire ( handy to clip wires or compontents in place for some delicate repairs). Its all blind and the opening is very small plus the insulation must be pushed back to gain access. Anyway I managed to grab the wire, attached both wires to the element, replaced the plate and screws holding the element in place, all finished. Worked great. Other ranges I have owned provided a socket to plug in the element, I guess the bottom line gets in the way of quality.. Being 60 years old the worst part of this job is the getting down on my knees to do the work and getting back up again.




 My Orders