Enter the code DIYDAD10 at checkout to apply your discount. Discount will be applied at checkout when the code is entered & applies to all parts. Cannot be combined with any other coupon or special offer & cannot be applied to a previously placed order. Not valid toward tax or shipping & handling. Discount has no cash value. Discount expires on June 17 at 11:59pm EST.
Parts That Fix General Electric Washer GTW680BSJ5WS Will Not Start
Will Not Start is a commonly reported symptom for the GTW680BSJ5WS General Electric Washer, and we have put together a full guide on how to fix this. This advice is based on feedback from people who own this exact appliance. We have listed the most common parts for your GTW680BSJ5WS General Electric Washer that will fix Will Not Start. We have included repair instructions, and helpful step-by-step video tutorials. If you are experiencing this issue, not to worry, DIYers just like you have fixed this, and shared their experience to help you!
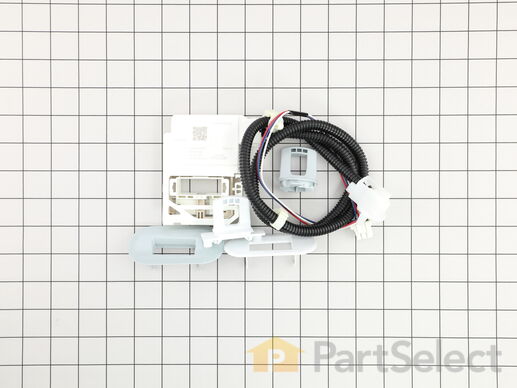
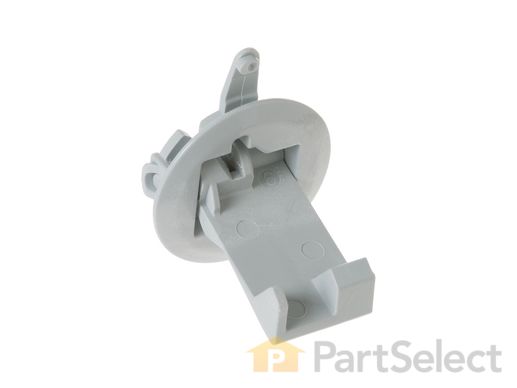
This lid lock, also known as a door lock, is a genuine OEM replacement part for your washing machine. The lid lock keeps your washer lid closed during the washing cycle. If this part is broken, your washer may not run because it thinks the door is open, or it will not keep the door locked during the wash cycle. To replace this part, make sure you disconnect power to the appliance and wear work gloves.
Customer Repair Stories
The lid switch which signals that the washer door is closed malfunctioned. Even with the lid closed the washer would not spin because the washer was detecting the lid as open because of the faulty switch
of wire which had to be installed. The installation of the wiring harness was extremely complicated which involved popping off the control panel of the washer, prying up the top and disconnecting some other pieces to complete the install. There should have been a clear warning on the replacement part, that it was completely different and likely too difficult for a non-professional repair man.
-
Timmothy from EAGLEVILLE, PA
-
Difficulty Level:Very Difficult
-
Total Repair Time:More than 2 hours
-
Tools:Pliers, Screw drivers, Wrench (Adjustable)
Washer wouldn't fill, wash, spin
-
Susan from OXFORD, FL
-
Difficulty Level:Really Easy
-
Total Repair Time:30 - 60 mins
-
Tools:Screw drivers, Socket set
Customer Repair Stories
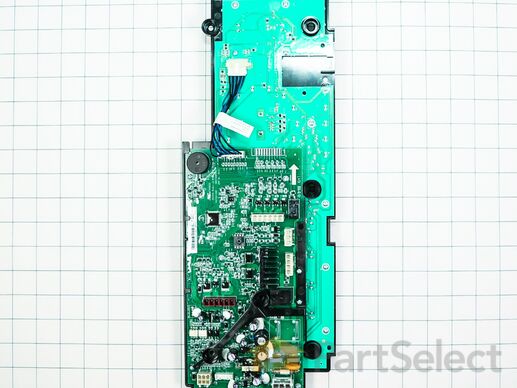
The main control panel of my washer needed replaced due to user error.
-
Cindy from HANOVER, MD
-
Difficulty Level:Really Easy
-
Total Repair Time:15 - 30 mins
-
Tools:Socket set


