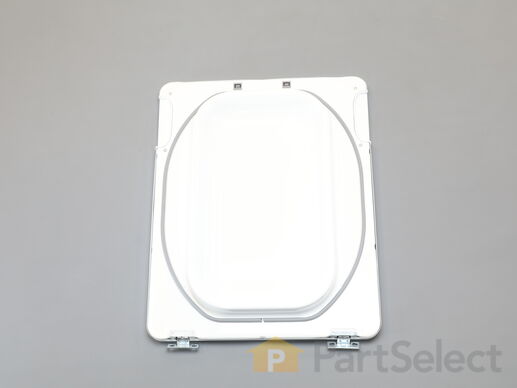
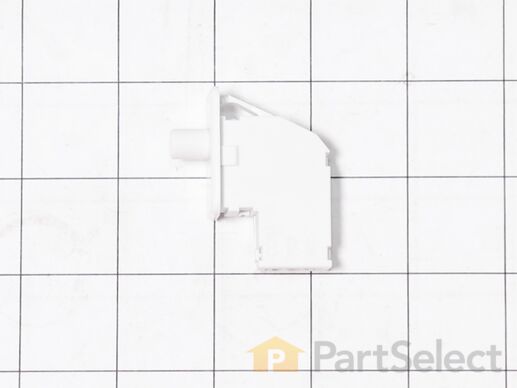
Models > GTD33EASK0WW > Symptoms > Door won’t close

Parts That Fix General Electric Dryer GTD33EASK0WW Door won’t close

Door won’t close is a commonly reported symptom for the GTD33EASK0WW General Electric Dryer, and we have put together a full guide on how to fix this. This advice is based on feedback from people who own this exact appliance. We have listed the most common parts for your GTD33EASK0WW General Electric Dryer that will fix Door won’t close. We have included repair instructions, and helpful step-by-step video tutorials. If you are experiencing this issue, not to worry, DIYers just like you have fixed this, and shared their experience to help you!

Fixes Symptom 47% of time
★★★★★
★★★★★
8 Reviews

Rated by 1 customer 


Really Easy 

Less than 15 mins 

Ratings submitted by customers like you who bought this part.   

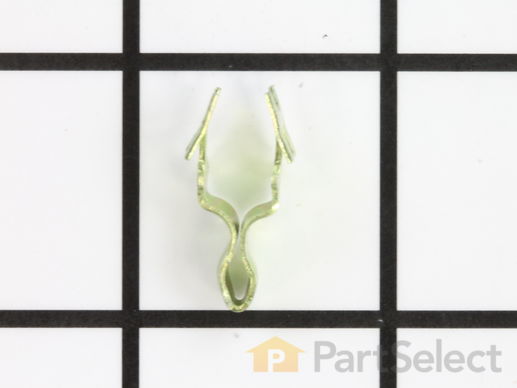
TThe door strike for your dryer is mounted on the dryer frame that the door shuts onto. It fits into the door catch on the door and keeps the door closed. If the door strike is damaged or missing, the door will not lock properly and not only will this cause the door to swing open, but it won’t allow the dryer to start properly. It is a small piece of metal, about 1 inch in length and is sold individually.

$ 8.54
  In Stock
PartSelect Number PS266893
Manufacturer Part Number WE1X1192

Replacing your General Electric Dryer Door Strike

Replacing your Door Strike

Customer Repair Stories

clip on door broke

it was easy, it clip right on.needed to give it a little tap to get it in .
  • edward from early branch, SC
  • Difficulty Level:
    Really Easy
  • Total Repair Time:
    Less than 15 mins
Was this instruction helpful to you?
Thank you for voting!

I broke the door strike on the dryer.

Wife was out of town, visiting family. I broke the door strike by wedging the dryer door between the laundry room door, closed the laundry room door and it snapped the door strike breaking it. I ordered the part, and it shipped fast using the standard shipping, nothing fancy. Grabbed a pair of pliers and pushed the new door strike into place. It snapped right in, fits and works perfect like nothing ever happened. The wife will never know :)
  • CHRISTOPHER from PHENIX CITY, AL
  • Difficulty Level:
    Really Easy
  • Total Repair Time:
    Less than 15 mins
  • Tools:
    Pliers
Was this instruction helpful to you?
Thank you for voting!
Fixes Symptom 16% of time
★★★★★
★★★★★
139 Reviews

Rated by 8 customers 


Very Easy 

Less than 15 mins 

Ratings submitted by customers like you who bought this part.   

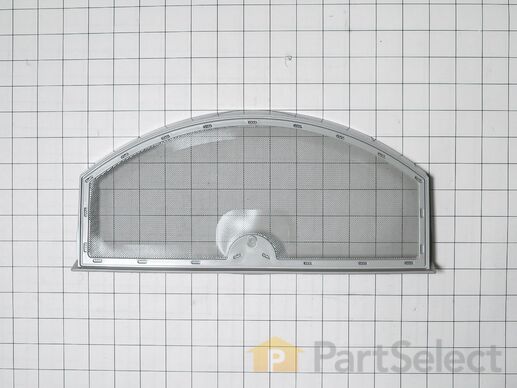
This is a genuine OEM part that works for some models of GE, and Hotpoint models. This Lint Filter is used for Dryer.

$ 41.07
  In Stock
PartSelect Number PS11763056
Manufacturer Part Number WE03X23881

Customer Repair Stories

Broken/ Tore Lint Filter

Opened dryer door and pulled out and Removed Broken old Lint Filter, inserted New Lint Filter into Lint Filter slot, then closed Dryer door.
  • Cristina from WHITTIER, CA
  • Difficulty Level:
    Very Easy
  • Total Repair Time:
    Less than 15 mins
17 of 18 people found this instruction helpful.
Was this instruction helpful to you?
Thank you for voting!

Lint filter tore

Replaced riped filter with new mesh filter screen.
  • Lisha|Lamb from SHELDON, MO
  • Difficulty Level:
    Very Easy
  • Total Repair Time:
    Less than 15 mins
32 of 34 people found this instruction helpful.
Was this instruction helpful to you?
Thank you for voting!
Fixes Symptom 13% of time
★★★★★
★★★★★
7 Reviews

Rated by 1 customer 


Really Easy 

15 - 30 mins 

Ratings submitted by customers like you who bought this part.   

$ 11.44
  In Stock
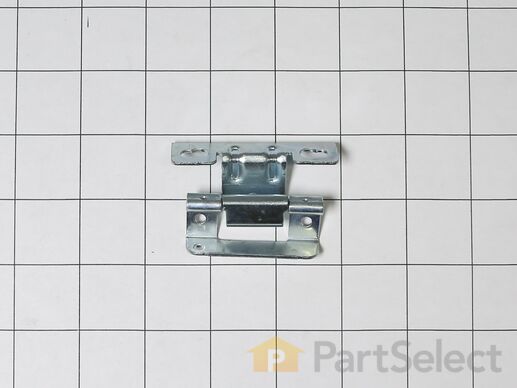
PartSelect Number PS11763047
Manufacturer Part Number WE01X25317

Customer Repair Stories

Broken Door Hinge

Having 2 persons make the job easier.
1) Remove the screws that holds the hinge to the body of the unit.
2) Remove the screws around the door so you can get to the hinge.
3) Remove bad hinge and replace with new one.
  • Rene from LAUD LAKES, FL
  • Difficulty Level:
    Really Easy
  • Total Repair Time:
    15 - 30 mins
  • Tools:
    Screw drivers
5 of 7 people found this instruction helpful.
Was this instruction helpful to you?
Thank you for voting!
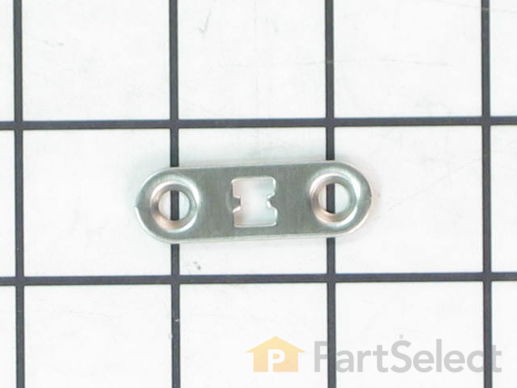
4 Catch
Fixes Symptom 12% of time
★★★★★
★★★★★
2 Reviews

$ 12.79
  In Stock
PartSelect Number PS11766999
Manufacturer Part Number WE01X25316

Replacing your General Electric Dryer Catch

Replacing your Catch
Fixes Symptom 7% of time

$ 12.85
  In Stock
PartSelect Number PS1017595
Manufacturer Part Number WE1M570
Fixes Symptom 3% of time
★★★★★
★★★★★
1 Review

$ 115.59
  In Stock
PartSelect Number PS12342940
Manufacturer Part Number WE10X26855
Fixes Symptom 3% of time
★★★★★
★★★★★
24 Reviews

Rated by 6 customers 


Really Easy 

15 - 30 mins 

Ratings submitted by customers like you who bought this part.   

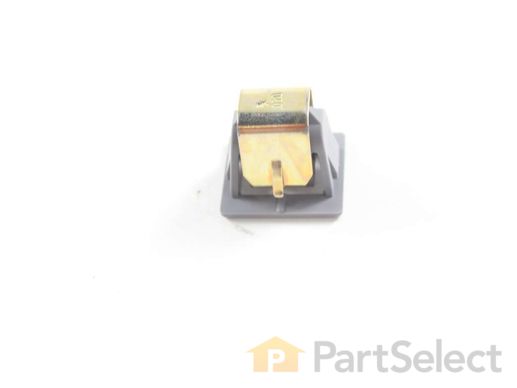
This is the door switch for your dryer. Door switches are used to communicate with the control board when the door is fully closed, so the drying cycle can safely begin, and if it is opened so it can stop. If this door switch is damaged or bad from extended use or excessive force when closing, it will cause your dryer not to start, and it will need to be replaced. This door switch will require a few tools, such as a screwdriver, wrench, and pliers to replace, and some slight disassembly of your dryer. This door switch is an OEM part and is sold individually.

$ 10.00
  In Stock
PartSelect Number PS12722948
Manufacturer Part Number WE04X28977

Customer Repair Stories

The dryer would not start.

The entire dryer had to be taken apart to get to the door switch. I determined the door switch was faulty by measuring conductivity. I purchased the new switch which cost about $9. The shipping cost was $9. After all that, the dryer still won't start. I gave up and bought a new dryer.
  • Arthur from GUILDERLAND, NY
  • Difficulty Level:
    A Bit Difficult
  • Total Repair Time:
    30 - 60 mins
  • Tools:
    Nutdriver, Pliers, Screw drivers, Socket set
1 person found this instruction helpful.
Was this instruction helpful to you?
Thank you for voting!

Dryer would not start

I popped the door switch out with a small screwdriver, disconnected the electrical connection and re-connected the new switch and popped the new switch in place with a little adjustment.
  • Kenneth from COATESVILLE, PA
  • Difficulty Level:
    Really Easy
  • Total Repair Time:
    15 - 30 mins
  • Tools:
    Screw drivers
10 of 12 people found this instruction helpful.
Was this instruction helpful to you?
Thank you for voting!