Parts That Fix Frigidaire Refrigerator FPRH19D7LF1 Too warm
Too warm is a commonly reported symptom for the FPRH19D7LF1 Frigidaire Refrigerator, and we have put together a full guide on how to fix this. This advice is based on feedback from people who own this exact appliance. We have listed the most common parts for your FPRH19D7LF1 Frigidaire Refrigerator that will fix Too warm. We have included repair instructions, and helpful step-by-step video tutorials. If you are experiencing this issue, not to worry, DIYers just like you have fixed this, and shared their experience to help you!
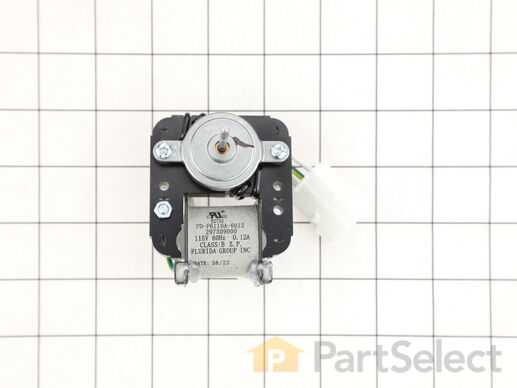
This evaporator fan motor is 115V. If you notice that your freezer is noisy or is too warm, you may need to replace the evaporator fan motor. This package comes with the evaporator fan motor itself, as well as a wire harness. The evaporator fan motor is in the back of the freezer, so you will need to remove your freezer shelves and the back panel before you can access it. The function of the evaporator fan motor is to circulate air over the coils. The coils convert the heat into cool air, which is then circulated. Be sure to remove the power source from the freezer before you begin this repair.
Replacing your Frigidaire Freezer FAN MOTOR EVAP 115V

Customer Repair Stories
Evap fan motor intermitant
-
Mike from Los Banos, CA
-
Difficulty Level:Really Easy
-
Total Repair Time:15 - 30 mins
-
Tools:Nutdriver, Screw drivers
Freezer thawing at about 20 degrees
-
Nathan M. from Bunnell, FL
-
Difficulty Level:Easy
-
Total Repair Time:15 - 30 mins
-
Tools:Screw drivers
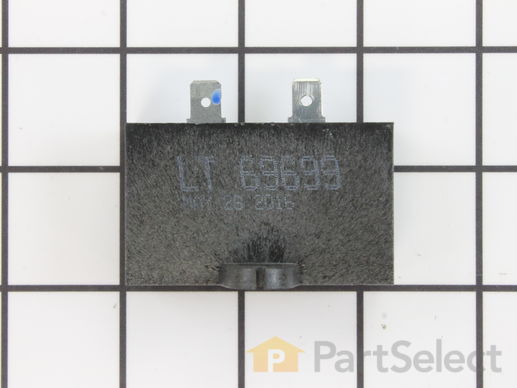
This part helps the compressor kick on and off while maintaining a constant temperature to keep things frozen in your freezer. The run capacitor is attached to the compressor. This part is 120 volts and 15 mfd. The run capacitor helps the compressor kick on and off while maintaining a constant temperature to keep things frozen in your freezer. If your refrigerator is too warm, will not start, or your freezer section is too warm, you may need to replace this part. This is a genuine OEM part. Please remember to disconnect power to your refrigerator before starting your repair.
Customer Repair Stories
Coming from the refrigerator, there was an intermittent "clicking noise", occurring about every 30 seconds. The frig. eventually failed .
-
winifred from LOUISVILLE, KY
-
Difficulty Level:Easy
-
Total Repair Time:30 - 60 mins
-
Tools:Nutdriver, Pliers


