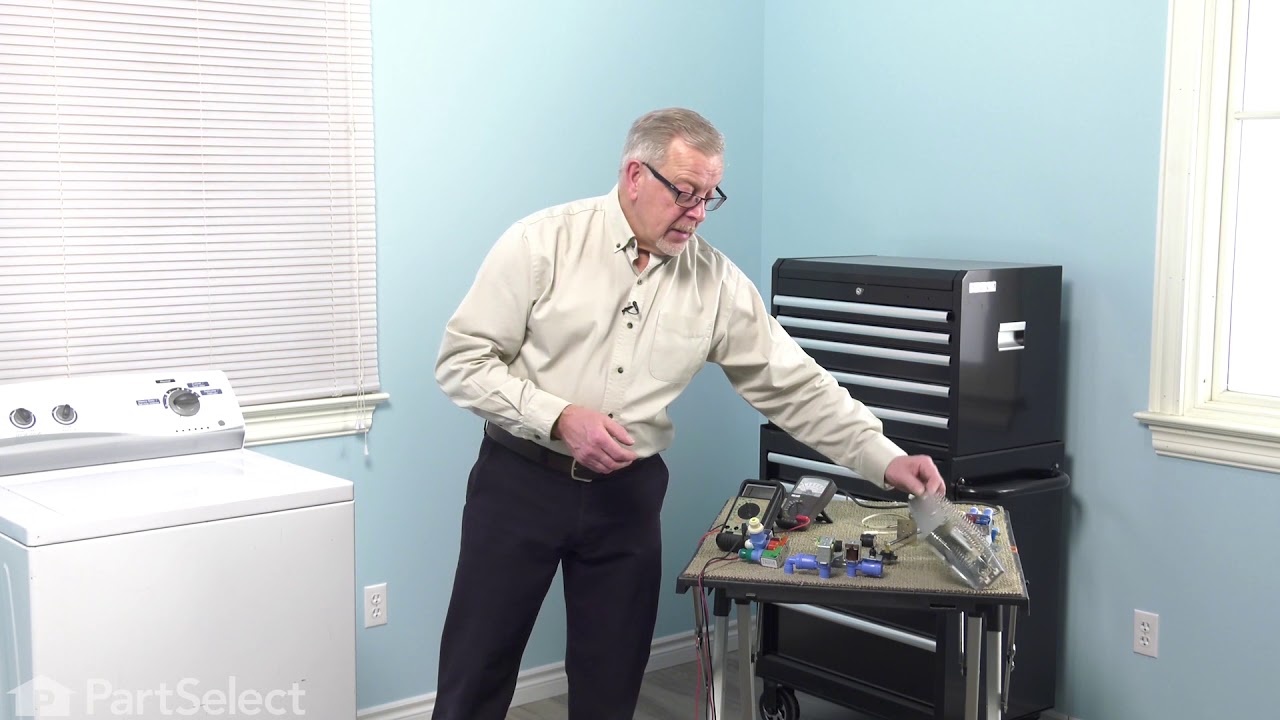
This manufacturer-approved air filter system for refrigerators eliminates odors and any impurities. It does this by neutralizing and removing odor-causing molecules. For best results, it is important to change the filter every 6 months to ensure that food is kept fresh, and the humidity is controlled. This part measures about 7 inches wid...Read moree and 5 inches deep. Follow installation instructions provided by the manufacturer when installing this part to ensure accurate results and further guidance. Remember to unplug the refrigerator from the power source before starting this project. The air filter may be located in different places depending on your appliance, but is usually on the inner right or left side. See your manual for exact location. Our customers rated this as a very easy repair that takes only a few minutes; just locate and remove the old air filter and insert the new one to complete the repair, which requires no tools.
This part helps the compressor kick on and off while maintaining a constant temperature to keep things frozen in your freezer. The run capacitor is attached to the compressor. This part is 120 volts and 15 mfd. The run capacitor helps the compressor kick on and off while maintaining a constant temperature to keep things frozen in your fre...Read moreezer. If your refrigerator is too warm, will not start, or your freezer section is too warm, you may need to replace this part. This is a genuine OEM part. Please remember to disconnect power to your refrigerator before starting your repair.
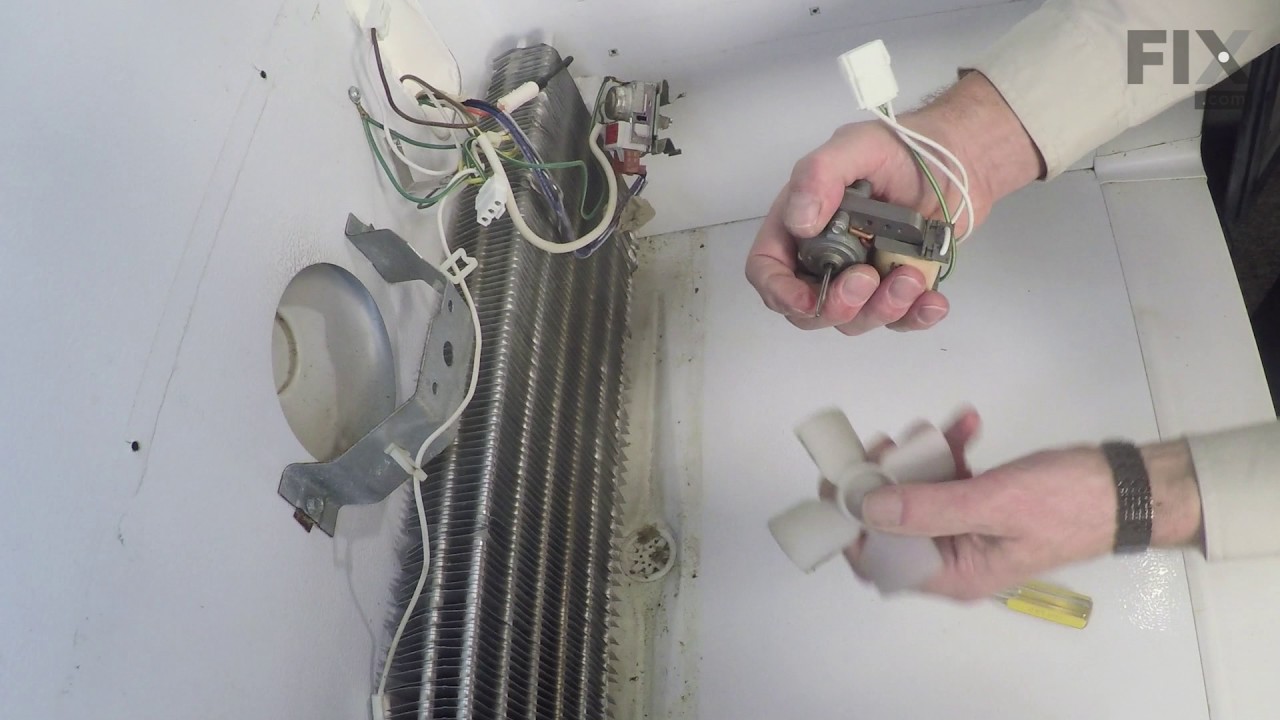
This evaporator fan motor is 115V. If you notice that your freezer is noisy or is too warm, you may need to replace the evaporator fan motor. This package comes with the evaporator fan motor itself, as well as a wire harness. The evaporator fan motor is in the back of the freezer, so you will need to remove your freezer shelves and the ba...Read moreck panel before you can access it. The function of the evaporator fan motor is to circulate air over the coils. The coils convert the heat into cool air, which is then circulated. Be sure to remove the power source from the freezer before you begin this repair.
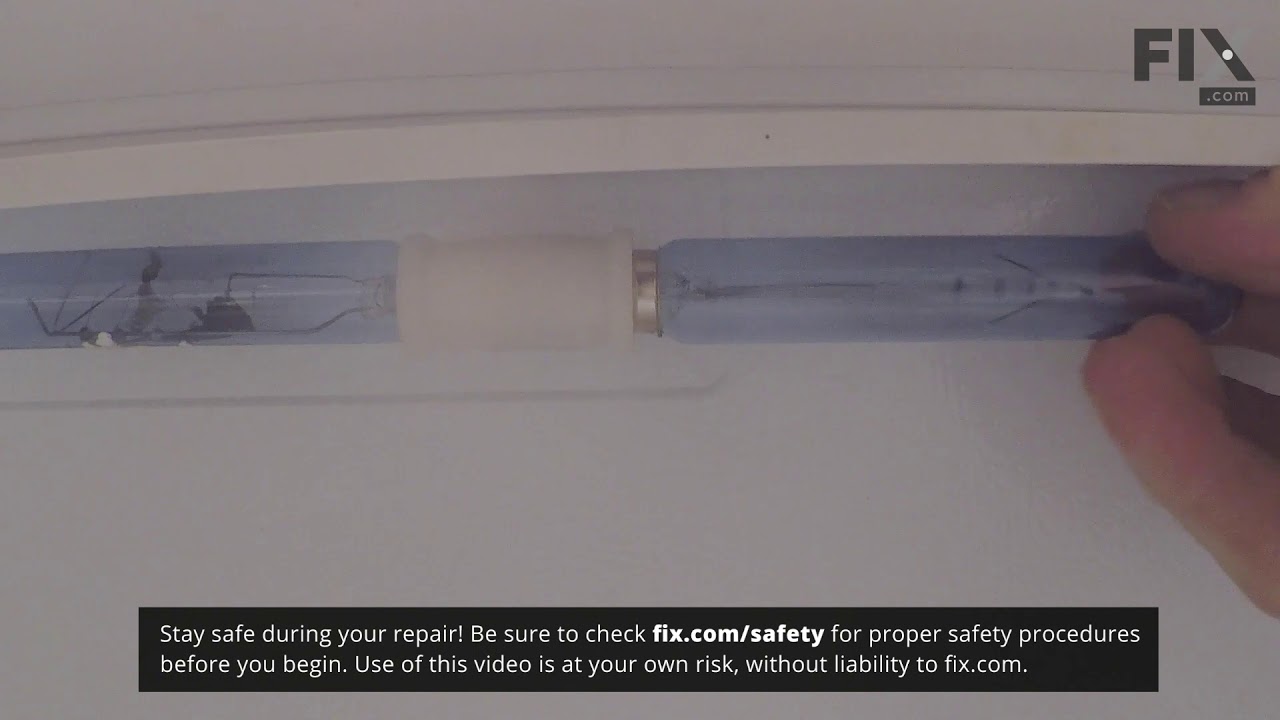
This is an LED light for a variety of refrigerator models. This 3.8W LED light is used to shine and adequately light the contents of your refrigerator when you open its door. If your current light is significantly dimmer than normal, or simply not working anymore, it will need to be replaced. To replace this bulb, unplug your fridge momen...Read moretarily, and then simply unthread the old one and screw in the new one. This bulb is sold individually and does not come with any other parts.
This part could be found underneath a fridge, dryer, or freezer. The original foot may be cracked, broken, or perhaps missing altogether. If you notice the appliance is uneven to the floor or wobbling, it may indicate that the levelling foot needs to be replaced. You will need pliers and a block of wood to perform this task. There will be...Read more one adjustable foot found in the package. Lift the dryer and place the wood to keep it propped up. You may need to use the pliers to remove the old foot. Screw the new foot into place using your hand. Once the new leveling foot is in place, lift the appliance and remove the block. Test the machine out to ensure it is now sitting level.
This is a door gasket for the freezer compartment of various refrigerators. Door gaskets are used to seal the cold interior of the freezer compartment, from the warm and ambient temperature of your home. If this door gasket on your freezer door is damaged, moldy, or warped and unable to close and seal properly, it needs to be replaced imm...Read moreediately. This door gasket is gray in color and is easy to remove and install. To replace it, carefully pull and remove the old gasket off, and wrap the new gasket around the perimeter of the door frame. This gasket is sold individually, and does not come with any accessories.
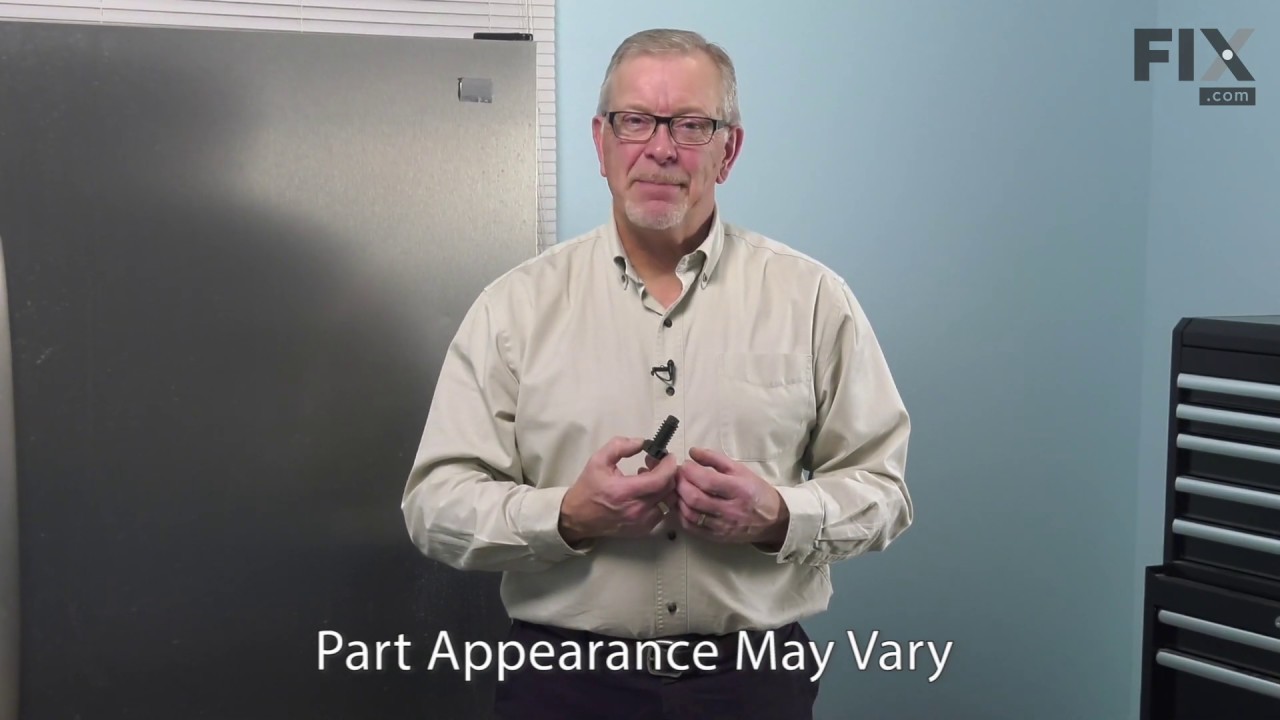
This genuine OEM hinge mounting screw is designed for use in Frigidaire and Electrolux refrigerators, providing a secure and reliable way to fasten door hinges to the cabinet. Built with a durable hex washer head and standard threading, it helps restore proper door alignment and maintain a tight seal to prevent cold air loss. Ideal for re...Read moreplacing worn, stripped, or corroded hardware, this heavy-duty screw ensures long-lasting stability and dependable everyday performance.
This refrigerator deli drawer assembly is designed to provide a dedicated space for storing deli items such as meats and cheeses, helping maintain freshness and organization within your appliance. Engineered for compatibility with select refrigerator models, it slides smoothly in and out for convenient access without opening the main refr...Read moreigerator door. Constructed from durable materials, the drawer offers long-lasting performance and integrates seamlessly into the interior layout. Ideal as a replacement for broken or worn drawers, it supports efficient food storage and contributes to the overall functionality and longevity of your refrigerator.
This refrigerator glass crisper cover is a durable, clear shelf insert designed to fit securely within the crisper drawer frame. Made from toughened glass, it provides a stable surface for storing food while enhancing visibility and supporting proper moisture retention. By helping to seal the crisper compartment, it contributes to maintai...Read morening ideal humidity levels, which aids in preserving the freshness of fruits and vegetables. This replacement part is ideal for restoring functionality when the original shelf is cracked, missing, or damaged, and is engineered for long-term performance under daily use.
Ask our experts a question about this model and we'll get back to you as soon as possible!
We may have answered a similar question already! Search questions and answers left by others using simple keywords like "fit", "broken", "easy", or "quality" to find questions that match.
Search filter:
Clear Filter
Your search term must have 3 or more characters.
Sort by:
Prev
1
2
Next
Sorry, we couldn't find any existing answers that matched.Try using some different or simpler keywords, or submit your new question by using the "Ask a Question" button above!
Rodney - For model number FPRH19D7LF1
August 8, 2022
Water seems to be pooling at the bottom - when I remove the Evaporator cover, it looks like water is pooling right at the drain - is there a way to easily clean out the drain pipe/hose?
Hello Rodney, Thank you for your inquiry. You can try disconnecting the drain hose from the area at the back of the refrigerator and rinsing it out to check for any clogs or debris, and use a bottle brush to clean the drain tube at the bottom of the liner. Also check the drain pan and if it is full of water, then the condenser fan and evaporator may not be working to evaporate the water, so we would recommend checking them with a multimeter. If you are unfamiliar with how a multimeter functions, we have videos available to assist you. We hope this helps and if you need help placing an order, customer service is open 7 days a week. Please feel free to give us a call. We look forward to hearing from you!
I just need the front face (drawer pull) on the top cool drawer. I don't need the entire drawer assembly. Do sell that individually
Hello Gerard, thank you for contacting us. According to our research, the drawer, part number PS10064644, comes as assembly. The front pull part is not sold individually, and you may need to replace the complete drawer. We hope this information helps!
Hello Robert, thank you for contacting us. The door gasket for your model is part number PS11766245. If you need help placing an order, customer service is open 7 days a week!
Thermostat set at 40 but cools to 20 and freezes food
Hi Jeff,
Thank you for your question. If the fresh food section of your refrigerator is too cold, we recommend checking the temperature sensor and the defrost thermostat for continuity with a multimeter on the Rx1 setting to see if they are operating normally. Before removing and checking these parts, unplug the refrigerator from the electrical outlet. Before testing the temperature sensor, place it in ice water for 5 minutes until the temperature reaches 32 degrees F. The multimeter reading you should receive is 16,600 ohms (+/- 5 percent). If you receive a reading outside this range, you will need a replacement temperature sensor. For the defrost thermostat, you should receive a reading of zero when it is cold, and if it is warm, between 40 to 90 degrees, you should receive a reading of infinity. If you get any other readings, you will need to replace the defrost thermostat. We hope this helps!
See how others fixed this model. Time, tools, difficulty, and steps that lead to victory!View More
Search repair tips from other customers using simple keywords like "replace", "fit", "remove", "inspect". DIY doesn't mean you have to do it alone!
Search filter:
Clear Filter
Your search term must have 3 or more characters.
Freezer thawing at about 20 degrees
21 of 28 peoplefound this instruction helpful.
Nathan M. from Bunnell, FL
Easy
15 - 30 mins
Screw drivers
Turned freezer off at themostat and unplugged freezer. Removed 2 screws at front 2 at the back and 2 at the top. Lowered top cover and removed evaporator fan bracket (2 more screws) removed themostat capulary tube( 1 screw and bracket) then unplug fan motor. Removed motor from bracket (2 screws). Put on new fan motor then removed fan b
... Read morelade from old motor and put on the new motor. Remounted fan motor bracket and thermostat capulary tube. Remounted top cover, plugged freezer in the set the thermostat to 4 and freezer is working fine and doing its job. I orderedmotor on a Sunday and it was shipped on Monday and I received said part at 7:pm on Wednesday.
Read less
Was this helpful?
Thank you for voting!
you r label (this end in arrow is wrong
15 of 25 peoplefound this instruction helpful.
melvin from BASKING RIDGE, NJ
Really Easy
Less than 15 mins
placed filter in sideways
Was this helpful?
Thank you for voting!
Coming from the refrigerator, there was an intermittent "clicking noise", occurring about every 30 seconds. The frig. eventually failed .
11 of 16 peoplefound this instruction helpful.
winifred from LOUISVILLE, KY
Easy
30 - 60 mins
Nutdriver, Pliers
I removed the back cover and removed the clip holding the compressor- run capacitor and start relay. I replaced these 2 components and clean the dust from the frig., and from the bottom of the floor. I replaced the back cover ; Loss about $300 worth of meat when when the frig. failed. Then I thought that, during these turbulent times,
... Read morethere are many which don't have a refrigerator or any meat to place in it, The refrigerator is "running" normal again.



 My Orders