Enter the code TAKE10OFF at checkout to apply your discount. Discount will be applied at checkout when the code is entered & applies to all parts. Cannot be combined with any other coupon or special offer & cannot be applied to a previously placed order. Not valid toward tax or shipping & handling. Discount has no cash value. Discount expires on May 28 at 11:59pm EST.
Parts That Fix Frigidaire Refrigerator FG4H2272UF Leaking
Leaking is a commonly reported symptom for the FG4H2272UF Frigidaire Refrigerator, and we have put together a full guide on how to fix this. This advice is based on feedback from people who own this exact appliance. We have listed the most common parts for your FG4H2272UF Frigidaire Refrigerator that will fix Leaking. We have included repair instructions, and helpful step-by-step video tutorials. If you are experiencing this issue, not to worry, DIYers just like you have fixed this, and shared their experience to help you!
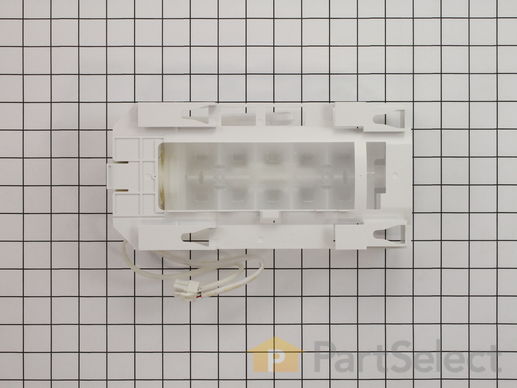
This is a genuine Frigidaire part for your refrigerator. This is an ice maker, which connects to the water lines to provide fresh ice. The most common reason to replace this part is if your refrigerator is leaking, or it will not produce ice cubes. Be sure to disconnect the power to your refrigerator before beginning this repair.
Customer Repair Stories
Not making ice and leaking water from aebecause the icemold in the ice maker cracked
-
Dave from WEST DEPTFORD, NJ
-
Difficulty Level:Really Easy
-
Total Repair Time:30 - 60 mins
-
Tools:Nutdriver, Screw drivers
Ice maker was not working
-
Richard from N CALDWELL, NJ
-
Difficulty Level:Really Easy
-
Total Repair Time:Less than 15 mins
-
Tools:Nutdriver, Screw drivers


