Models > FFTR1821TS0 > Symptoms > Fridge too warm

Parts That Fix Frigidaire Refrigerator FFTR1821TS0 Fridge too warm

Fridge too warm is a commonly reported symptom for the FFTR1821TS0 Frigidaire Refrigerator, and we have put together a full guide on how to fix this. This advice is based on feedback from people who own this exact appliance. We have listed the most common parts for your FFTR1821TS0 Frigidaire Refrigerator that will fix Fridge too warm. We have included repair instructions, and helpful step-by-step video tutorials. If you are experiencing this issue, not to worry, DIYers just like you have fixed this, and shared their experience to help you!

Fixes Symptom 36% of time
★★★★★
★★★★★
7 Reviews

Rated by 7 customers 


Really Easy 

30 - 60 mins 

Ratings submitted by customers like you who bought this part.   

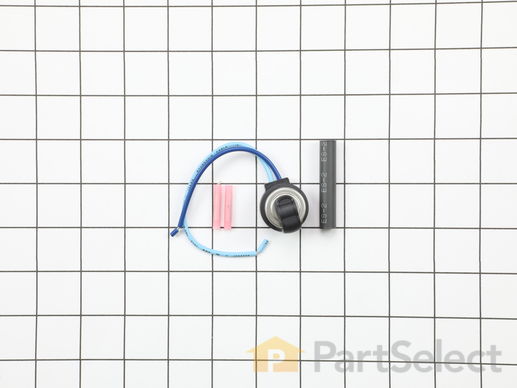
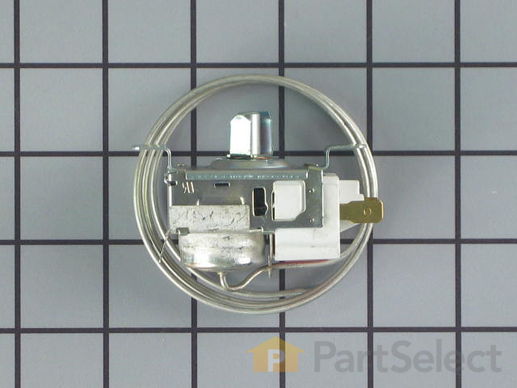
This cold control thermostat cycles on and off regularly to keep your refrigerator cold.

$ 105.03
  In Stock
PartSelect Number PS8769007
Manufacturer Part Number 241537103

Replacing your Frigidaire Refrigerator Cold Control Thermostat

Replacing your Cold Control Thermostat

Customer Repair Stories

Not running

After waiting over 2wks for my part to arrive, I purchased the part locally and made the repair the same day as I am still waiting for the part to arrive from you guys. Your customer service really needs improving. I paid for 2 day shipping, what a joke. I will be returning the part as soon as I receive it thanks.
  • Kenneth from SAVANNAH, GA
  • Difficulty Level:
    Really Easy
  • Total Repair Time:
    Less than 15 mins
  • Tools:
    Nutdriver
3 of 3 people found this instruction helpful.
Was this instruction helpful to you?
Thank you for voting!

Refrigerator would not run but interior light was on.

I unplugged the refrigerator, then opened the door and removed four screws holding the plastic electrical panel to the interior top of the main refrigerator compartment and noticed the cold control was corroded badly, apparently from moisture in the panel. I ordered a new one from partselect.com. When it arrived the next day, I then pulled off the control knob, unclipped the cold control, unplugged the three wires to the control, then removed the styrofoam insulation blocks holding the thermocouple wire and then removed the thermocouple wire to complete the removal. I then reversed the process to install the new thermostat and control. That is repositioned the thermocouple wire, put the insulation blocks back to hold the wire, then replugged the three electrical wires, clipped the control back and pushed the control knob back on and finally screwed the panel back to the top of the main compartment and plugged the refrigerator electrical cord back in to provide current to the refrigerator. It immediately started up and ran fine. Total time - about 8 minutes.
  • Bruce from Alton, IL
  • Difficulty Level:
    Really Easy
  • Total Repair Time:
    Less than 15 mins
  • Tools:
    Pliers, Screw drivers
178 of 231 people found this instruction helpful.
Was this instruction helpful to you?
Thank you for voting!
Fixes Symptom 34% of time
★★★★★
★★★★★
16 Reviews

Rated by 12 customers 


Easy 

15 - 30 mins 

Ratings submitted by customers like you who bought this part.   

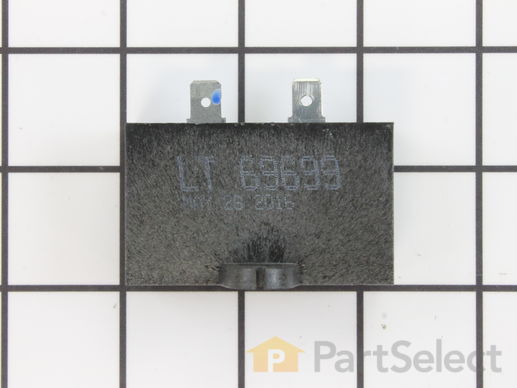
This part helps the compressor kick on and off while maintaining a constant temperature to keep things frozen in your freezer. The run capacitor is attached to the compressor. This part is 120 volts and 15 mfd. The run capacitor helps the compressor kick on and off while maintaining a constant temperature to keep things frozen in your freezer. If your refrigerator is too warm, will not start, or your freezer section is too warm, you may need to replace this part. This is a genuine OEM part. Please remember to disconnect power to your refrigerator before starting your repair.

$ 51.77
  In Stock
PartSelect Number PS3495561
Manufacturer Part Number 297286803

Customer Repair Stories

Coming from the refrigerator, there was an intermittent "clicking noise", occurring about every 30 seconds. The frig. eventually failed .

I removed the back cover and removed the clip holding the compressor- run capacitor and start relay. I replaced these 2 components and clean the dust from the frig., and from the bottom of the floor. I replaced the back cover ; Loss about $300 worth of meat when when the frig. failed. Then I thought that, during these turbulent times, there are many which don't have a refrigerator or any meat to place in it, The refrigerator is "running" normal again.
  • winifred from LOUISVILLE, KY
  • Difficulty Level:
    Easy
  • Total Repair Time:
    30 - 60 mins
  • Tools:
    Nutdriver, Pliers
4 of 4 people found this instruction helpful.
Was this instruction helpful to you?
Thank you for voting!
Fixes Symptom 11% of time
★★★★★
★★★★★
2 Reviews

Rated by 1 customer 


Really Easy 

15 - 30 mins 

Ratings submitted by customers like you who bought this part.   

$ 111.73
  In Stock
PartSelect Number PS3501052
Manufacturer Part Number 242018301
Fixes Symptom 6% of time
★★★★★
★★★★★
1 Review

Rated by 1 customer 


Easy 

15 - 30 mins 

Ratings submitted by customers like you who bought this part.   

$ 23.82
  In Stock
PartSelect Number PS6448122
Manufacturer Part Number 5303918634

Customer Repair Stories

Refrigerator not cooling

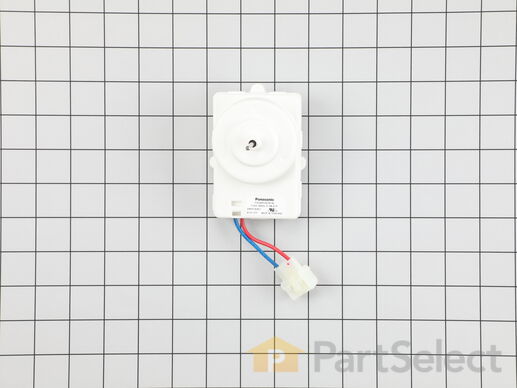
I took out the plate that covers the evaporator in the freezer with 3/8 nut driver. I removed the clips holding on the fan cover and used the pliers to take the fan off the old motor. I then took the old motor out, affixed the fan to the new motor and replaced the motor and fan assembly. I reassembled the entire fan assembly and reinstalled the evaporator plate
  • Edward from LIVONIA, MI
  • Difficulty Level:
    Easy
  • Total Repair Time:
    15 - 30 mins
  • Tools:
    Nutdriver, Pliers, Screw drivers
1 of 2 people found this instruction helpful.
Was this instruction helpful to you?
Thank you for voting!
Fixes Symptom 5% of time
★★★★★
★★★★★
3 Reviews

Rated by 1 customer 


Really Easy 

30 - 60 mins 

Ratings submitted by customers like you who bought this part.   

This gasket is for the refrigerator door. The gasket is black in colour. The door gasket is on the inner door panel and creates a seal around the door to prevent warm air from entering the refrigerator compartment.

$ 148.20
  In Stock
PartSelect Number PS9493822
Manufacturer Part Number 242193212

Customer Repair Stories

The lining of the gaskets were falling apart and the freezer was defrosting

I ordered a freezer gasket/insulation lining; just pulled the old one out and put in pressed in the new one; solved the problem easily. Then the refrigerator gasket was falling apart. I was ready to buy a new refrigerator but then I got laid off from work. I ordered the 2nd gasket. It did not fit easily at all. My husband had to man-handle and stretch it; then it worked, as worked well ever since. Spent $250 instead of $1250+. Thanks. P.S. Could not find the year of the frig.
  • Anita from 29 PALMS, CA
  • Difficulty Level:
    Really Easy
  • Total Repair Time:
    30 - 60 mins
5 of 6 people found this instruction helpful.
Was this instruction helpful to you?
Thank you for voting!
Fixes Symptom 4% of time

Rated by 1 customer 


A Bit Difficult 

1- 2 hours 

Ratings submitted by customers like you who bought this part.   

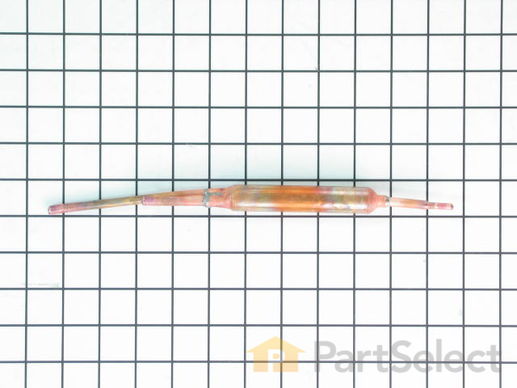
A filter-drier in a refrigerator has two essential functions. The first is to absorb system contaminants, such as water, which can create acids. The second is to provide physical filtration. This means trapping moisture, small metal chips, and dirt found in the refrigerant gas. If your refrigerator motor is constantly running, but the refrigerator is not getting cold, the issue could be due to a damaged or faulty filter-drier. Faulty filter-driers are sometimes the cause for abnormal freezer compartment temperatures and partially frosted evaporators. This filter-drier is approximately 11 inches long. Remember to disconnect the power from your refrigerator before beginning this repair.

$ 12.10
  In Stock
PartSelect Number PS464532
Manufacturer Part Number 5303305677
Fixes Symptom 4% of time
★★★★★
★★★★★
3 Reviews

Rated by 4 customers 


Really Easy 

30 - 60 mins 

Ratings submitted by customers like you who bought this part.   

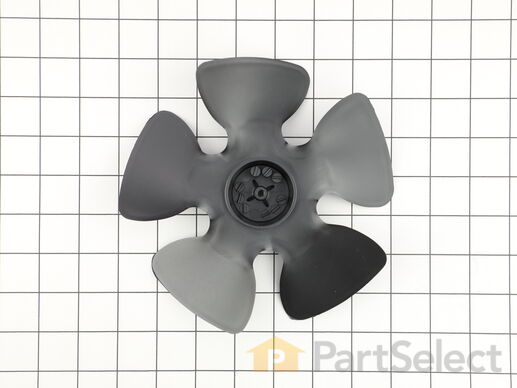
This is a genuine condenser fan blade, which works with refrigerators, freezers and wines and beverage coolers.

$ 16.93
  In Stock
PartSelect Number PS11703633
Manufacturer Part Number 241639502

Customer Repair Stories

Fridge started making a loud racket. Condenser Fan Blade then disintegrated to dust and pieces. The plastic had degraded significantly.

The repair itself total time was quick and easy. Since the original fan blade blew apart, it was only a matter of putting the new one on in it's place. This can be done by feeding the blade between the cowling and Condenser coil and applying pressure to get it on the shaft.

If your fan is still on the shaft, simply push it off and extract it the same way. Then place the new one on the shaft.

In my case, since the part would take a couple days to get, and I had food both in the fridge and the freezer, I removed and unplugged the Condenser Fan Motor and the cowling frame and temporarily spliced a small fan I had into the line for the condenser motor. This kept the fridge working long enough to get the replacement part.

Side note. Direction of airflow is towards the Compressor, and draws air across the Condenser coils.

Hope this helps someone. :)
  • Jack from WALLING, TN
  • Difficulty Level:
    Really Easy
  • Total Repair Time:
    15 - 30 mins
  • Tools:
    Nutdriver, Socket set
1 person found this instruction helpful.
Was this instruction helpful to you?
Thank you for voting!

One blade broke from condenser fan

The part i recieved, from parts select was a larger in circumfrence (<1/4) than the original. However i was not aware of this until after i treid to repair it.

I removed the broken fan from the condenser. This was very sipmle.

When i pluged the refridgerator back in to the outlet the fan tried to start up but soon began to make aloud noise, due to there not being enough clerance.
  • Chris from Lockport, NY
  • Difficulty Level:
    Really Easy
  • Total Repair Time:
    Less than 15 mins
10 of 22 people found this instruction helpful.
Was this instruction helpful to you?
Thank you for voting!