Models > FASE7073LW0 > Symptoms > Too hot

Parts That Fix Frigidaire Dryer FASE7073LW0 Too hot

Too hot is a commonly reported symptom for the FASE7073LW0 Frigidaire Dryer, and we have put together a full guide on how to fix this. This advice is based on feedback from people who own this exact appliance. We have listed the most common parts for your FASE7073LW0 Frigidaire Dryer that will fix Too hot. We have included repair instructions, and helpful step-by-step video tutorials. If you are experiencing this issue, not to worry, DIYers just like you have fixed this, and shared their experience to help you!

Fixes Symptom 77% of time
★★★★★
★★★★★
2 Reviews

Rated by 7 customers 


Easy 

30 - 60 mins 

Ratings submitted by customers like you who bought this part.   

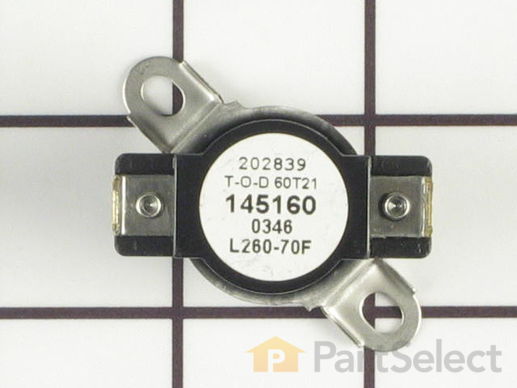
This high limit thermostat is used in a dryer and monitors the temperature to make sure it does not exceed 260 degrees Fahrenheit. When your dryer temperature reaches 260 it will cut it out and only comes back when it drops by at least 70 degrees Fahrenheit. If your dryer is overheating, taking too long to dry clothes, or is not producing enough heat, replacing the thermostat could be the solution to your problem. The tools needed for this part are a Phillips screwdriver, putty knife, and needle nose pliers. Refer to the manual provided by the manufacturer for installation instructions and guidance.

$ 85.85
  In Stock
PartSelect Number PS446428
Manufacturer Part Number 3204267

Replacing your Frigidaire Dryer High Limit Thermostat

Replacing your High Limit Thermostat

Customer Repair Stories

The thermostat had deteriorated and no heat

Had to loosen drum and move it forward to get at switch. Didn’t have to remove belt.
  • David from ROUND TOP, NY
  • Difficulty Level:
    Easy
  • Total Repair Time:
    30 - 60 mins
2 of 2 people found this instruction helpful.
Was this instruction helpful to you?
Thank you for voting!

Cloths not drying

Removed the back panel and the exhaust hose.removed the heater element and changed the thermostat wire was melted cut damaged part of wire soldered and rapped with black electrical tap
  • keith from ELLENVILLE, NY
  • Difficulty Level:
    Really Easy
  • Total Repair Time:
    Less than 15 mins
  • Tools:
    Pliers, Screw drivers, Socket set
5 of 6 people found this instruction helpful.
Was this instruction helpful to you?
Thank you for voting!
Fixes Symptom 11% of time
★★★★★
★★★★★
2 Reviews

Rated by 2 customers 


Really Easy 

30 - 60 mins 

Ratings submitted by customers like you who bought this part.   

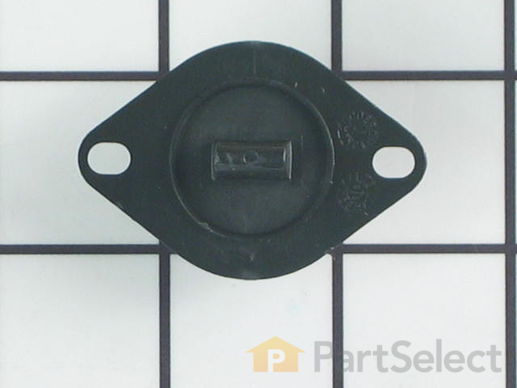
This part controls the temperature of the inside of the dryer drum and prevents the dryer from overheating. This part is located in the blower housing.

$ 45.53
  In Stock
PartSelect Number PS1149368
Manufacturer Part Number 134587700

Replacing your Frigidaire Dryer Control Thermistor

Replacing your Control Thermistor

Customer Repair Stories

E66 Error code, Door Open. Dryer shuts off on high temperature

Unplugged dryer. Removed top panel (2 screws top back of dryer). Removed control panel ( Unplugged from control board and 2 screws) Removed front panel with door ( Unplugged light from control board, door switch at connector, and 4 screws) Removed Control Thermister from dryer exhaust blower housing located bottom front of dryer ( Unplugged 2 wires and removed 2 screws ) Installed new Control Thermister and replaced all screws and panels in reverse order. Note: Noticed connector for door switch seemed a little loose when connected correctly. Used electrical tape to reinforce connection. Plugged dryer back in and checked operation. Dryer has been used approximately 10 times since repair with no issues.
  • Michael from Baltimore, MD
  • Difficulty Level:
    Easy
  • Total Repair Time:
    15 - 30 mins
  • Tools:
    Screw drivers
1 of 2 people found this instruction helpful.
Was this instruction helpful to you?
Thank you for voting!

Dryer cut off before the clothes were dry.

All the symptoms indicated the thermister (located in the exhaust air stream of the dryer) was the problem. Pulled the lower panel off the dryer. Took out the two lower screws holding the door panel on so I could pull the front panel out just enough to get a screwdriver on the screws holding the thermister on. Unhooked the two wires connected to it and hooked them to the new thermister(no need to observe polarity). Put the new thermister in, screwed the door panel back down, put the lower panel on and started drying clothes.
  • Don from RUIDOSO, NM
  • Difficulty Level:
    Really Easy
  • Total Repair Time:
    30 - 60 mins
  • Tools:
    Screw drivers
16 of 22 people found this instruction helpful.
Was this instruction helpful to you?
Thank you for voting!
Fixes Symptom 7% of time
★★★★★
★★★★★
12 Reviews

Rated by 6 customers 


Easy 

1- 2 hours 

Ratings submitted by customers like you who bought this part.   

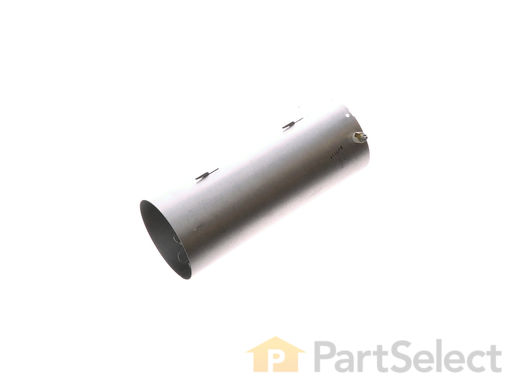
This part is a heater, but may also be known as a heating element, and it is meant for your dryer. This is where the heat is generated during your machine cycle in order to properly dry your clothing. This model is a 5500 watt, and has three coils. If your heater is broken, that usually means there is a break in the coil element.If you are having trouble drying your clothes, you may want to check for a thermal cut out or a blown thermal fuse. For this repair you will need a number two square bit, a Phillips screwdriver, and a flat-head screwdriver.

$ 204.50
  In Stock
PartSelect Number PS2349309
Manufacturer Part Number 134792700

Customer Repair Stories

E64 Error

We followed a YouTube video and did the repair ourselves over an afternoon. We had one screw leftover (?) but everything went back together and now the dryer works like a dream! We bought a PartSelect part because we don't want to have to do this very often! ??
  • Dawn from Anamosa, IA
  • Difficulty Level:
    Easy
  • Total Repair Time:
    1- 2 hours
  • Tools:
    Nutdriver, Pliers, Screw drivers, Wrench (Adjustable)
2 of 2 people found this instruction helpful.
Was this instruction helpful to you?
Thank you for voting!

Dryer wasn't heating properly, drying took too long.

Removed back of dryer with electric nut driver. Lots of screws. Removed old heating element to better access wires and thermostats. Removed baffle at end and transferred to new heater element. Transferred thermostats to new element, reconnected wiring in correct order. Installed new heater element in correct position using tab to locate. Replaced back of dryer. Reconnected dryer vent. Toughest part was squeezing out of space after reconnecting dryer vent. Unfortunately, too short for my weight.
  • Steven from MARIETTA, GA
  • Difficulty Level:
    Easy
  • Total Repair Time:
    30 - 60 mins
  • Tools:
    Nutdriver, Pliers, Screw drivers
21 of 25 people found this instruction helpful.
Was this instruction helpful to you?
Thank you for voting!
Fixes Symptom 6% of time
★★★★★
★★★★★
2 Reviews

$ 56.13
  In Stock
PartSelect Number PS2349395
Manufacturer Part Number 137032600