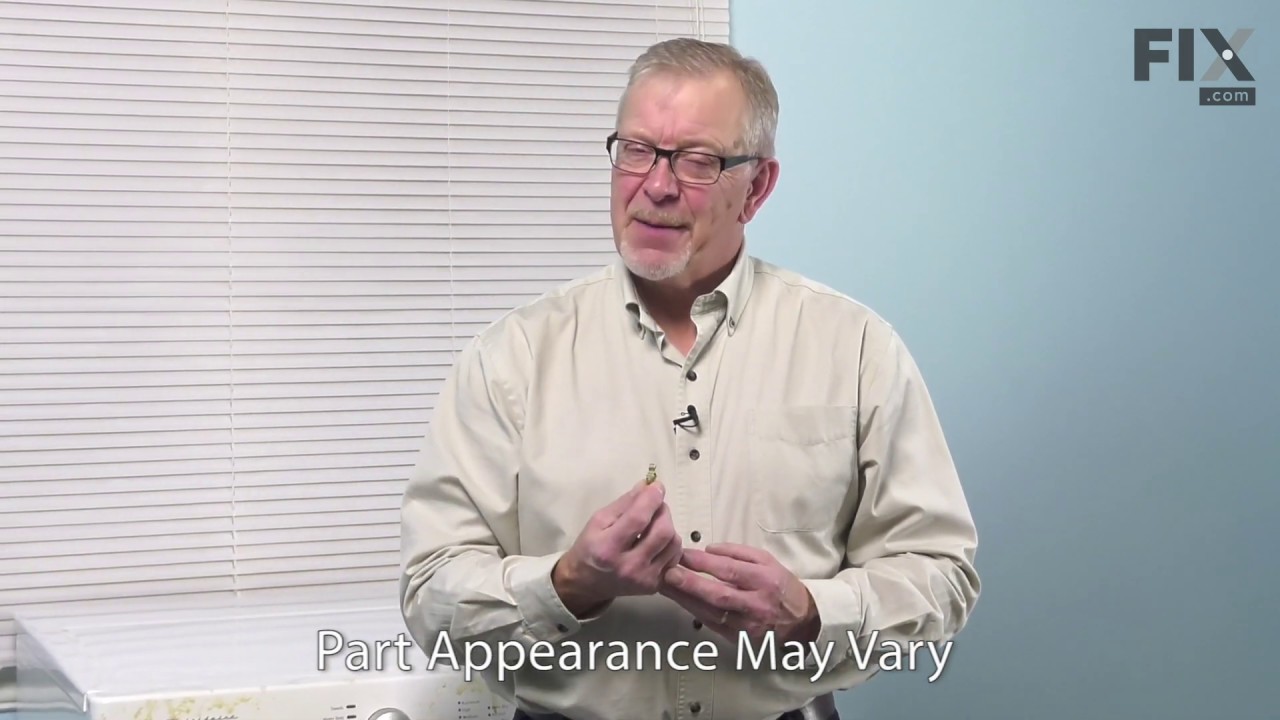
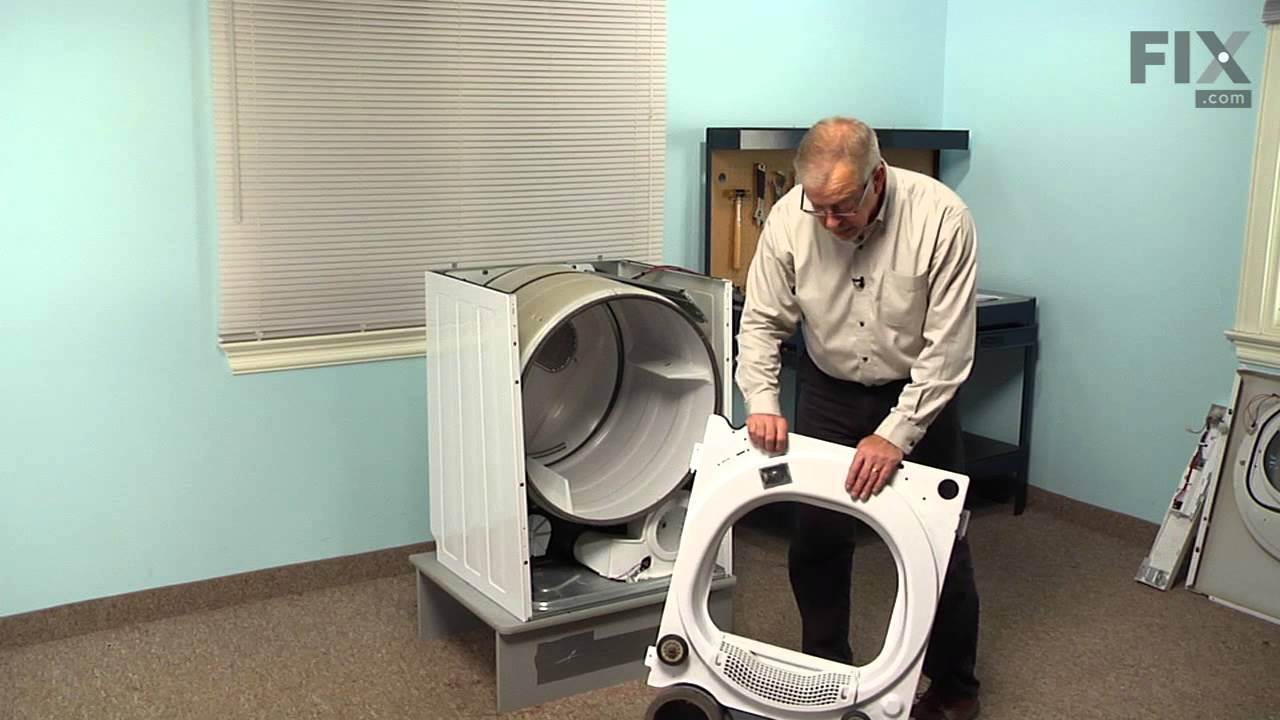
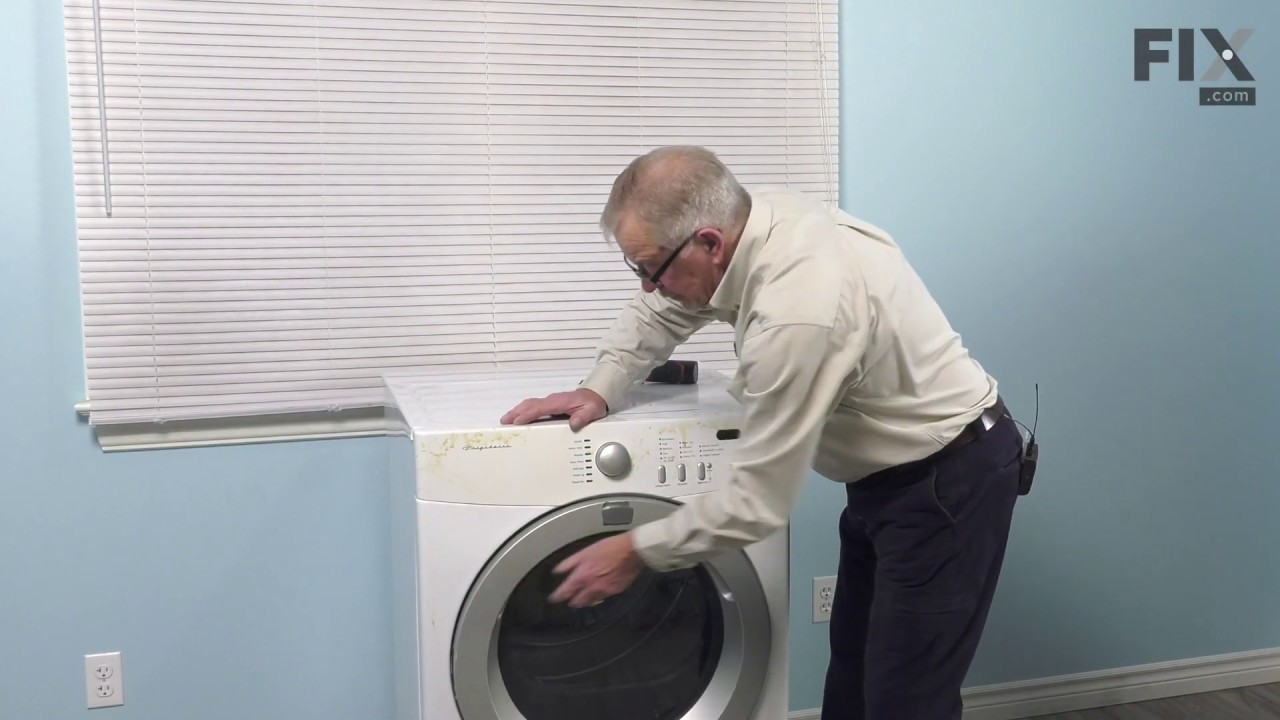
The door catch on your dryer is an important part as it keeps your dryer door closed, in order to ensure no air or clothes can escape. This part works by holding the door strike, which allows the door to stay secure. Before you begin this repair make sure to disconnect the power supply to the dryer. The tools you will need for this instal...Read morelation include a Phillips screwdriver and a small flat blade screwdriver. A pair of pliers may also come in handy. Users ranked this repair as easy, and say that it will take fifteen minutes or less to complete.
This high limit thermostat is used in a dryer and monitors the temperature to make sure it does not exceed 260 degrees Fahrenheit. When your dryer temperature reaches 260 it will cut it out and only comes back when it drops by at least 70 degrees Fahrenheit. If your dryer is overheating, taking too long to dry clothes, or is not producing...Read more enough heat, replacing the thermostat could be the solution to your problem. The tools needed for this part are a Phillips screwdriver, putty knife, and needle nose pliers. Refer to the manual provided by the manufacturer for installation instructions and guidance.
This part is a heater, but may also be known as a heating element, and it is meant for your dryer. This is where the heat is generated during your machine cycle in order to properly dry your clothing. This model is a 5500 watt, and has three coils. If your heater is broken, that usually means there is a break in the coil element.If you ar...Read moree having trouble drying your clothes, you may want to check for a thermal cut out or a blown thermal fuse. For this repair you will need a number two square bit, a Phillips screwdriver, and a flat-head screwdriver.
The door strike is attached to the door of your dryer and holds the door closed. If your dryer door is not closing, this might be due to the door strike needing to be replaced. This is a simple repair that should only take a few minutes to complete. The package contains one strike. Open the dryer door, and use a flat head screw driver to ...Read moresnap the old strike out if it has not fallen out already. Simply push the gasket out of the way, squeeze together the strike and place inside of the opening. Wiggle to ensure it is set in place properly.
This part could be found underneath a fridge, dryer, or freezer. The original foot may be cracked, broken, or perhaps missing altogether. If you notice the appliance is uneven to the floor or wobbling, it may indicate that the levelling foot needs to be replaced. You will need pliers and a block of wood to perform this task. There will be...Read more one adjustable foot found in the package. Lift the dryer and place the wood to keep it propped up. You may need to use the pliers to remove the old foot. Screw the new foot into place using your hand. Once the new leveling foot is in place, lift the appliance and remove the block. Test the machine out to ensure it is now sitting level.
This is a replacement screw for your washer or dryer. The screw is approximately half an inch in length and is a Phillips-head screw. It screws in from the outside of the drum, into the vane/baffle. The main reason you would replace this screw is if the old screw is missing or damaged. This part is sold individually and is an OEM part sourced directly from the manufacturer.
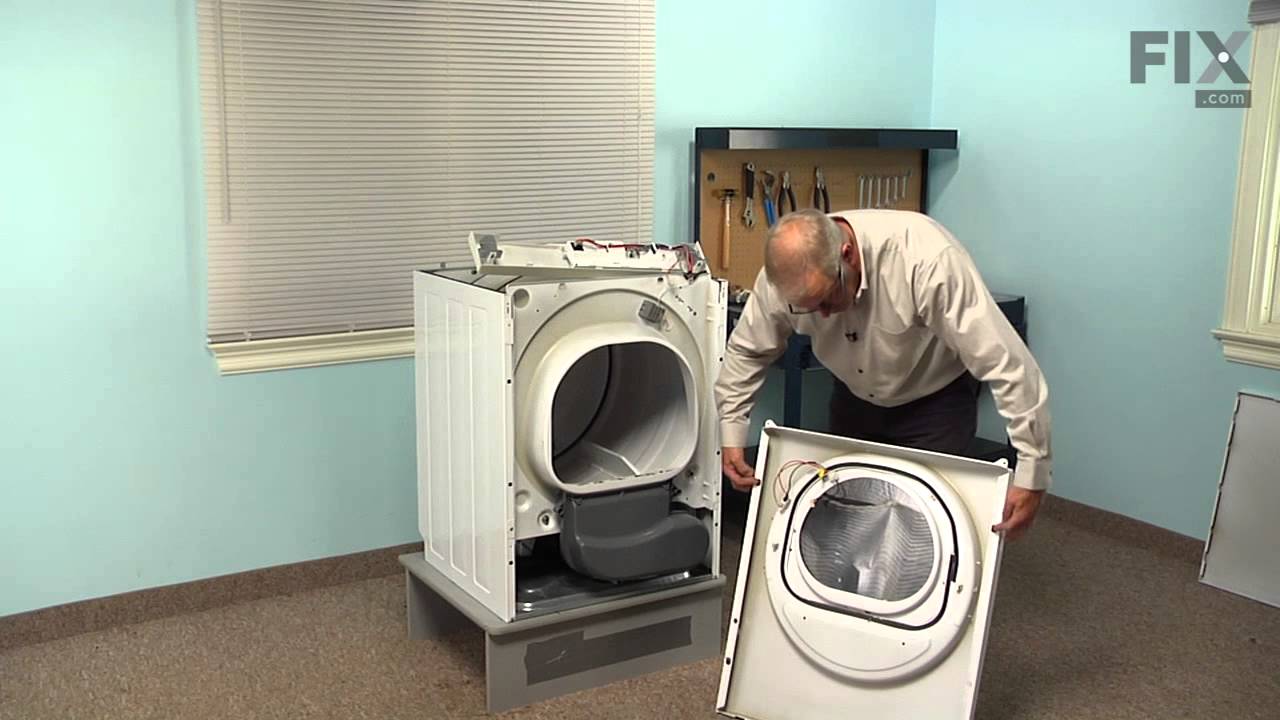
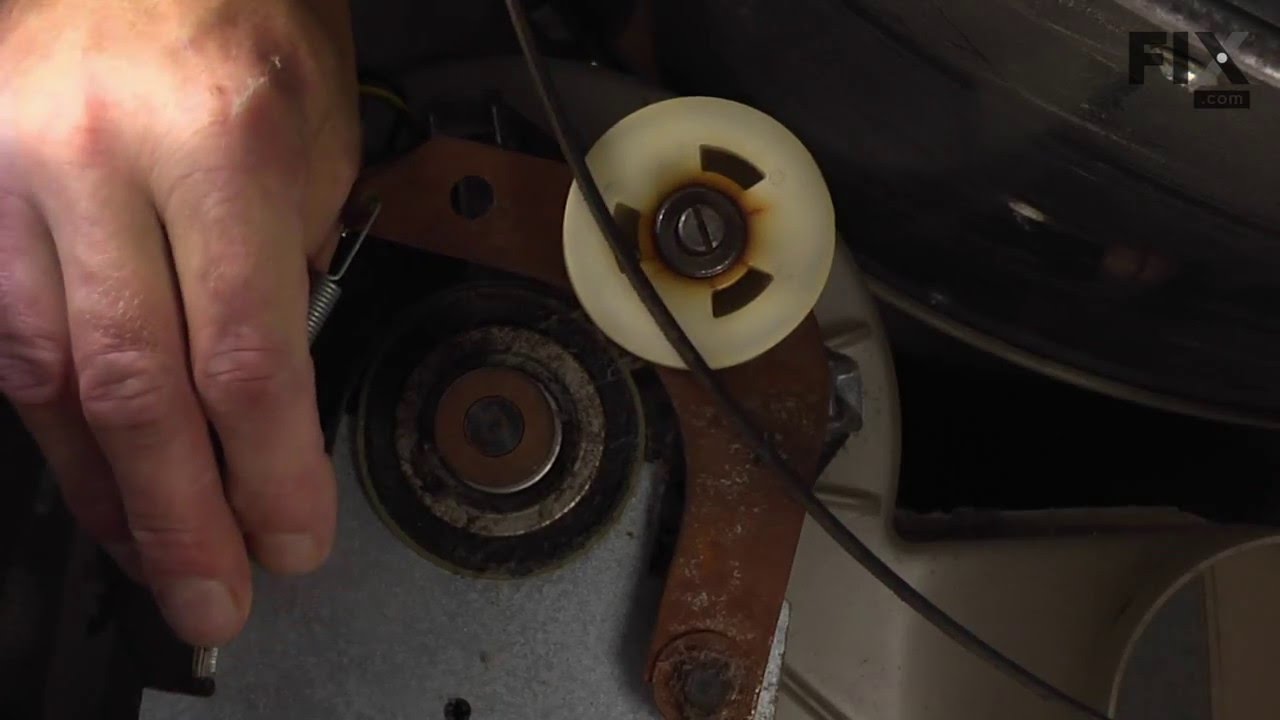
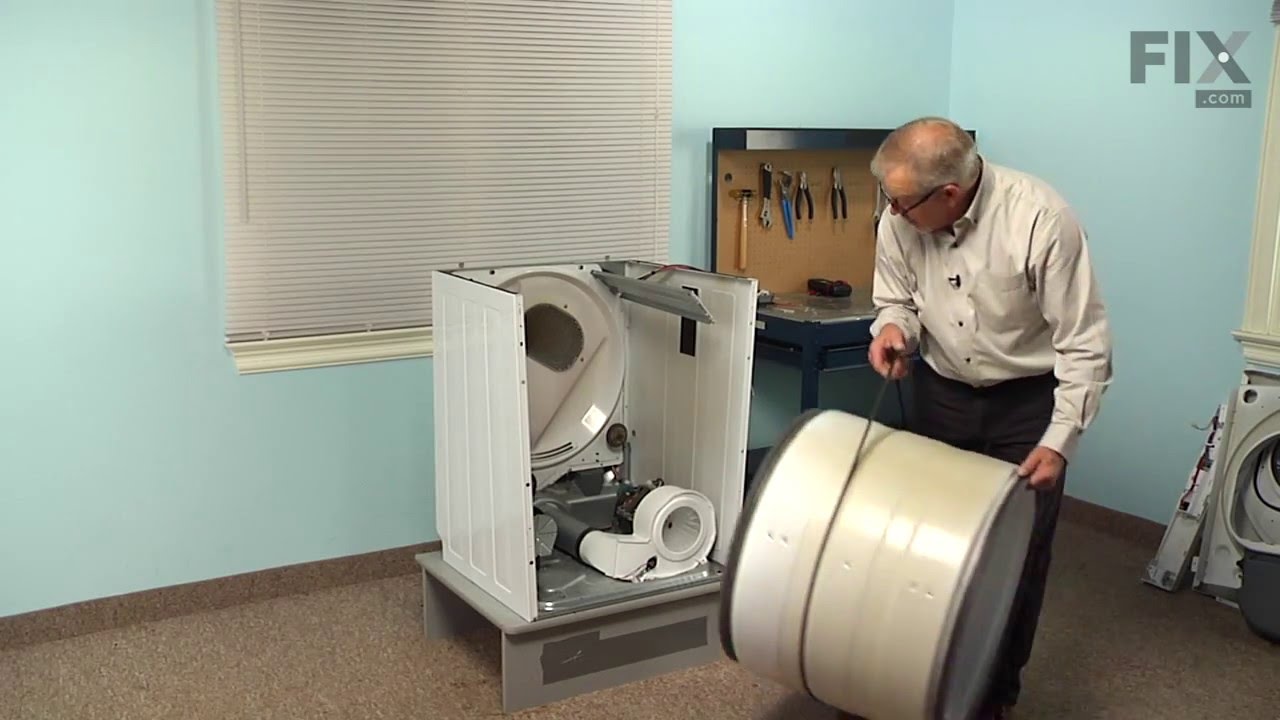
This dryer belt is one of the most important parts in a dryer and is what allows the dryer drum to spin/rotate. If the dryer belt is damaged or broken, the drum will not spin or will have difficulty in doing so, and your clothes will still be damp after a cycle as a result. This belt is made of durable material and can wear down over time...Read more and extended use of the dryer. Replacing a dryer belt will require some disassembly of your dryer, so a screwdriver and wrench will be needed to access and replace it. This belt is an individual OEM part.
This part controls the temperature of the inside of the dryer drum and prevents the dryer from overheating. This part is located in the blower housing.
This high temperature adhesive is used for installing felt and rubber seals on dryers. The tube contains 1 ounce of product. This adhesive is made to withstand extremely hot temperatures. Before applying the adhesive, ensure that the area is completely clean from any debris and is dry. You may wish to use small clamps to hold the material...Read more in place while it dries. If the felt has come loose or broken apart, this may cause your dryer to make loud noise, indicating that new felt or rubber needs to be glued into place. Use gloves to apply glue.
Ask our experts a question about this model and we'll get back to you as soon as possible!
We may have answered a similar question already! Search questions and answers left by others using simple keywords like "fit", "broken", "easy", or "quality" to find questions that match.
Search filter:
Clear Filter
Your search term must have 3 or more characters.
Sort by:
Prev
1
Next
Sorry, we couldn't find any existing answers that matched.Try using some different or simpler keywords, or submit your new question by using the "Ask a Question" button above!
BEN - For model number FASE7073LW0
December 19, 2024
Code E 64
What does this mean?
Hello Ben, thank you for your inquiry. Based on our research, the error code E64 indicates a problem with the dryer's heating element. If your dryer is facing this error code, then we would recommend checking the heating element, part number PS2349309, to solve the problem. Glad to be of assistance!
my Dryer will start then pause as the drum is not spinning.
Hi Sandra,
Thank you for your question. If the drum is not spinning, we recommend replacing the belt, part number PS2349294. Check to see if it is has slipped off the pulley. If it has, reposition it. If it is worn or damaged, replace it. We hope this helps!
Hello Theresa, thank you for contacting us. The error code 66 is mostly caused by a faulty high-limit thermostat, part number PS446428. We would also recommend checking the thermal fuse, part number PS2349395. Customer service is available 7 days a week if you require assistance placing an order. Thanks again for reaching out!
Hello Clifton, thank you for your question. If your dryer does not stop then the issue is probably with the Door Switch, part number PS2330879. If that does not take care of the issue, then the problem is most likely to be related to the Control Board, part number PS10057458. If you require assistance to place an order, please contact customer service. We hope that helps!
My husband ruined the old latch by trying to shut the door too hard, and the old latch fell down into the inside of the dryer.
28 of 35 peoplefound this instruction helpful.
Michelle from Dallas, TX
Really Easy
Less than 15 mins
I took the new latch out of the package and snapped it into place. It took about 15 seconds, and that included the walk to the laundry room!
Was this helpful?
Thank you for voting!
Dryer wasn't heating properly, drying took too long.
24 of 28 peoplefound this instruction helpful.
Steven from MARIETTA, GA
Easy
30 - 60 mins
Nutdriver, Pliers, Screw drivers
Removed back of dryer with electric nut driver. Lots of screws. Removed old heating element to better access wires and thermostats. Removed baffle at end and transferred to new heater element. Transferred thermostats to new element, reconnected wiring in correct order. Installed new heater element in correct position using tab to loca
... Read morete. Replaced back of dryer. Reconnected dryer vent. Toughest part was squeezing out of space after reconnecting dryer vent. Unfortunately, too short for my weight.


 My Orders