Parts That Fix Maytag Range MGR4452BDW Gas igniter glows, but will not light
Gas igniter glows, but will not light is a commonly reported symptom for the MGR4452BDW Maytag Range, and we have put together a full guide on how to fix this. This advice is based on feedback from people who own this exact appliance. We have listed the most common parts for your MGR4452BDW Maytag Range that will fix Gas igniter glows, but will not light. We have included repair instructions, and helpful step-by-step video tutorials. If you are experiencing this issue, not to worry, DIYers just like you have fixed this, and shared their experience to help you!
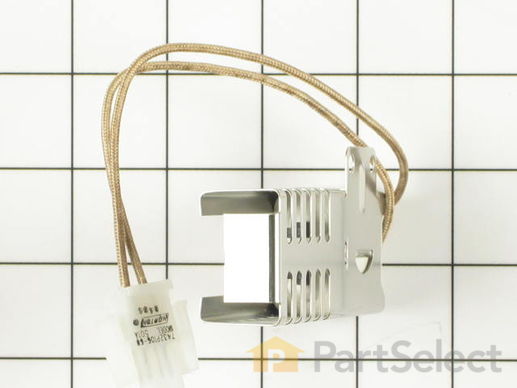
This broil igniter assembly comes with its own metallic mounting bracket and a 7-inch-long dual wire lead with a plastic plug. This part will need to be repaired if your oven element is giving off no heat or very little, or is not heating evenly. You may also notice a smell of gas. The ignitor may still be glowing, but could still have gone bad. You will need a 1/4-inch nut-driver and a 5/16 nut-driver. Open the oven door and pull the door off the hinges to completely remove. Pull out the racks. Using your 1/4-inch nut driver, take out the screws at the bottom rear end of the oven, which will allow you to completely remove the bottom. Unscrew the nuts holding the igniter in place. Remove the igniter with the 5/16 nut driver. You should now have access to remove the old igniter.
Customer Repair Stories
Our oven would not heat up, smelled like gas.
-
Theresa from Yorkville, IL
-
Difficulty Level:Easy
-
Total Repair Time:Less than 15 mins
-
Tools:Screw drivers
Oven wouldn’t heat up properly
Using the amp/multi meter I tested the connection between the igniters and the valve, with the oven turned on, to find the bad igniter. Depending on the model of stove you have, the amp reading you need for a properly functioning igniter will vary. My ... Read more lower igniter read 2.7 amps with a rated amp between 3.3 and 3.6. So that was the culprit.
Replacing the igniter was easy. Two screws and a wire connected with a plug. I was able to do the diagnosis and unplug the wire without pulling the oven out. I pulled the drawer out and removed the two screws in a cover behind where the drawer was. You may not be so lucky…I have long arms.
I found removing the oven door made it easier to reach the igniter itself. To remove the door just open it slightly and pull up, it should come off easy…and replace in opposite manner.
Keep track of your screws and put it back together the way you found it except for the igniter that is.
Anyone with moderate technical skill could easily do this repair. The diagnosis is the hard part. I estimate I saved about $200 doing it myself.
Good luck.
-
James from Berwick, ME
-
Difficulty Level:Really Easy
-
Total Repair Time:15 - 30 mins
-
Tools:Screw drivers
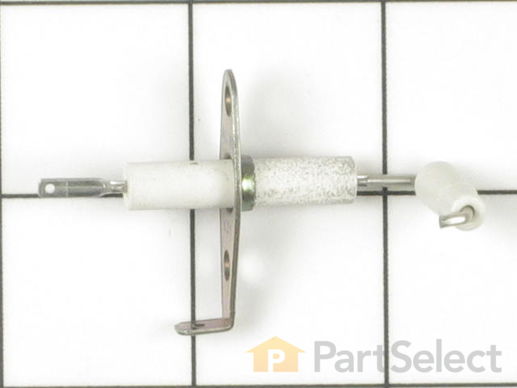
This is a surface burner igniter, also known as a top burner ignitor and stove top spark electrode. It is used to generate the spark that lights the surface burner. If your stove will not start, element does not heat, or gas igniter glows but does not light, replacing the igniter can solve these issues. For this installation, you will need a Phillips screwdriver and needle nose pliers. First place the grate on top of the burner, then lift the burner and disconnect the wires. Next remove the two Phillips screws from the bottom of burner, pull igniter out of the burner and wiggle in the new one. Refer to the installation instructions provided by the manufacturer for more instructions.
Replacing your Maytag Range Top Burner Igniter

Customer Repair Stories
burner would not light; ignitor did not produce spark
-
Candace L. from Woodinville, WA
-
Difficulty Level:Really Easy
-
Total Repair Time:15 - 30 mins
-
Tools:Screw drivers
gas burner ignitor failure
-
roy from East Providence, RI
-
Difficulty Level:Easy
-
Total Repair Time:15 - 30 mins
-
Tools:Screw drivers
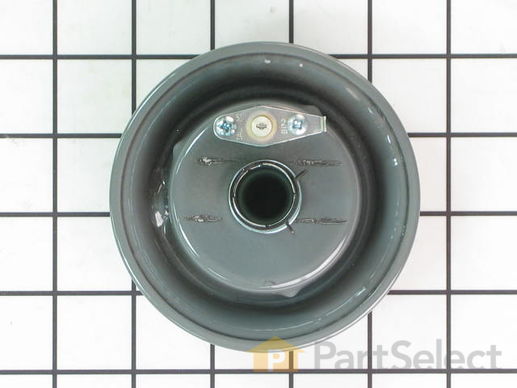
This burner cap assembly is sold with the spark electrode igniter and has a 7-inch outer diameter. This manufacturer-approved surface burner is for gas ranges. The surface burner supplies the heat to a cooking area on the cooktop. You may need to replace your burner cap if the gas igniter glows but will ignite the flame, the range will not start, or if you can smell gas. Because a faulty burner cap could lead to a house fire, it is recommended that you replace this part as soon as you realize it is faulty. Remember to unplug the range, turn off the gas, and let the unit cool down before starting this installation. Note: this part has been redesigned and no longer requires a gasket, and is sold individually.
Replacing your Maytag Range Sealed Burner Cap with Electrode

Customer Repair Stories
Burner Was Worn Out
-
arnold from la punte, CA
-
Difficulty Level:Really Easy
-
Total Repair Time:Less than 15 mins
-
Tools:Screw drivers
A burner wouldn't spark strongly enough to light the gas.
If the ... Read more gasket under the burner has disintegrated, don't worry about it. They don't offer replacements for them because they're not necessary as a safety feature. They were designed to keep overspills from running under the cooktop, but the ridge around the hole is likely higher than you'd ever need.
-
Matthew from Brookfield, MA
-
Difficulty Level:Really Easy
-
Total Repair Time:Less than 15 mins
-
Tools:Pliers
The temperature sensor on your oven detects the temperature within the oven cavity. If you notice your oven is too hot, not hot enough, or does not heat evenly, the short oven sensor kit may need replacing. This oven sensor is referred to as the short sensor and is 3 inches long. It should not be confused with the 6-inch-long sensor. The oven sensor is located on the back wall of the interior of the oven. Before starting this repair, be sure to disconnect the power source from the oven. If you are repairing a gas range, make sure to disconnect the gas source as well.
Replacing your Maytag Range Short Oven Sensor Kit

Customer Repair Stories
Oven would not heat- Beeped nonstop and flashed F3
-
Erin from Greenwich, CT
-
Difficulty Level:Really Easy
-
Total Repair Time:Less than 15 mins
-
Tools:Screw drivers
F1 code - gas over would not heat.
Replacing ... Read more the oven sensor was very easy. I removed the back panels 6 screws to gain access to the sensor's connection. I then removed the 2 screw that hold the sensor in place inside the oven and pulled the old sensor out through the oven. I reversed this process to place the new sensor in the oven.
-
george from birmingham, AL
-
Difficulty Level:Easy
-
Total Repair Time:15 - 30 mins
-
Tools:Screw drivers
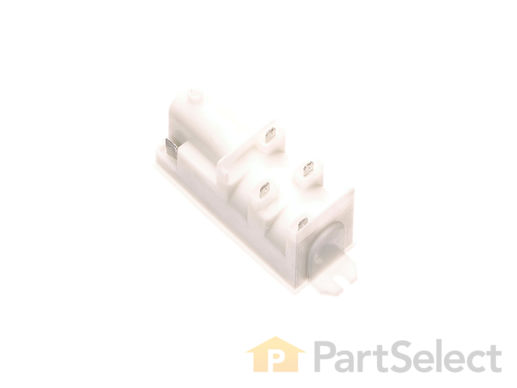
This part sends enough current to the igniter to create a spark to the bottom of the burner cap.
Customer Repair Stories
Gas range would not light
Lesson learned: check the condition of the spark ignitors first as these have a tendency to crack. Even the smallest crack will cause a short.
Ordered new spark ignitors and plan t ... Read more o complete repair.
-
Mike from Menlo Park, CA
-
Difficulty Level:Really Easy
-
Total Repair Time:Less than 15 mins
-
Tools:Screw drivers
top burners on stove won't ignite ,no clicking noise
Exact fit nomproblems.
-
scott from centreville, VA
-
Difficulty Level:Easy
-
Total Repair Time:15 - 30 mins
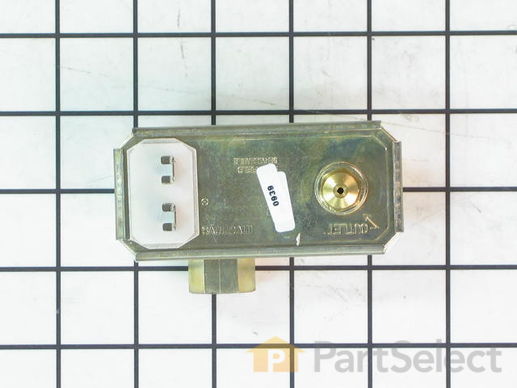
This safety valve ensures that no gas is released until the igniter has received the proper voltage needed to ignite the gas range.


