This an authentic OEM 40-Watt replacement light bulb, used in a number of household appliances. It is specially designed to withstand extreme temperatures, which is why these replacement bulbs are most often used to light the inside of refrigerators and ranges. It features a standard socket base, which means you simply unscrew the burnt-o...Read moreut bulb and screw in the replacement. Depending on the appliance you may require a screwdriver or nut driver to access the light bulb. We recommend you wear work gloves while handling this replacement part. It is constructed of glass and metal and is sold individually. Depending on the appliance and location of the bulb within it, you may want to consider disconnecting power and using a flashlight for easier access to unscrewing and re-screwing in your bulb during this repair.
This broil igniter assembly comes with its own metallic mounting bracket and a 7-inch-long dual wire lead with a plastic plug. This part will need to be repaired if your oven element is giving off no heat or very little, or is not heating evenly. You may also notice a smell of gas. The ignitor may still be glowing, but could still have gone bad.
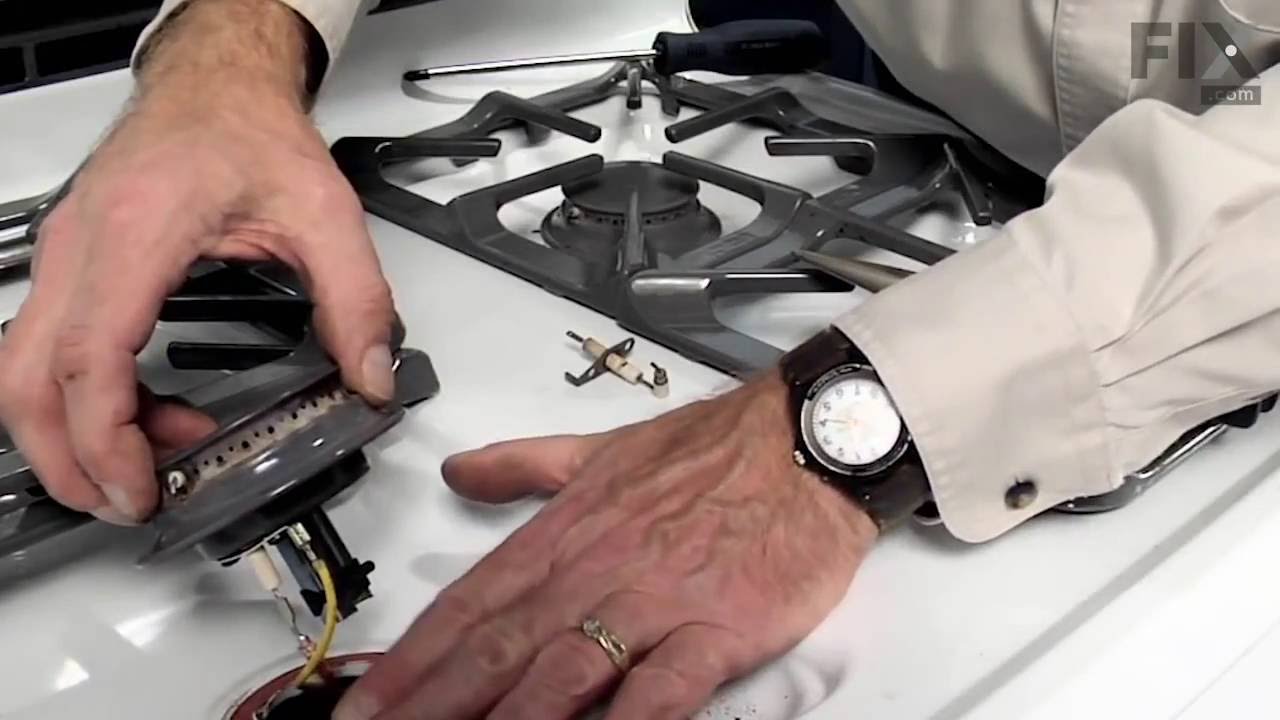
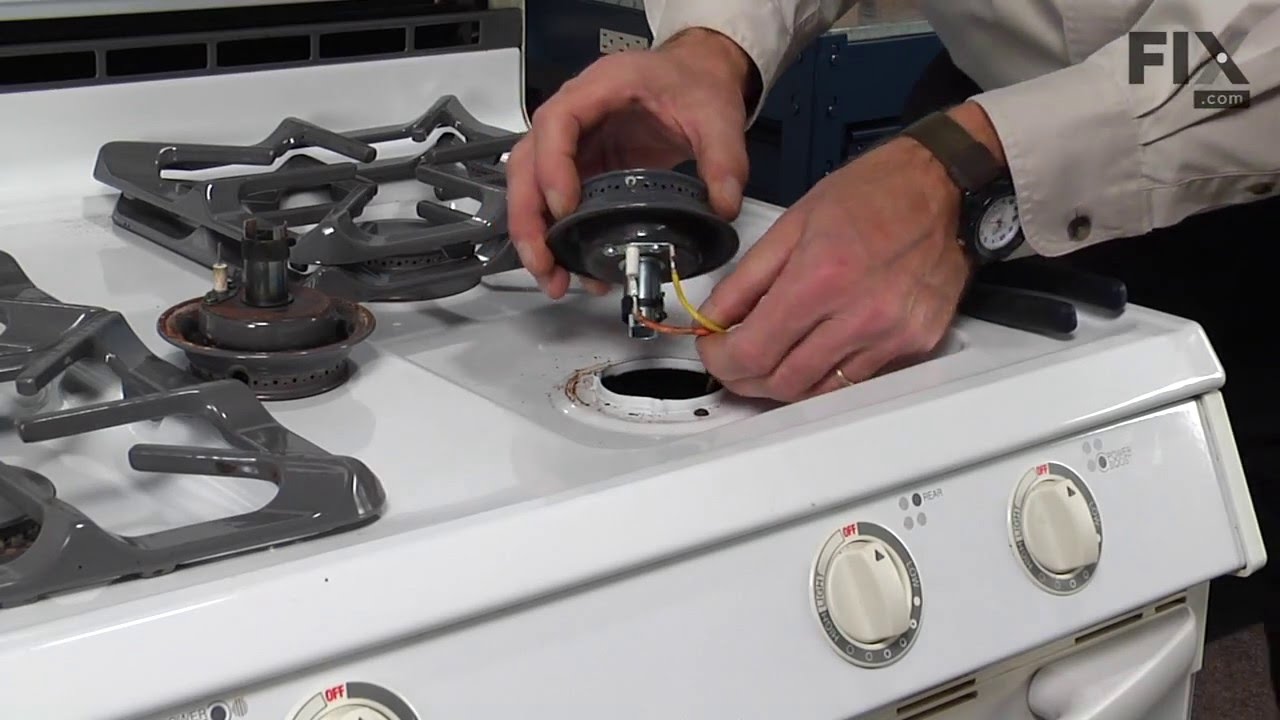
This is a surface burner igniter, also known as a top burner ignitor and stove top spark electrode. It is used to generate the spark that lights the surface burner. If your stove will not start, element does not heat, or gas igniter glows but does not light, replacing the igniter can solve these issues. For this installation, you will nee...Read mored a Phillips screwdriver and needle nose pliers. First place the grate on top of the burner, then lift the burner and disconnect the wires. Next remove the two Phillips screws from the bottom of burner, pull igniter out of the burner and wiggle in the new one. Refer to the installation instructions provided by the manufacturer for more instructions.
This is a leveling leg for your oven, range, or stove. The leveling legs on your oven allow your appliance to sit perfectly flat. The new one may be longer in length than your original, but will work the same. Install the new leveling leg, and test if you have it adjusted properly by putting the appliance on four legs. Adjust in or out a...Read mores required if your oven is rocking. It is recommended to check the other three leveling legs on your appliance in case they are also damaged or worn. The leveling leg measures 1.859", is all black in color, and is made entirely out of plastic. This leg may be shorter than the original but is the factory replacement. Longer leg is not available.
This burner cap assembly is sold with the spark electrode igniter and has a 7-inch outer diameter. This manufacturer-approved surface burner is for gas ranges. The surface burner supplies the heat to a cooking area on the cooktop. You may need to replace your burner cap if the gas igniter glows but will ignite the flame, the range will no...Read moret start, or if you can smell gas. Because a faulty burner cap could lead to a house fire, it is recommended that you replace this part as soon as you realize it is faulty. Remember to unplug the range, turn off the gas, and let the unit cool down before starting this installation.
Note: this part has been redesigned and no longer requires a gasket, and is sold individually.
The temperature sensor on your oven detects the temperature within the oven cavity. If you notice your oven is too hot, not hot enough, or does not heat evenly, the short oven sensor kit may need replacing. This oven sensor is referred to as the short sensor and is 3 inches long. It should not be confused with the 6-inch-long sensor. The ...Read moreoven sensor is located on the back wall of the interior of the oven. Before starting this repair, be sure to disconnect the power source from the oven. If you are repairing a gas range, make sure to disconnect the gas source as well.
This is a multi-use and multi-appliance screw. It can be used on a microwave, refrigerator, range/oven, air conditioner, dehumidifier, washer, or dryer. The measurements of this screw are 8 x 1/2 inch. It has 6 threads. Refer to the manual provided by the manufacturer for further information on repair and accurate guidance. Remember to wear work gloves as a safety precaution.
This is a replacement screw and washer for your oven/range. It is a Phillips-head screw approximately half an inch long, and the washer is approximately 1 inch in diameter. The screw attaches the oven door handle to the door. This part is sold individually and is an authentic OEM part sourced directly from the manufacturer.
This door seal is used for ranges and ovens. The seal prevents hot air escaping from the oven to maintain a certain temperature when baking. The clips sticking out of the seal help secure it to the range doors for the most effective performance. This seal is black in color and is made of rubber. If your oven is not heating evenly, has lit...Read moretle to no heat when baking, or is too hot, replacing the seal can solve the problem. The tools needed for this repair are needle nose pliers. Make sure the oven is cool before starting this installation project. Refer to the diagram provided by the manufacturer for further installation instructions.
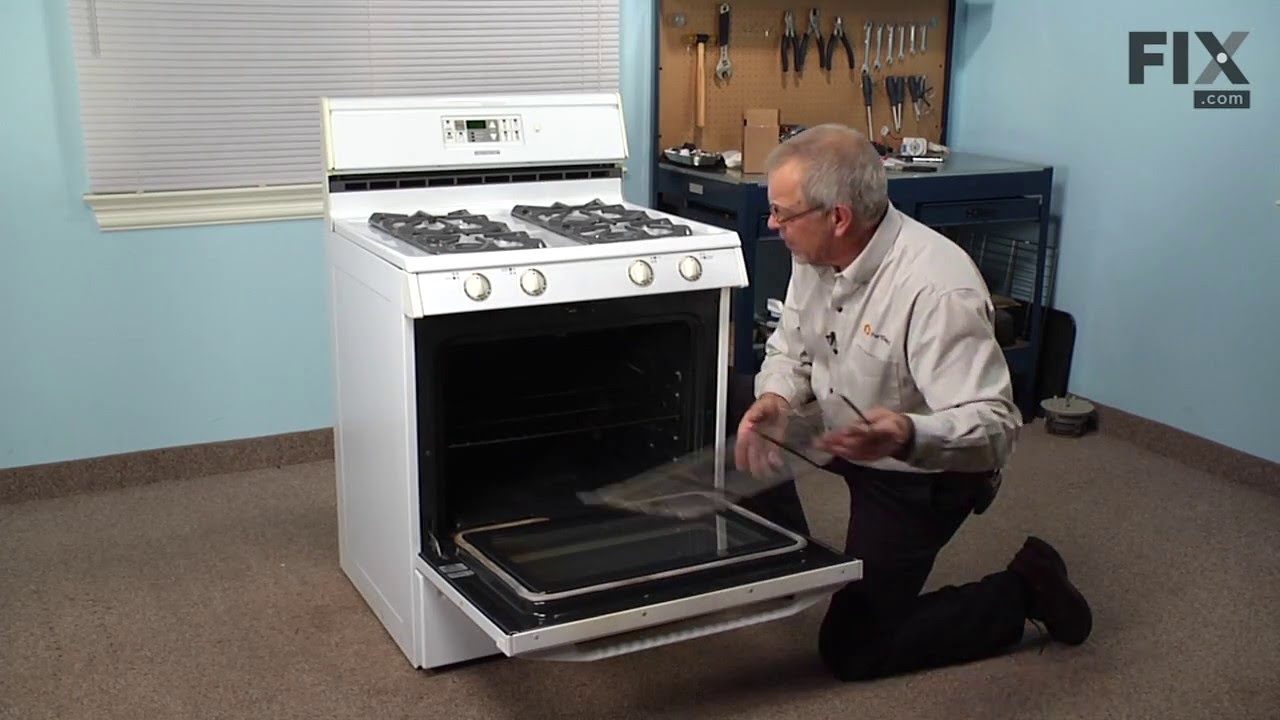
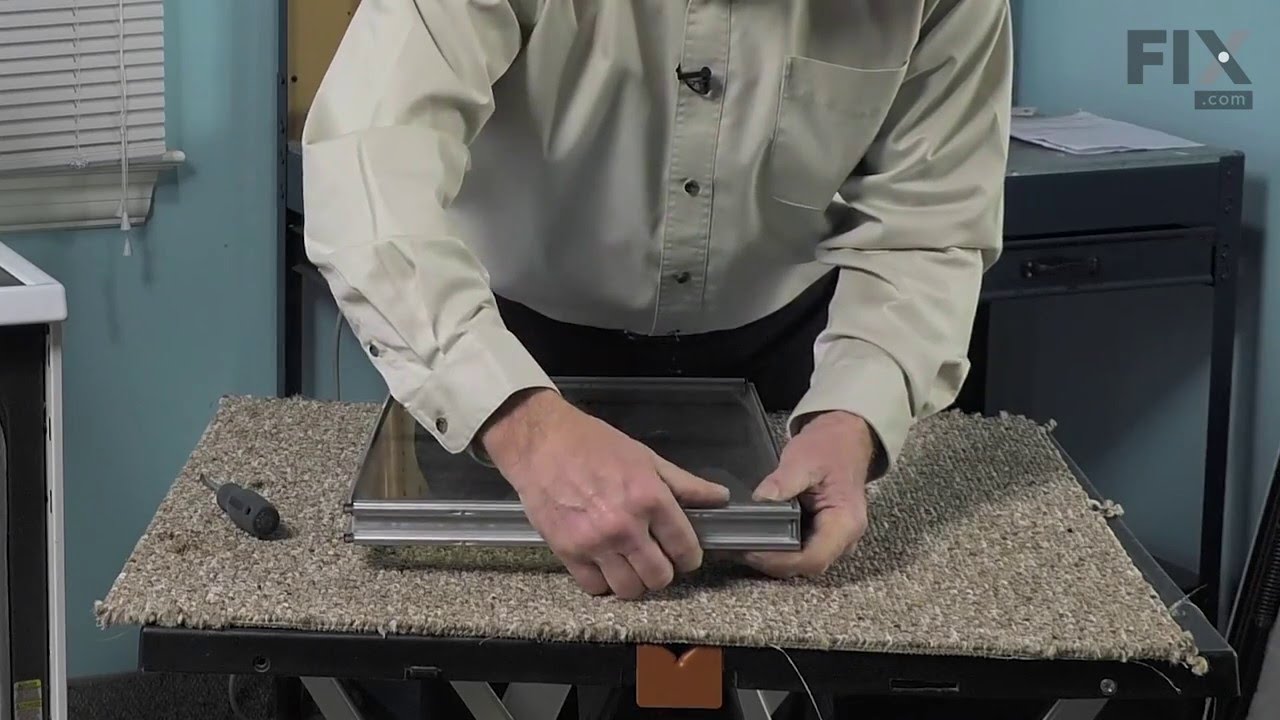
This interior oven door glass is the innermost heat-resistant panel that faces into the oven cavity, helping to contain heat while allowing visibility during cooking. Measuring approximately 20 5/8 inches by 13 1/8 inches, it is designed to fit select oven models. If the glass is cracked or damaged, it should be replaced promptly to maint...Read moreain safety and performance. When installing, ensure the oven is cool and wear protective gloves to prevent injury. This replacement part is sold individually and does not include additional accessories.
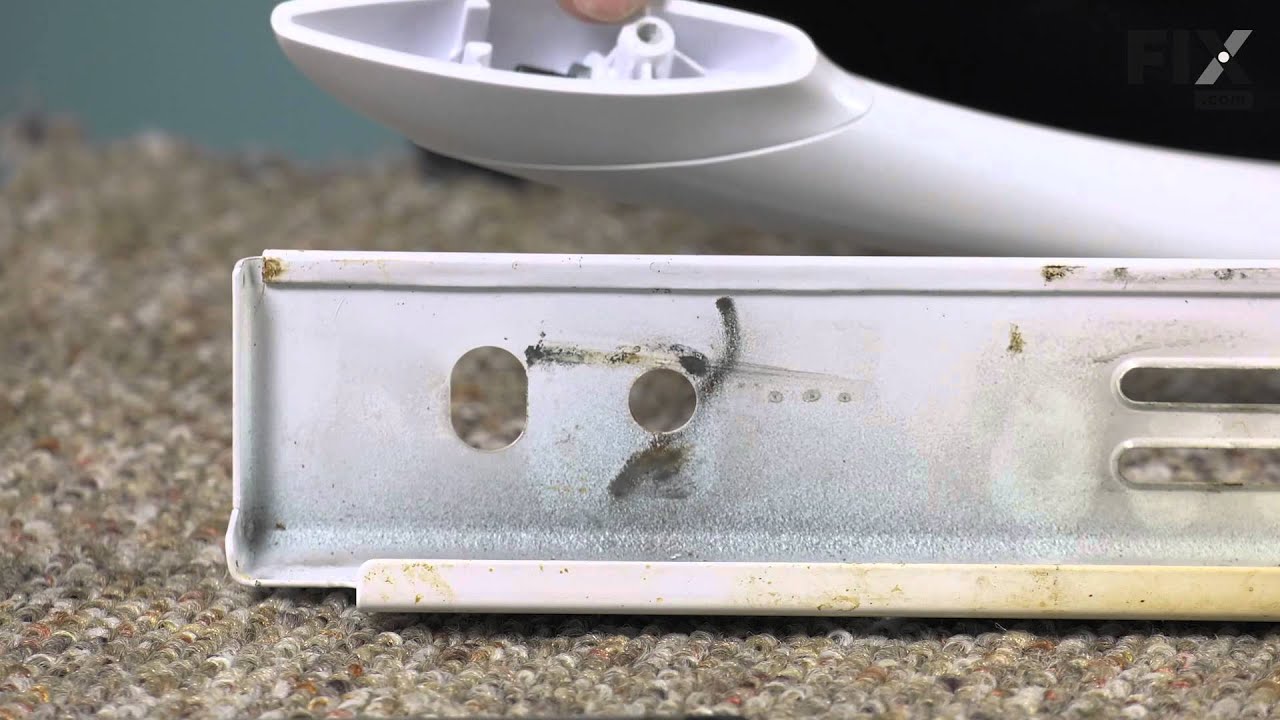
This part is the replacement door handle for your range. It is approximately 29 inches long and 1 inch wide. It is made of white plastic and is sold individually. The door handle screws into the range door and allows you to open and close the door. If the handle is broken or missing, this part will replace it. This is an authentic OEM part sourced directly from the manufacturer.
Ask our experts a question about this model and we'll get back to you as soon as possible!
We may have answered a similar question already! Search questions and answers left by others using simple keywords like "fit", "broken", "easy", or "quality" to find questions that match.
Search filter:
Clear Filter
Your search term must have 3 or more characters.
Sort by:
Prev
1
Next
Sorry, we couldn't find any existing answers that matched.Try using some different or simpler keywords, or submit your new question by using the "Ask a Question" button above!
James - For model number MGR4452BDW
January 5, 2023
Ignitor works good gas comes ondoesn't lite
Hello James, thank you for contacting us. There could be several reasons why the igniter in your oven does not light. Here are a few possibilities:
1. The igniter, part number PS2085070, may be faulty and needs to be replaced.
2. The gas valve may not be open all the way, preventing gas from flowing to the igniter. We would recommend checking the safety and regulator valves.
3. The oven's electrical system may be malfunctioning, preventing the igniter from receiving the necessary voltage.
4. The igniter may be dirty or covered in debris, which can prevent it from functioning properly.
Customer service is available 7 days a week if you require assistance placing an order. Thanks again for reaching out!
See how others fixed this model. Time, tools, difficulty, and steps that lead to victory!View More
Search repair tips from other customers using simple keywords like "replace", "fit", "remove", "inspect". DIY doesn't mean you have to do it alone!
Search filter:
Clear Filter
Your search term must have 3 or more characters.
Oven wouldn’t heat up properly
249 of 284 peoplefound this instruction helpful.
James from Berwick, ME
Really Easy
15 - 30 mins
Screw drivers
My oven has two igniters so I needed to determine which one was the problem.
Using the amp/multi meter I tested the connection between the igniters and the valve, with the oven turned on, to find the bad igniter. Depending on the model of stove you have, the amp reading you need for a properly functioning igniter will vary. My
... Read more lower igniter read 2.7 amps with a rated amp between 3.3 and 3.6. So that was the culprit.
Replacing the igniter was easy. Two screws and a wire connected with a plug. I was able to do the diagnosis and unplug the wire without pulling the oven out. I pulled the drawer out and removed the two screws in a cover behind where the drawer was. You may not be so lucky…I have long arms.
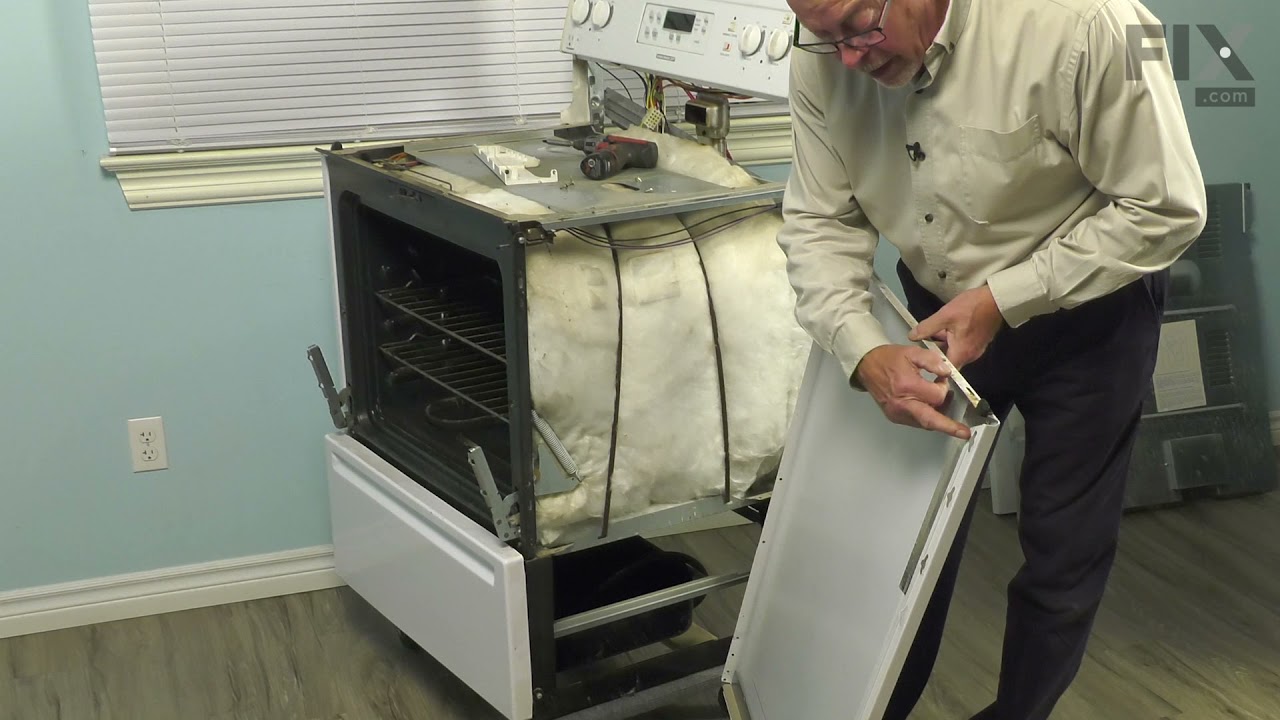
I found removing the oven door made it easier to reach the igniter itself. To remove the door just open it slightly and pull up, it should come off easy…and replace in opposite manner.
Keep track of your screws and put it back together the way you found it except for the igniter that is.
Anyone with moderate technical skill could easily do this repair. The diagnosis is the hard part. I estimate I saved about $200 doing it myself.
Good luck.
Read less
Was this helpful?
Thank you for voting!
F1 code - gas over would not heat.
172 of 188 peoplefound this instruction helpful.
george from birmingham, AL
Easy
15 - 30 mins
Screw drivers
Repair tech checked oven and said the control panel was bad and needed to be replaced. The new control panel would cost over $450.00! I found that the oven sensor was bad and replaced it for $30.00. The old oven sensor had failed following a self cleaning cycle. I found that the wires coming out of it were burnt.
Replacing
... Read morethe oven sensor was very easy. I removed the back panels 6 screws to gain access to the sensor's connection. I then removed the 2 screw that hold the sensor in place inside the oven and pulled the old sensor out through the oven. I reversed this process to place the new sensor in the oven.
Read less
Was this helpful?
Thank you for voting!
A burner wouldn't spark strongly enough to light the gas.
168 of 188 peoplefound this instruction helpful.
Matthew from Brookfield, MA
Really Easy
Less than 15 mins
Pliers
Replacement of these burners is very easy. You just twist the burner counterclockwise a quarter turn and pull it out. (You may need a big wrench if the range is very old.) Once out, just pull the two wires off and push them onto the new burner. Crimp them on with pliers if they're loose -- mine were. Twist the burner back on. If the
... Read more gasket under the burner has disintegrated, don't worry about it. They don't offer replacements for them because they're not necessary as a safety feature. They were designed to keep overspills from running under the cooktop, but the ridge around the hole is likely higher than you'd ever need.



 My Orders





.gif "SUPPLEMENTAL INFORMATION Diagram and Parts List for Maytag Range")