Parts That Fix Jenn-Air Range JES9800AAB Element will not heat
Element will not heat is a commonly reported symptom for the JES9800AAB Jenn-Air Range, and we have put together a full guide on how to fix this. This advice is based on feedback from people who own this exact appliance. We have listed the most common parts for your JES9800AAB Jenn-Air Range that will fix Element will not heat. We have included repair instructions, and helpful step-by-step video tutorials. If you are experiencing this issue, not to worry, DIYers just like you have fixed this, and shared their experience to help you!
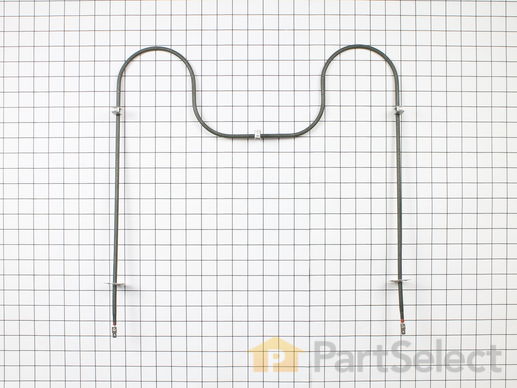
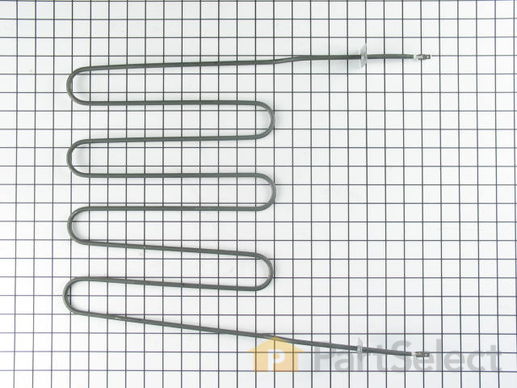
This bake element is for the bottom of your oven. The bake element supplies heat for baking. If you find there is little to no heat when baking, a burned out bake element, or food is taking too long to cook, these symptoms could be solved by replacing the bake element. Before starting this replacement, make sure the range is unplugged from the power source or shut off from the house circuit breaker. The tools needed is a Phillips screwdriver. For safety reasons, make sure to wear gloves.
Replacing your Maytag Range Bake Element

Customer Repair Stories
bake element burned out.
Removed two screws that hold element in place.
Gentley pulled element toward door opening.
Once wire is expose, hold back of element and pull gentley to seperate element from wire slot.
Connect new element to wire and replace screws.
-
alexander from Birmingham, AL
-
Difficulty Level:Easy
-
Total Repair Time:Less than 15 mins
-
Tools:Screw drivers
The element broke in two pieces after food dried on it.
-
Heather from Huntsville, AL
-
Difficulty Level:Really Easy
-
Total Repair Time:15 - 30 mins
-
Tools:Screw drivers
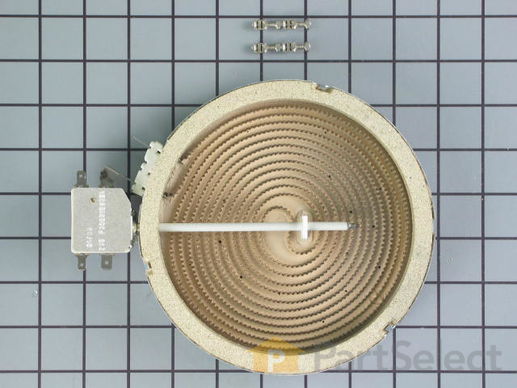
This is a radiant surface element with limiter, and it works in conjunction with your range. The function of this part is to give heat to the surface directly above it, on cooking area stove top.This model is sold individually and is 1200 watts. The main reason for needing to replace this part is if your element will not heat. Before ordering, make sure to test your stove top radiant element for continuity to make sure it is the problem. To make this installation you will need a Phillips screwdriver, and a 14-inch nut driver.
Replacing your Whirlpool Range Element with Limiter 6 Inch - 1200W

Customer Repair Stories
Hot Burner Light always on
Turn off power. Removed front two screws above oven door jamb and lifted the top. Removed the bracket that holds the element against the glass top and removed the element. Moved brackets from old element to new one, aligning to same numer ... Read more ical position and then moved wiring to new element. Slide new element under bracket and reinstalled single screw. Replaced top and screwed down. Turn on power and test .
-
Gregory from Cary, NC
-
Difficulty Level:Really Easy
-
Total Repair Time:15 - 30 mins
-
Tools:Screw drivers
Right rear burner went bad
-
Mark from Loxahatchee, FL
-
Difficulty Level:Really Easy
-
Total Repair Time:15 - 30 mins
-
Tools:Nutdriver, Screw drivers
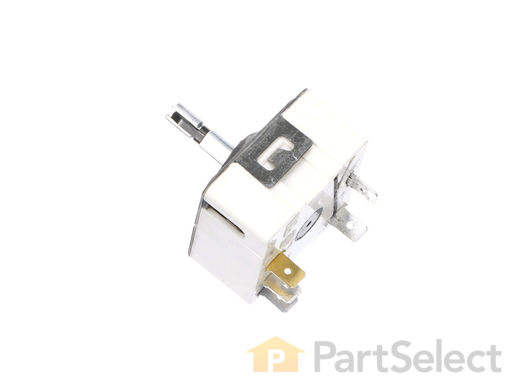
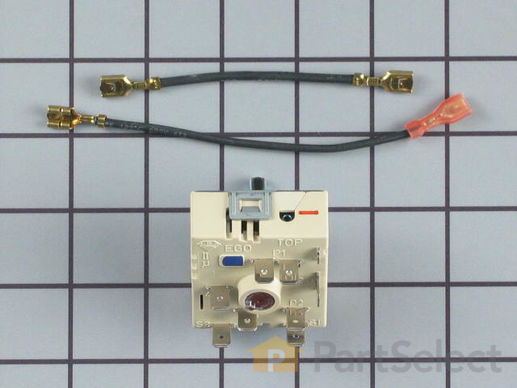
This surface burner switch, also known as an infinite switch, controls and regulates the heat output of the burners on a stovetop. The user simply adjusts the knob on the user interface panel, which in turn controls this switch. Made for various ranges, wall ovens and cooktops, this is a genuine OEM part that comes by itself, without any hardware like screws or nuts. This burner switch is an electrical component that you also handle directly, so it can become faulty leading to problems like your stovetop not heating enough, overheating or staying at a fixed heat. This burner switch is a vital component for your stovetop and if it presents any of those issues, it needs to be replaced immediately. A screwdriver, set of pliers and wiring diagram will be needed for the replacement and installation process, and you will need to remove your appliance from the wall outlet first. Remove the knobs from the control panel and then gain access to the underneath portion of it with your screwdriver and disconnect the switch. Remove the wires from the burner switch with a set of pliers and disconnect the securing screws holding the switch in place. Now, you can install the new switch and reassemble the panel, being mindful of wiring each connector to the appropriate wire.
Customer Repair Stories
Burner Control not Functioning
Turn off Power
Remove four screws under panel.
Remove old burner knob.
Drop Burner Panel from range
Remove 5 wire connectors from old burner control
with pliers
Remove 2 screws that held burner control to range
panel
Install new burner control
Rplace two screws to burner ... Read more control
Replace 5 wire connectors to new burner control
Replace 4 screw under panel
Replace knob to new burner control
Turn on electricity
Made wife happy!
-
Randall from Mohnton, PA
-
Difficulty Level:Easy
-
Total Repair Time:Less than 15 mins
-
Tools:Pliers, Screw drivers
Burner had one temperature--hot, regardless of setting
2. Took off the cover for the center vent and loosened the two screw holding the housing in place--the screws didn't have to come out completely as it is a U-shaped friction hold.
3. Unscrewed the two screws holding the old control switch in ... Read more place--lifted the housing enough to get at the old switch and carefully pulled it loose--it was a front burner so the control switch was about as far back as it could be but still wasn't that hard to get at.
4. Turned the new switch to orient the wire connectors, then, using a needle-nose pliers, removed each friction connector, one at a time, and fitted them on the new switch (note: one of the wires fitted best if it went under as opposed to around the base of the new switch).
5. Replaced the control back through the housing and screwed it in place, making sure the orientation of the control matched the way it looked originally.
6. Slide the housing back over the two screws and tightened, replace vent.
7. Replaced the knob and turned on the power.
(The above took me about twice as long to write as it did to make the repair and I write professionally but am not a professional electrician.)
Also, I bought a second control switch because, given the age of the unit, I'm sure another one will go. The second one will assure that it won't happen :-).
-
James H from Oxford, NY
-
Difficulty Level:Really Easy
-
Total Repair Time:Less than 15 mins
-
Tools:Pliers, Screw drivers
Replacing your Maytag Range Dual Radiant Element with Limiter

Customer Repair Stories
Element did not heat
-
Michael from Lancaster, PA
-
Difficulty Level:Easy
-
Total Repair Time:30 - 60 mins
-
Tools:Nutdriver, Screw drivers
Outer Ring of Dual Radiant Burner Does Not Come On
-
Christopher from Fredericksburg, VA
-
Difficulty Level:Really Easy
-
Total Repair Time:15 - 30 mins
-
Tools:Nutdriver, Pliers
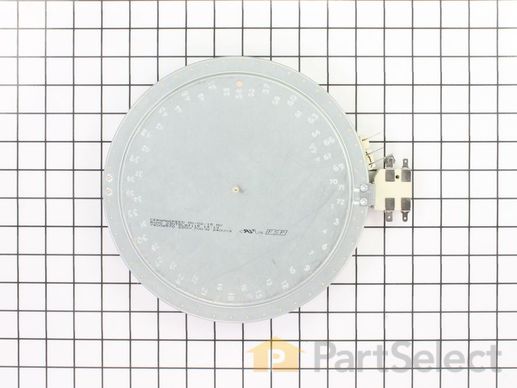
This switch is used to operate the dual surface burner.
Customer Repair Stories
The repair itself was very easy. “How to connect” was very hard to get.
To get access to the switch, unscrew 2 screws from each side of front panel and then 4 screws from the bottom of it (open the door first). Have a box or a small table about 30” high to use it as support for the front panel.
The end result ... Read more (colors for the Right Front- R.F.- burner) : Old label -> New label
1. Double RED: N -> P2 (incoming power, Line 1)
2. Single RED: N -> 2 (to Inner AND Outer heating elements common wire)
3. Single BLK: L1 -> P1 (incoming power, Line 2)
4. Single TAN: H1 -> 4 (to the Inner heating element)
5. Single YEL: H2-> 4a (to the Inner heating element)
6. Single BLK: P -> S2 (to the R.F. indicator control light)
7. Attach jumper black wire (included with new switch) from P1 (P1 has two connectors close together) to S1.
Done.
-
Igor from Campbell, CA
-
Difficulty Level:Really Easy
-
Total Repair Time:15 - 30 mins
-
Tools:Nutdriver, Pliers, Screw drivers
Outer element of dual element burner didn't work
The instructions with the new switch were very poorly written, so here is how I got the new switch to work:
Attach the black wire(s) from the old switch (termi ... Read more nal 2) to the new switch terminal P1. Also attach the jumper cable to P1 and "jump" it to S1.
Attach the orange wire (old switch terminal 5) to S2
Attach the yellow wire (old switch terminal 4) to 4a
Attach the tan/(white?) wire (old switch terminal 3) to terminal 4 on the new switch
Attach the single red wire from the right front element to terminal 2 on the new switch.
Attach the 'compound' red wires (the ones that come from the left rear/outlet connection and is also attached to the right rear switch) to terminal P2 on the new switch.
There is no need to seperate the compound red wires as the instructions might lead you to believe.
Good Luck
-
Michael from Collierville, TN
-
Difficulty Level:A Bit Difficult
-
Total Repair Time:30 - 60 mins
-
Tools:Nutdriver, Pliers, Socket set
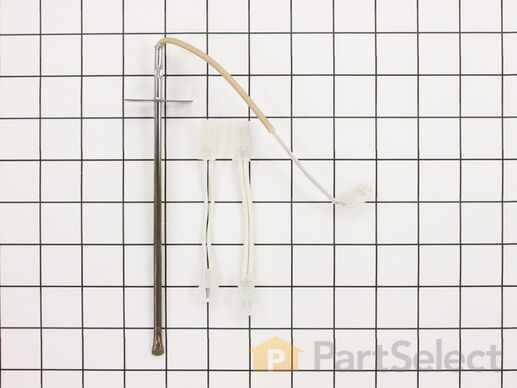
This long oven sensor is also commonly known as a temperature sensor. It is designed for use with ovens and ranges. It is similar to a thermostat; it measures and regulates the internal temperature of your oven cavity. There is an adapter at one end, a probe at the other, and they are connected by an insulated wire. The probe is approximately 7 inches long. You can test the sensor with a multi-meter for functionality. You need to check the model-specific manual to determine what the proper resistance is for your specific appliance. This oven sensor comes with two wire harness adapters and a set of instructions.
Replacing your Maytag Range Long Oven Sensor

Customer Repair Stories
F1-1 code
-
charles from marstons mills, MA
-
Difficulty Level:Really Easy
-
Total Repair Time:Less than 15 mins
-
Tools:Screw drivers
Oven not holding 350 F, when cooling the coils did not reheat
-
David from Westford, MA
-
Difficulty Level:Really Easy
-
Total Repair Time:15 - 30 mins
-
Tools:Screw drivers
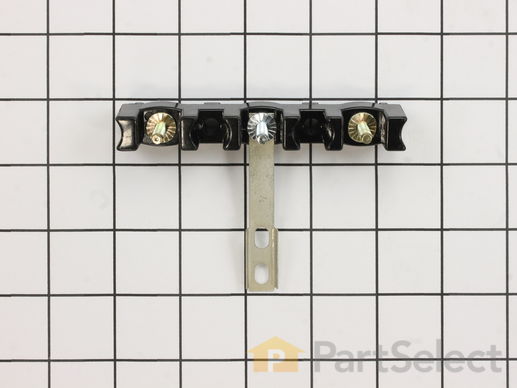
This part is for oven ranges, it connects individual wires and protects the device from electrical surges, voltages, and current. With this part, the house power is connected to the range wire harness. Some symptoms replacing the terminal block could be a solution for are little to no heat when baking, element will not heat and/or it will not start. This part will prevent loosening and will reduce damage caused by corrosion (by two different metals). Refer to the instructional diagram for further replacement guidance and exact placement. You must unplug the appliance before installing this part and wear gloves to protect your hands.
Replacing your Maytag Range Terminal Block

Customer Repair Stories
Stove top wouldn't come on. Oven couldn't go higher than low heat
Jumped on Part Select website, placed a question with my stove problem through the chat. Immediately they answer ... Read more ed my question and told me the problem was the Terminal Block. Cost of part and shipping $25.00. Replaced it myself and everything works fine.
Thank you, Thank you Part Select for your help and honesty.
Sincerely
Peter from Maryland
-
Peter from FREDERICK, MD
-
Difficulty Level:Really Easy
-
Total Repair Time:Less than 15 mins
-
Tools:Screw drivers, Socket set
Burned terminal block and filter board
-
Joseph from Decatur, GA
-
Difficulty Level:Easy
-
Total Repair Time:30 - 60 mins
-
Tools:Nutdriver, Screw drivers, Socket set, Wrench set
This broil element is found on the roof of the oven.
Customer Repair Stories
Element Melted
-
Ben from Bethlehem, PA
-
Difficulty Level:Really Easy
-
Total Repair Time:Less than 15 mins
-
Tools:Pliers, Screw drivers
Customer Repair Stories
Smaller inside burner of dual burner overheating
-
Chris from NEW HAVEN, CT
-
Difficulty Level:Easy
-
Total Repair Time:30 - 60 mins
-
Tools:Screw drivers
small burner in dual buner not work
-
sinh from brentwood, TN
-
Difficulty Level:A Bit Difficult
-
Total Repair Time:30 - 60 mins
-
Tools:Screw drivers
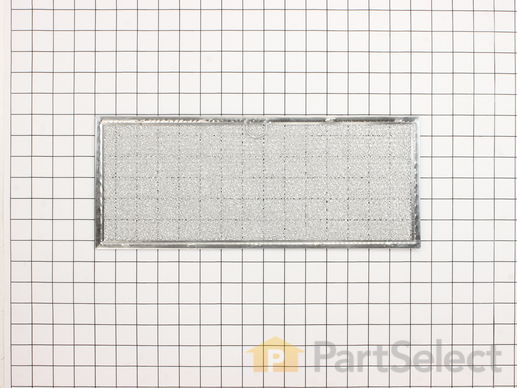
This filter is made of metal and is intended for use with ranges and cooktops. Grease filters are an important but often neglected part of ranges. If the filter is full, your extractor fan will become noisier, and cause a bad odor to come from your range. Neglecting the grease filter can also pose a fire hazard in your kitchen. Regular maintenance and cleaning of the grease filter is important and will make the part work more efficiently and last longer. It takes about 30 seconds to replace your grease filter. While replacing the filter, take a minute to check for a grease buildup underneath, and clean out any drip-through grease. As per the manufacturer, if this filter is 1/2" less wide than the original, it will still function the same.
Replacing your Jenn-Air Range Grease Filter

Customer Repair Stories
Needed to replace filter
-
Marie from New Smyrna Bch, FL
-
Difficulty Level:Really Easy
-
Total Repair Time:Less than 15 mins
Replace Grease Filter
-
Gene from Washington C.H., OH
-
Difficulty Level:Really Easy
-
Total Repair Time:Less than 15 mins


