This filter is made of metal and is intended for use with ranges and cooktops. Grease filters are an important but often neglected part of ranges. If the filter is full, your extractor fan will become noisier, and cause a bad odor to come from your range. Neglecting the grease filter can also pose a fire hazard in your kitchen. Regular ma...Read moreintenance and cleaning of the grease filter is important and will make the part work more efficiently and last longer. It takes about 30 seconds to replace your grease filter. While replacing the filter, take a minute to check for a grease buildup underneath, and clean out any drip-through grease. As per the manufacturer, if this filter is 1/2" less wide than the original, it will still function the same.
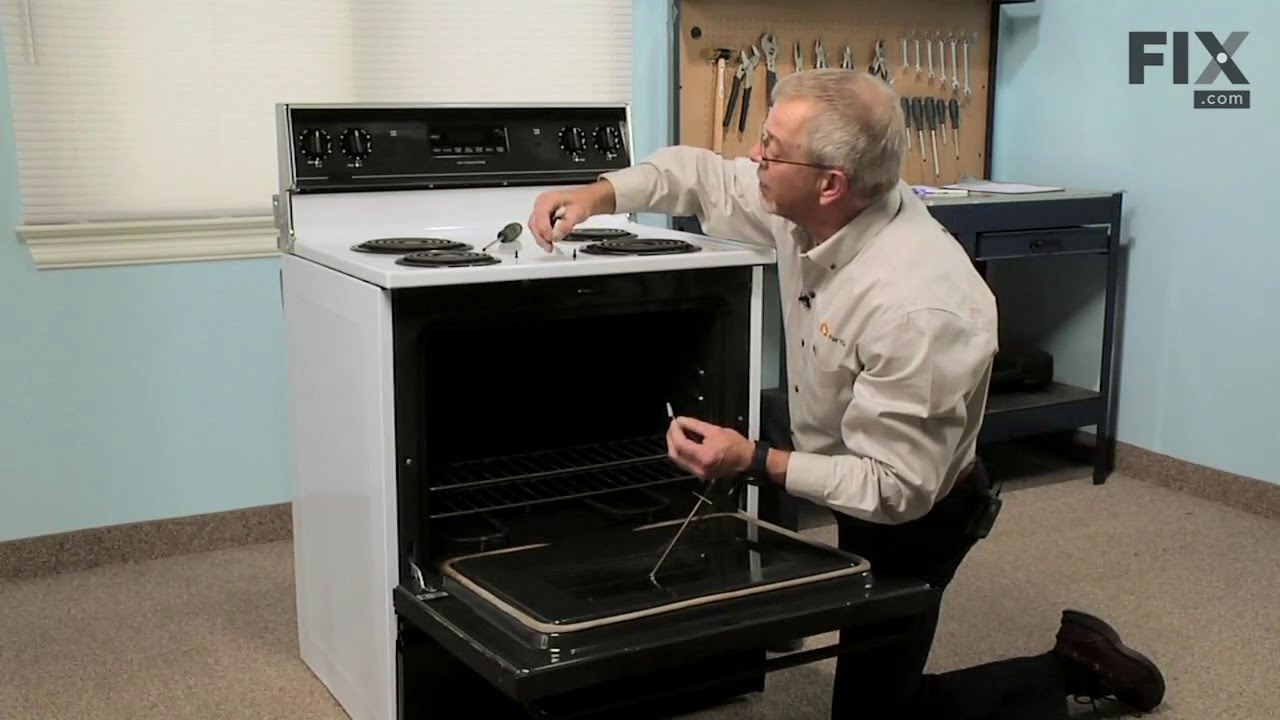
This bake element is for the bottom of your oven. The bake element supplies heat for baking. If you find there is little to no heat when baking, a burned out bake element, or food is taking too long to cook, these symptoms could be solved by replacing the bake element. Before starting this replacement, make sure the range is unplugged fro...Read morem the power source or shut off from the house circuit breaker. The tools needed is a Phillips screwdriver. For safety reasons, make sure to wear gloves.
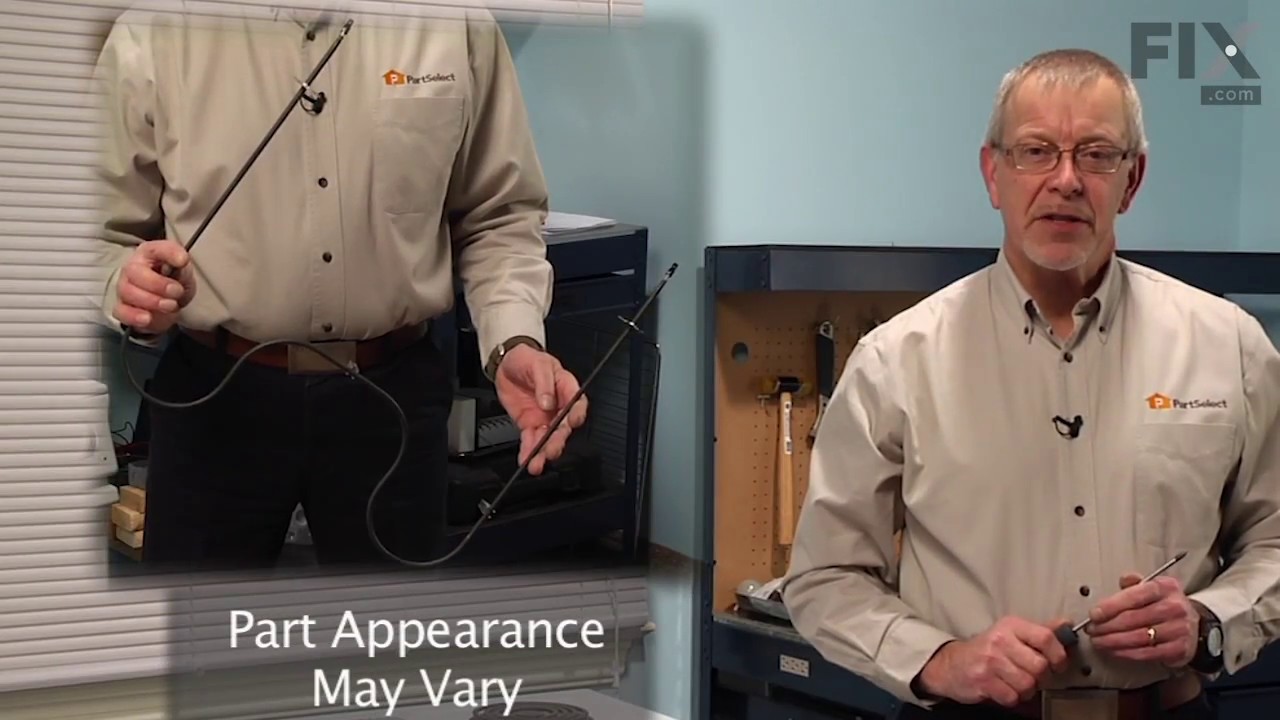
This long oven sensor is also commonly known as a temperature sensor. It is designed for use with ovens and ranges. It is similar to a thermostat; it measures and regulates the internal temperature of your oven cavity. There is an adapter at one end, a probe at the other, and they are connected by an insulated wire. The probe is approxima...Read moretely 7 inches long. You can test the sensor with a multi-meter for functionality. You need to check the model-specific manual to determine what the proper resistance is for your specific appliance. This oven sensor comes with two wire harness adapters and a set of instructions.
This is a leveling leg for your oven, range, or stove. The leveling legs on your oven allow your appliance to sit perfectly flat. The new one may be longer in length than your original, but will work the same. Install the new leveling leg, and test if you have it adjusted properly by putting the appliance on four legs. Adjust in or out a...Read mores required if your oven is rocking. It is recommended to check the other three leveling legs on your appliance in case they are also damaged or worn. The leveling leg measures 1.859", is all black in color, and is made entirely out of plastic. This leg may be shorter than the original but is the factory replacement. Longer leg is not available.
This is a multi-use and multi-appliance screw. It can be used on a microwave, refrigerator, range/oven, air conditioner, dehumidifier, washer, or dryer. The measurements of this screw are 8 x 1/2 inch. It has 6 threads. Refer to the manual provided by the manufacturer for further information on repair and accurate guidance. Remember to wear work gloves as a safety precaution.
This surface burner switch, also known as an infinite switch, controls and regulates the heat output of the burners on a stovetop. The user simply adjusts the knob on the user interface panel, which in turn controls this switch. Made for various ranges, wall ovens and cooktops, this is a genuine OEM part that comes by itself, without any ...Read morehardware like screws or nuts. This burner switch is an electrical component that you also handle directly, so it can become faulty leading to problems like your stovetop not heating enough, overheating or staying at a fixed heat. This burner switch is a vital component for your stovetop and if it presents any of those issues, it needs to be replaced immediately. A screwdriver, set of pliers and wiring diagram will be needed for the replacement and installation process, and you will need to remove your appliance from the wall outlet first. Remove the knobs from the control panel and then gain access to the underneath portion of it with your screwdriver and disconnect the switch. Remove the wires from the burner switch with a set of pliers and disconnect the securing screws holding the switch in place. Now, you can install the new switch and reassemble the panel, being mindful of wiring each connector to the appropriate wire.
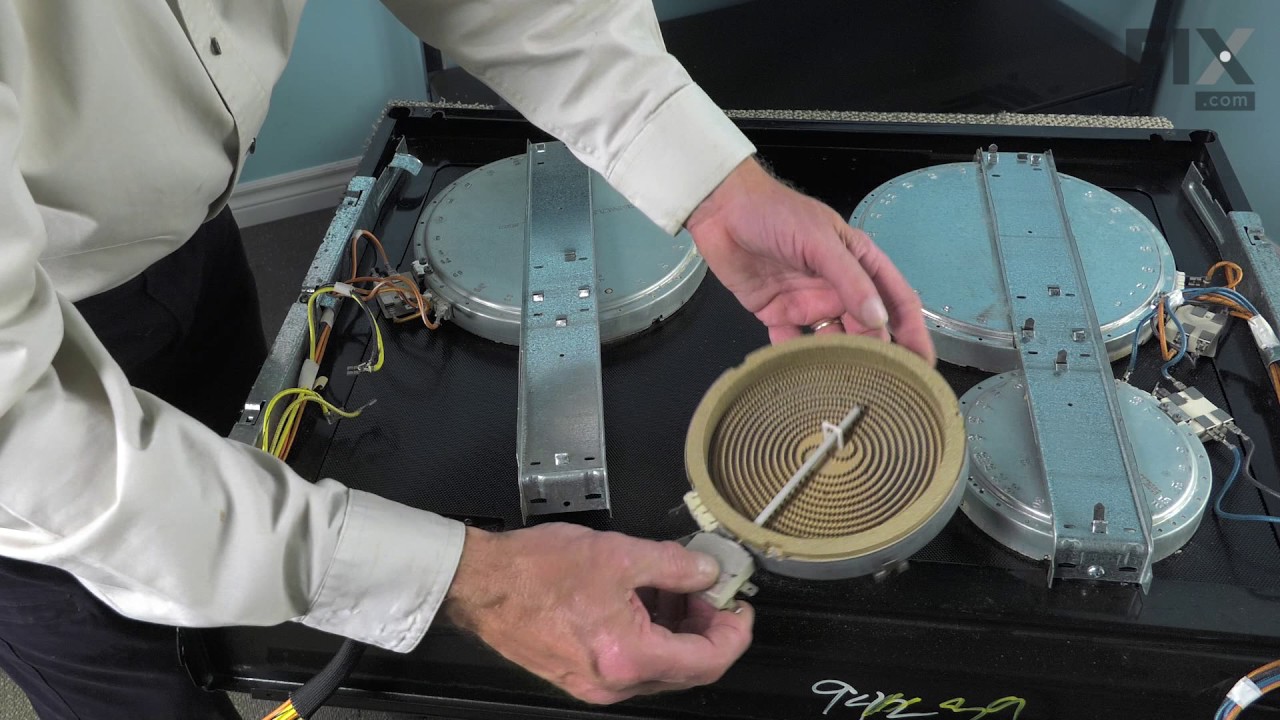
This is a radiant surface element with limiter, and it works in conjunction with your range. The function of this part is to give heat to the surface directly above it, on cooking area stove top.This model is sold individually and is 1200 watts. The main reason for needing to replace this part is if your element will not heat. Before orde...Read morering, make sure to test your stove top radiant element for continuity to make sure it is the problem. To make this installation you will need a Phillips screwdriver, and a 14-inch nut driver.
The oven door gasket on your range functions as a seal between the warm interior of your oven, and the outside. It prevents heat from fleeing your oven when the door is closed. Before making any repairs to your oven you should make sure to wear work gloves to protect your hands, and give your oven time to cool. The only tool you will need...Read more to make this repair is a pair of needle nose pliers. This oven door gasket comes with built in retaining clips; if any retaining clips from your old gasket are left in the oven make sure to remove them before installing your new gasket.
This part is for oven ranges, it connects individual wires and protects the device from electrical surges, voltages, and current. With this part, the house power is connected to the range wire harness. Some symptoms replacing the terminal block could be a solution for are little to no heat when baking, element will not heat and/or it will...Read more not start. This part will prevent loosening and will reduce damage caused by corrosion (by two different metals). Refer to the instructional diagram for further replacement guidance and exact placement. You must unplug the appliance before installing this part and wear gloves to protect your hands.
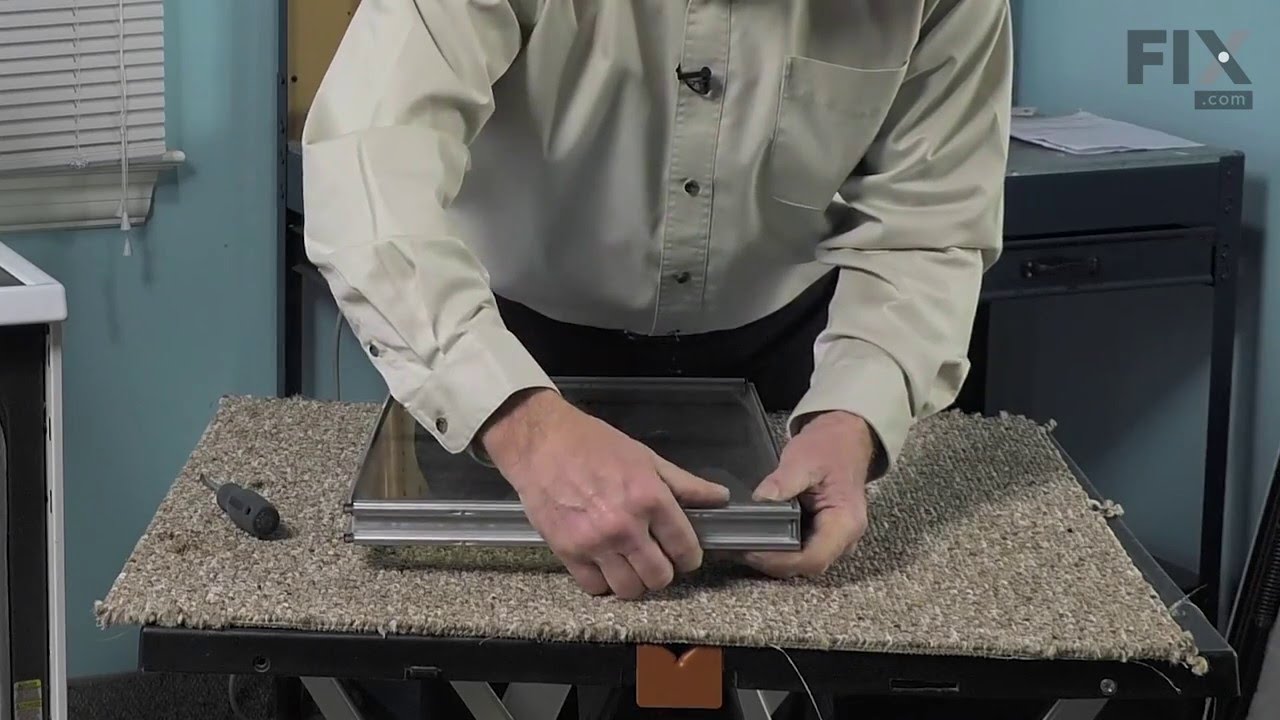
This interior oven door glass is the innermost heat-resistant panel that faces into the oven cavity, helping to contain heat while allowing visibility during cooking. Measuring approximately 20 5/8 inches by 13 1/8 inches, it is designed to fit select oven models. If the glass is cracked or damaged, it should be replaced promptly to maint...Read moreain safety and performance. When installing, ensure the oven is cool and wear protective gloves to prevent injury. This replacement part is sold individually and does not include additional accessories.
This part is a replacement halogen lamp for your oven. The bulb is 25 watts and 120 volts. If your light bulb is burned out, this is the part that replaces it. Be sure to turn off power to your range hood before you begin this repair. This bulb is sold individually and is a genuine OEM part sourced directly from the manufacturer.
Ask our experts a question about this model and we'll get back to you as soon as possible!
We may have answered a similar question already! Search questions and answers left by others using simple keywords like "fit", "broken", "easy", or "quality" to find questions that match.
Search filter:
Clear Filter
Your search term must have 3 or more characters.
Sort by:
Prev
1
2
Next
Sorry, we couldn't find any existing answers that matched.Try using some different or simpler keywords, or submit your new question by using the "Ask a Question" button above!
Luke - For model number JES9800AAB
November 15, 2022
The display shows both elements turned on during baking cycle warmup, but the broil element never glows like the baking element. The broil element works fine during broil cycle. Should both elements be on during baking?
Hi Luke, thank you for contacting us. Generally, the bake settings use only the lower element. Preheat setting turns on both elements, it is the setting to use for recipes requiring a cold start in the oven. After the warmup, the oven switches to the bake element and maintains the temperature with only the lower element. We hope this helps!
2 peoplefound this instruction helpful.
Was this helpful?
Thank you for voting!
Joe - For model number JES9800AAB
July 12, 2023
Control panel alarms and scrolls F1-1 call authorized dealer when appliance is not in use
Hello Joe, thank you for contacting us. The F1-1 error code means that your oven thinks your lower oven sensor is shorted. Power unit down by turning off the circuit breaker(s) for one minute. Power unit up by turning on the circuit breaker(s). Monitor the oven for one minute to ensure the error code does not display again. Verify oven operation. If it does not solve the problem, we recommend replacing the temperature sensor, part number PS1570174. We hope this sorts out your problem!
I need the two phase burner looking at the stove the right front
The center works but the outside ring doesn't
Any suggestions
Hello Joe, thank you for reaching out. Before replacing the surface burner, we would suggest checking the infinite switch, part number PS2003583, to fix the issue. It turns the surface element on and off and controls how much heat the element produces. We hope that helps!
What is the difference between the AAW and AAB model? I need an ignition switch for my JES9800AAW range.
Hello Ardner, thank you for your question. JES9800AAW is a white unit. JES9800AAB is a black unit. The switches for both models would be the same. If you need help placing an order, customer service is open 7 days a week. Please feel free to give us a call. We look forward to hearing from you.
Was this helpful?
Thank you for voting!
Derek - For model number JES9800AAB
January 24, 2025
Hi do you know if the glass top for the 9800aab is compatible with the model 9800aas?
Hi Derek,
Thank you for your question. Yes, the cooktop is the same for both models. We hope this helps!
Was this helpful?
Thank you for voting!
Prev
1
2
Next
✖
Ask a Question
Ask our experts a question on this model and we'll respond as soon as we can.
See how others fixed this model. Time, tools, difficulty, and steps that lead to victory!View More
Search repair tips from other customers using simple keywords like "replace", "fit", "remove", "inspect". DIY doesn't mean you have to do it alone!
Search filter:
Clear Filter
Your search term must have 3 or more characters.
Replace Grease Filter
531 of 547 peoplefound this instruction helpful.
Gene from Washington C.H., OH
Really Easy
Less than 15 mins
Just a couple of minutes to left off the cover grid, left out the old filter and drop in the new one.
Was this helpful?
Thank you for voting!
The element broke in two pieces after food dried on it.
179 of 185 peoplefound this instruction helpful.
Heather from Huntsville, AL
Really Easy
15 - 30 mins
Screw drivers
First, I unplugged the oven. Then, I removed the two screws that hold the element in place. After that, I gently pulled the element toward the front of the oven until the wires were exposed. I disconnected the wires from the old element, removed the old element and then attached the wires to the new baking element. I gently pushed the
... Read more new element back into the screw holes and screwed the new element in place. When I plugged the oven back into the wall I heard a pop and thought I'd blown up the oven! Turns out the breaker popped...after fixing the breaker, I turned the oven on and the element worked just fine. I highly recommend PartSelect.com for their fast shipping and great products. I will be ordering from them again for future appliance parts.
Read less
Was this helpful?
Thank you for voting!
Right rear burner went bad
155 of 190 peoplefound this instruction helpful.
Mark from Loxahatchee, FL
Really Easy
15 - 30 mins
Nutdriver, Screw drivers
Turned the breaker off, I removed 2 screws securing the range top to the range, opened the top and secured it in the up position, Removed the 2 screws securing the element ,one at a time I swapped the quick connectors from the old element to the new and repeated the process in reverse. I save over $100.00 in labor, plus most companies get
... Read more you for a trip charge. It was easy!!




 My Orders