Common Causes and Step-by-Step Repair Instructions
Tweet
Pin It
Share
Subscribe
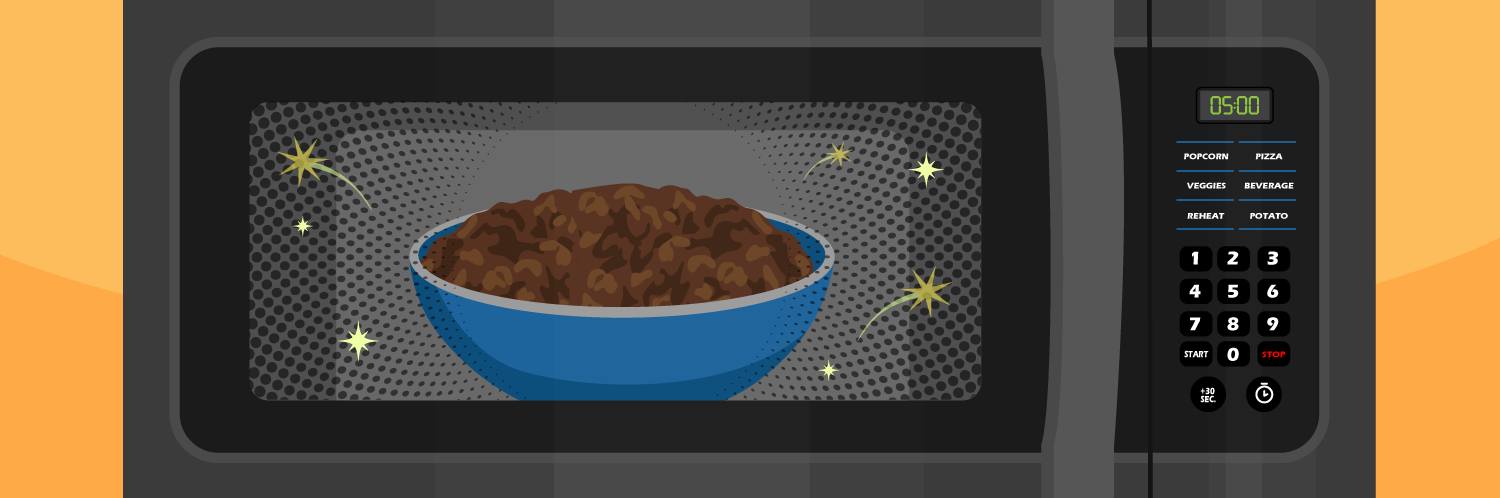
If your microwave is sparking or arcing, it is mostly likely due to the presence of metal inside the microwave, chipped interior paint, or a damaged waveguide cover. However, there may be several other reasons, such as a faulty door switch or diode, or damaged shelf supports that can also contribute to the problem. Understanding the causes behind these electrical sparks and learning how to troubleshoot them is essential for both the longevity of your microwave and the safety of your kitchen. In this article, we will delve into the various factors that can lead to sparking in microwaves. Moreover, we will provide a comprehensive step-by-step guide on resolving each of these issues, empowering you to address the sparks and restore your microwave to optimal functionality.
Metal Inside the Microwave
Metal reflects microwaves and creates a concentrated area where electrical currents form. The concentrated energy can lead to sparking, or arcing. The presence of metal inside the microwave cavity can result in electrocution, or even a fire inside the microwave by igniting flammable materials inside the appliance. Metal can also reflect microwaves back into the magnetron - a critical part of the voltage circuitry - and damage this component, leading to a major malfunction or complete failure of the appliance. If you notice sparking inside the microwave as it is in use, stop the microwave immediately and check for the presence of metal inside the appliance.
Common Metal Items that Can Cause Sparking:
Aluminum Foil: Highly reflective, aluminum foil can cause sparks and should never be used in the microwave.
Metal Utensils or Containers: Avoid placing metal utensils or containers with metallic accents in the microwave, as they can cause sparks and damage.
Metal Twist Ties or Staples: Remove metal twist ties from packages or staples from microwaveable food containers before placing them in the microwave.
Metal Trim on Dishes: Some dishes have metallic trim or decorations. It is recommended to avoid using such dishes in the microwave to prevent sparking.
Metalized Plastic: Containers with a metalized plastic coating can also cause issues. Always check the packaging to ensure it is microwave-safe.
Chipped Interior Coating
If the interior coating in your microwave is chipped or cracked, it can expose the metal underneath, leading to sparking or arcing during operation. The interior coating can be damaged by use of harsh cleaning materials or abrasive scrubbers, improperly placing containers inside the microwave, using the wrong type of containers, or normal aging.
How to Fix the Chipped Interior Coating to Stop Microwave Sparking or Arcing
Unplug the microwave from the power outlet to ensure your safety during the repair process. It is recommended to wear protective gloves and safety glasses to avoid any contact with the interior coating or paint.
Use isopropyl alcohol to clean the chipped area and the surrounding region and ensure that the surface area is free from any grease, food debris.
Gently sand the chipped area using sandpaper to prepare the surface for the touch-up paint and wipe the area again once you are done.
Use a small paintbrush to apply the microwave-safe touch-up paint to the chipped area.
Follow the manufacturer's instructions on the paint can for drying times.
Once the paint has dried, inspect the repaired area to ensure that it is smooth and well-covered, and use this time to make any additional touch-ups if necessary.
Plug the microwave back in and use it as usual to ensure that the repaired area does not exhibit sparking or arcing. Do not run an empty microwave.
Damaged Waveguide Cover
A waveguide cover is designed to protect the opening in the microwave's cavity where microwaves enter from the magnetron. The waveguide directs these microwaves into the cooking area of the oven. The cover also prevents food particles, grease, and moisture from entering the opening and reaching the sensitive electronic components inside the microwave.
When a waveguide cover is damaged, the metal plate underneath it may become exposed, or food and debris may reach the electronic components behind the cover, resulting in sparking or arcing within the microwave.
How to Replace a Damaged Waveguide Cover to Fix Microwave Sparking or Arcing
Unplug the microwave from the power source to ensure safety during the replacement process. Wear safety equipment, such as gloves and safety glasses, to protect yourself from sharp edges.
The waveguide cover is often located on the interior of the microwave, usually on the right-hand side or the top. You can refer to your microwave's user manual for specific instructions on locating the cover.
Use a screwdriver to remove any screws securing the waveguide cover in place. Keep track of the screws for reassembly. Gently pull the old waveguide cover away from the microwave.
Take the opportunity to clean the interior of the microwave using a mild soap and water solution or a mild cleaning solution. Wipe away any food residue or grease.
Align the new waveguide cover in the same position as the old one. Secure the new cover in place using the screws removed earlier. Ensure a snug fit.
Perform a visual inspection to make sure the waveguide cover is securely in place. Confirm that there are no gaps or misalignments that could allow food particles to enter the microwave's internal components.
Plug the microwave back into the power source. Test the microwave to ensure that it operates as expected with the new waveguide cover in place.
Damaged Wall Shelf Supports
It is common for the paint on the supports on the interior wall shelves/racks in your microwave to chip over time. This causes the metal inside to become exposed resulting in the creation of a point of electrical discharge, leading to sparking. You can paint over the chips using the steps listed above to resolve the issue. However, if the supports are bent, cracked, dented or damaged in anyway, you will likely need to replace the shelf supports to resolve the sparking issue.
How to Replace Damaged Wall Shelf Supports to Fix Microwave Sparking or Arcing
Unplug the microwave from the power source before you begin the repair.
Open the microwave door to access the interior, and carefully pull out the shelf/rack.
Identify the damaged wall support(s) within the microwave, and either twist it off or use a putty knife to detach it.
Wipe down the interior of the microwave to remove any food residue or grease.
Install the new support and ensure that it is securely fitted to prevent movement during use.
Return the shelf to the microwave and your repair is complete!
Faulty Door Switch
The door switch in a microwave is a safety feature designed to ensure that the microwave operates only when the door is securely closed. If the door switched is damaged or its contacts are corroded or worn out then, it can potentially lead to sparking or arcing. If the door switch is faulty, you will also likely notice a burning smell coming from the microwave. Follow the instructions below to safely replace the door switch.
How to Replace a Faulty Door Switch to Fix Microwave Sparking or Arcing
Unplug the microwave from the power source. Wear safety equipment, such as gloves and safety glasses, to protect yourself from potential electrical hazards.
Remove the outer cover or panel to access the control panel area.
Identify the door switch assembly, usually located near the latch mechanism on the microwave's body.
Take note of the wiring connected to the door switch. Use a marker or labels or simply take a picture with your phone for easy reconnection later.
Use the screwdriver to remove any screws securing the door switch in place and carefully disconnect the wires from the old door switch.
Remove the old door switch from the appliance and set it aside.
Position the new door switch inside the microwave and connect the wires to the corresponding terminals before securing the new door switch in place using the screws.
Put the control panel and outer cover back in place and reattach any screws that were removed during disassembly.
Plug the microwave back into the power source and test it to ensure that the new door switch is functioning correctly.
Faulty Diode
The diode in your microwave is a part of the high-voltage circuitry that directs the current from the power source to the magnetron, which is responsible for generating microwaves that heat the food. If a diode in the microwave's high-voltage circuitry becomes faulty or fails, it can lead to sparking or arcing due to short circuits, overheating, or voltage spikes. If you are attempting to
replace the diode in your microwave, it is important to follow the safety precautions below to avoid electrocution and ensure your safety.
How to Discharge the Microwave Capacitor
Removing voltage from a microwave before working on it is crucial for safety as a microwave carries the risk of serious electrical shock, even when it is unplugged. The high voltage components should be treated with care and precautions should be taken to ensure a safe working environment.
Disconnect the microwave from the power source by unplugging it. This is the most effective way to ensure that no power is reaching the appliance.
Wait for at least 30 minutes to allow the capacitor to discharge. Even after unplugging, microwaves may still hold a charge in the high-voltage capacitor, which can be dangerous.
Place a well insulated screwdriver blade or needle-nose pliers across each set of capacitor terminals to facilitate the safe discharge of any remaining voltage. Hold it there for a few seconds. Be aware that this process often creates a loud popping sound.
How to Replace a Faulty Diode to Fix Microwave Sparking or Arcing
Remove the microwave turntable and shelf from the cavity.
Remove the outer cover of the microwave.
Once you have access to the internal components, locate the faulty diode. The diode is typically connected to the capacitor and magnetron.
Take note of the orientation of the diode. It is essential to place the new diode in the correct position.
Use the soldering iron to melt the solder joints connecting the faulty diode to the circuit board. Carefully remove the diode.
Place the new diode in the same orientation as the faulty one. Solder the new diode into place, making sure the solder joints are secure and not bridged.
Use wire cutters to trim any excess leads from the diode.
Inspect your soldering work to ensure there are no cold solder joints or solder bridges. Reassemble the microwave and plug it in. Test the microwave to ensure that it is functioning properly.
Once you've confirmed that the microwave is working correctly, replace the outer cover.
How to Use and Take Care of Your Microwave
Use Microwave-Safe Containers: Always use containers and utensils labeled as microwave-safe to avoid sparks and potential damage. Microwaving food in containers not labeled as microwave-safe can result in extreme temperatures and pressure, leading to damage or chipping of the interior coating over time.
Regular Cleaning: Food particles or grease tend to build-up on the interior surfaces of the microwave over time. This accumulation can create hot spots that may result in sparking. Therefore, it is important to regularly clean your microwave to keep it in optimal condition for longer.
Be Gentle During Cleaning: When cleaning, ensure that you use mild, non-abrasive cleaning materials and avoid harsh scrubbing to maintain the integrity of the interior coating.
Avoid Metal in the Microwave: Remember to never place metal objects, containers with metallic accents, or aluminum foil inside the microwave.
Handle with Care: Avoid dropping heavy or hard objects inside the microwave, and handle cookware carefully to prevent impact damage.
Regular Inspection: Periodically inspect the interior of the microwave for any signs of wear, damage, or chipping. The sooner you can resolve minor issues, the less likely they will become major issue in the future.
Understanding the causes of sparking or arcing in a microwave is crucial for ensuring the safety and longevity of your appliance. By identifying and addressing these issues promptly, you can not only extend the life of your microwave but also safeguard against potential hazards. Remember to always prioritize safety during troubleshooting—unplug the appliance, wear appropriate safety gear, and, when in doubt, seek professional assistance. Armed with the knowledge of common causes and effective troubleshooting techniques, you can confidently tackle any sparking or arcing issues, ensuring your microwave operates at its best for years to come.
The PartSelect Content Team has a passion for DIY and we pride ourselves on being a resource for quality, expert content to help you accomplish any DIY project. Alongside our expert repair technicians, our team of experienced technical writers works to provide safe and reliable information on all tasks and jobs around your home. We spend time learning about the problems and projects that our customers are working on, and we make it our job to answer key questions and provide resources for every step along the way. Repairs and DIY projects are what we do, and the PartSelect Content Team wants to help you do them, too.
With the Fix app, you can quickly and easily find information on your appliance, along with videos and articles to help you fix it.
"Like magic. I took a picture of the model number on my refrigerator, and the app identified it right away … Very convenient. I'm impressed." - Clever Jeff ★★★★★
You added 1 item to your cart
✖
$
Qty:
Total item(s) in cart:
Order Subtotal
$
*Taxes and shipping will be applied during checkout