


How to Properly Clean Your Electric Dryer
Is your dryer not working up to snuff? Clothes coming out a bit wet? There may be a way to fix that. A good thorough cleaning will help your dryer work good as new.
You can either read our written guide below or follow along with Steve in our video guide here:

Here are some items you MAY need for this job:
- Multi-Surface Cleaner
- Soft Cotton or Microfiber Cloth
- Hot Water
- Soap
- Baking Soda
- Vinegar
- Automotive Wax
- Soft Bristle Brush
- Crevice Tool/Vacuum
- Long, Slender Brush
- Putty Knife
- Air Compressor
Cleaning the Exterior of the Dryer
Use your favorite spray-on multi-surface cleaner and soft cotton or microfiber cloth, and wipe the exterior surface. If knobs are very dirty, you can remove them to clean in behind or to clean the knobs separately. Try soaking them in hot water and soap, or a baking soda/vinegar combination and rinse for a thorough cleaning.
Inspecting and Cleaning the Lint Filter
Remove the lint filter, remove the link and inspect the mesh for any build-up of fabric softener. If there is build-up, soak the filter in hot water with soap. You may require a soft bristle brush to get it all off.
Tips for Cleaning Electronic Dryer Surfaces
For dryers with electronic controls we will need to be extra cautious when cleaning the console area of the machine. Don't go overboard on the amount of liquid you use, and make sure to dry thoroughly.
Cleaning the Interior of the Dryer
Open up your dryer door. The first thing you'll want to do is inspect the tumbler or "drum" for any signs of stains, or any small objects that may be stuck. Remove any objects, and use the appropriate cleaner for whatever you are needing to wipe down. When cleaning the interior of your dryer, do not use any petroleum-based products as those types of chemicals can damage the painted surfaces.
How to Clean the Lint Filter Area
Next we want to open up the lint filter area. Look into the opening and see if there's any lint build up inside. You can remove it using a long slender brush to first loosen the lint, and then a vacuum to suck it up.
Some dryers will have a lower access panel which will allow you to do an even deeper clean, by inspecting deep inside the dryer for lint build-up. It's important to remove as much lint as possible, as it is highly flammable.
Deep Cleaning Lint
Lint build-up is a key culprit in restricting your efficiency. If you're still having problems drying your clothes, then do a deep clean on your machine to remove as much lint as possible. You can remove the drum and outer door panel to access the interior dryer parts. Here you can get a good view of the amount of lint inside your machine, and can give it a thorough deep clean. Pay attention to the drive motor as that can build up with lint and cause overheating. You can vacuum lint out of your machine, and use compressed air to blow some of it out.
How to Increase Air Flow to Maximize Efficiency
If a machine does not have a good airflow it can lead to faster lint build-up and overall less efficiency. To get a better airflow, ensure that your door seals are in good shape to avoid leakage. Check that they are tight and have no rips, and replace if damaged. Also check the dryer drum seal (typically attached to the front and rear of the drum) for any signs of wear or cracking. Finally inspect the vent itself for any damage.
Now that you've completed your cleaning just put everything back together and test it out! If your appliance needs repair, make sure you have all the dryer parts you need!

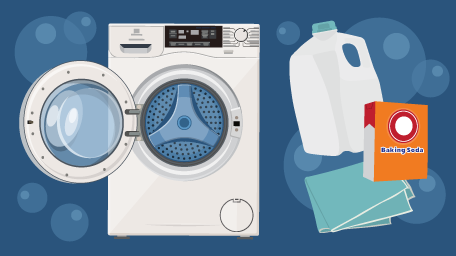
Spring is here, and we are cleaning up all our appliances! A washer is supp...
Oven calibration is an often overlooked aspect of kitchen maintenance, but ...

Don't let a power outage ruin your good food! Stay safe with these tips.
