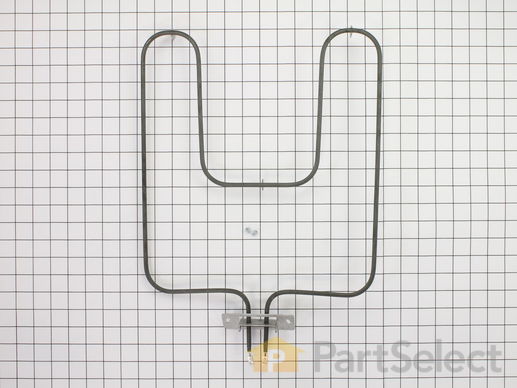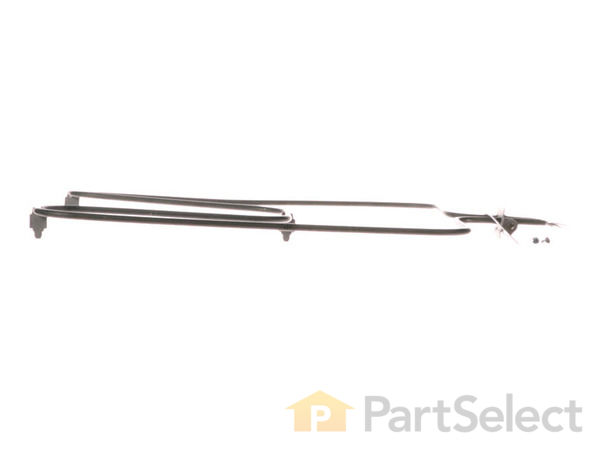
Bake Element - 240V WB44X200
Rated by 181 customers
Really Easy
15 - 30 mins
Ratings submitted by customers like you who bought this part.
Get this part fast! Average delivery time for in-stock parts via standard shipping: 1.8 days.
Bake Element - 240V Specifications

How Buying OEM Parts Can Save You Time and Money
-
5 Stars 104
-
4 Stars 7
-
3 Stars 0
-
2 Stars 0
-
1 Star 2
- < Prev
- 1
- 2
- 3
- Next >
- < Prev
- 1
- 2
- 3
- Next >
- < Prev
- 1
- 2
- 3
- Next >
-
Dan from ANTIOCH, IL
-
Difficulty Level:Very Easy
-
Total Repair Time:15 - 30 mins
-
Tools:Nutdriver, Screw drivers
-
KETA from BIG SPRING, TX
-
Difficulty Level:Very Easy
-
Total Repair Time:Less than 15 mins
-
Tools:Screw drivers
-
william from CLAYMONT, DE
-
Difficulty Level:Very Easy
-
Total Repair Time:Less than 15 mins
-
Tools:Nutdriver, Screw drivers
-
RONALD from MT PROSPECT, IL
-
Difficulty Level:A Bit Difficult
-
Total Repair Time:15 - 30 mins
-
Tools:Pliers, Screw drivers, Socket set
-
Mary C from KISSIMMEE, FL
-
Difficulty Level:Very Easy
-
Total Repair Time:Less than 15 mins
-
Tools:Nutdriver, Pliers
-
Joe from TABERNACLE, NJ
-
Difficulty Level:Really Easy
-
Total Repair Time:30 - 60 mins
-
Tools:Nutdriver, Screw drivers
-
Fred from DANVILLE, KY
-
Difficulty Level:Really Easy
-
Total Repair Time:15 - 30 mins
-
Tools:Screw drivers
-
William J from SALISBURY, MD
-
Difficulty Level:A Bit Difficult
-
Total Repair Time:1- 2 hours
-
Tools:Socket set
-
Michael from JONESBORO, AR
-
Difficulty Level:Very Easy
-
Total Repair Time:15 - 30 mins
-
Tools:Nutdriver
-
James from SPARTANBURG, SC
-
Difficulty Level:Really Easy
-
Total Repair Time:Less than 15 mins
-
Tools:Nutdriver, Pliers, Screw drivers
- < Prev
- 1
- 2
- 3
- Next >
Ask our experts a question about this part and we'll get back to you as soon as possible!
- < Prev
- 1
- 2
- 3
- Next >

41 people found this helpful.

17 people found this helpful.

10 people found this helpful.

9 people found this helpful.

7 people found this helpful.

6 people found this helpful.

3 people found this helpful.

2 people found this helpful.

2 people found this helpful.

2 people found this helpful.
- < Prev
- 1
- 2
- 3
- Next >


Manufacturer Part Number: WB44X200

Item is in stock and will ship today if your order is placed before 4:00 PM Eastern Standard Time.
If your order is placed after 4:00 PM EST, the in stock items will ship on the next business day.
Item is not in stock and usually ships 3-5 business days from the time you place your order.
Item is not in stock and usually ships 10-15 business days from the time you place your order.
This item is no longer being made by the manufacturer, and cannot be added to your shopping cart.


