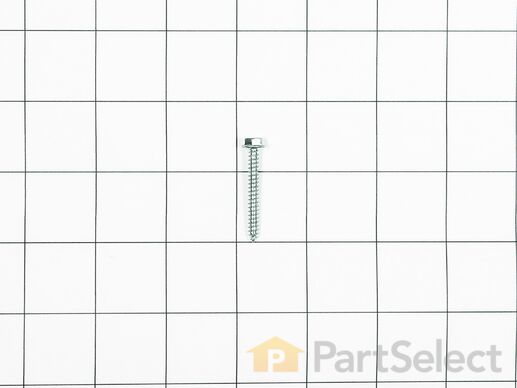
Screw
$
4.92
In Stock
Get this part fast! Average delivery time for in-stock parts via standard shipping: 1.8 days.
PartSelect Number PS11743691
Manufacturer Part Number WP67006415
Manufactured by
Whirlpool

Check if this fits your product and find model diagrams
Need help finding your model number?
Troubleshooting
This part works with the following products:
Refrigerator.
This part works with the following products:
Maytag, Whirlpool, KitchenAid, Kenmore.
Part# WP67006415 replaces these:
12990512, 67006415
Questions and Answers
Ask our experts a question about this part and we'll get back to you as soon as possible!
- < Prev
- 1
- Next >
Sort by:
Search filter:
Clear Filter
Your search term must have 3 or more characters.
Keep searches simple. Use keywords, e.g. "leaking", "pump", "broken" or "fit".
Sorry, we couldn't find any existing answers that matched.Try using some different or simpler keywords, or submit your new question by using the "Ask a Question" button above!
Rachael
February 25, 2018
How do I remove screw #13 from piece #16? What type of tool do I use? Thanks
For model number Kbfs25ewms6

Hi Rachael, Thank you for the question. You will need a Nutdriver to remove the screws. Hope this helps!
Was this helpful?
Thank you for voting!
- < Prev
- 1
- Next >
✖
Ask a Question
Ask our experts a question on this part and we'll respond as soon as we can.
Something went wrong. Please try again later.
Your Question Has Been Submitted!
Our experts will send you an email as soon as your question has been answered.
Customer Repair Stories
Average Repair Rating: 3.8 / 5.0, 1 reviews.
What's this?
- < Prev
- 1
- Next >
Sort by:
Search filter:
Clear Filter
Your search term must have 3 or more characters.
Keep searches simple. Use keywords, e.g. "leaking", "pump", "broken" or "fit".
Sorry, we couldn't find any existing installation instruction that matched.
Hinge pin for drawer lid broke
1. Remove all drawers {3}, shelves {glass 1}, shelf support {1}. 2. Remove two {2} screws from End Cap. 3. Carefully remove End Cap and drawer temperature control part on the back wall keeping them aligned as installed. The part on the back wall swings out so that the tab on the left end of the piece may be withdrawn from the securing slot (hole). The two parts should be carefully removed while keeping the two parts at a right angle the way they are installed. The reason for this caution follows. 4. On the back side of both parts are plastic pieces that, I believe, can be easily broken if you are not aware. The pieces are connected together at the right angle. They are the control arms for the temperature control -- on right side End Cap only -- the left side doesn't have them or the rear part on the back wall. 5. The pieces must be disconnected and removed. You must examine and ponder how they are held in place and hooked together in order to disconnect and remove them without damaging them. The same advice is applicable to reinstalling the pieces in the new part -- End Cap. 6. After reassembled and keeping the two parts at a right angle, insert the tab on the left end of the back wall part into the slot (hole) and swing the two parts back into position. 7. Replace the screws. 8. Done, reinstall the shelf, shelf support, and the drawers. NOTE: I ordered the two screws but they were not needed.
Other Parts Used:
-
Lynn H from MILL CREEK, WA
-
Difficulty Level:Really Easy
-
Total Repair Time:30 - 60 mins
-
Tools:Screw drivers, Socket set
3 of 3 people
found this instruction helpful.
Was this instruction helpful to you?
Thank you for voting!
- < Prev
- 1
- Next >
You May Also Need?
Model Cross Reference
This part works with the following models:
PartSelect Number: PS11743691
Manufacturer Part Number: WP67006415
Brand
Model Number
Description