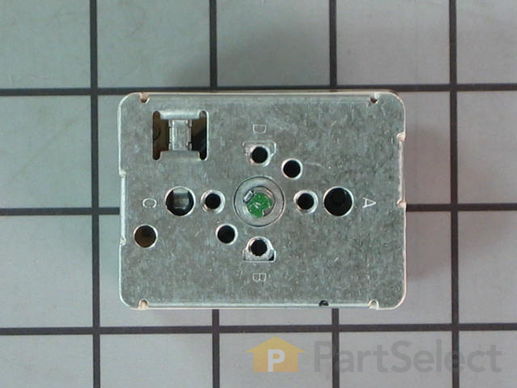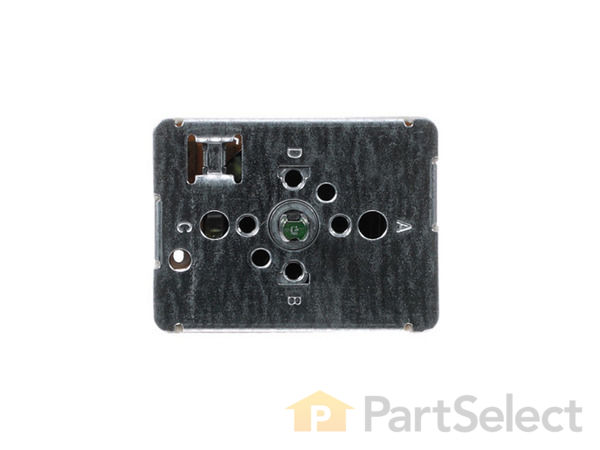
Infinite Switch - 8 Inch WP3148953
Rated by 6 customers
Really Easy
15 - 30 mins
Ratings submitted by customers like you who bought this part.
Get this part fast! Average delivery time for in-stock parts via standard shipping: 1.8 days.
Infinite Switch - 8 Inch Specifications

How Buying OEM Parts Can Save You Time and Money
Replacing your Whirlpool Range Infinite Switch - 8 Inch

-
5 Stars 9
-
4 Stars 1
-
3 Stars 0
-
2 Stars 0
-
1 Star 0
- < Prev
- 1
- Next >
- < Prev
- 1
- Next >
- < Prev
- 1
- Next >
Replaced receptacle holder. Took a moment to see how to install wires into the receptacle, no instructions on orientation of wires into the receptacle. Wired receptacle per instructions. Placed receptacle into holder and installed burner. Burner Burner would not lay flat, receptacle longe ... Read more r than original. Removed receptacle from holder, plugged in burner and placed burner into position.
-
Anthony from FORT MEADE, FL
-
Difficulty Level:A Bit Difficult
-
Total Repair Time:30 - 60 mins
-
Tools:Screw drivers
2) Remove back cover of the stove held in place by 8 screws (4 short ones for the upper holes and 4 longer ones for the lower holes.).
3) Remove the knob from the switch that you are replacing to expose
the switch mounting screws (2 screws).
4) Remove the screws.
5) Go to the rear of the stov ... Read more e and extract the defective switch.
6) You will see 2 plastic plugs going into/onto the switch. Remove the
plugs. MAKE SURE YOU ARE UNPLUGGED FROM THE
Wall OUTLET!! A small flat blade may be needed to separate the
plugs from switch.
7) Attach the plugs to the new switch (there is only one way to do it.
you wont get them confused and put on wrong.
8) Put the new switch where the defective one was.
9) Come to the front of the stove and put your two screws in and
replace the knob.
10) Replace the back cover,
11) Plug in and test burner.
-
Mark P from CORP CHRISTI, TX
-
Difficulty Level:Very Easy
-
Total Repair Time:Less than 15 mins
-
Tools:Screw drivers
-
Douglas from RAEFORD, NC
-
Difficulty Level:Really Easy
-
Total Repair Time:30 - 60 mins
-
Tools:Screw drivers
-
Annie S from RIDGEVILLE, SC
-
Difficulty Level:Really Easy
-
Total Repair Time:15 - 30 mins
-
Tools:Screw drivers
-
Reginald from PLAINFIELD, IN
-
Difficulty Level:Very Easy
-
Total Repair Time:15 - 30 mins
-
Tools:Screw drivers
It was fairly easy to take the "Control Deck" off the top of the range by removing about 8 screws. I leaned the deck forward without removing any wires except a green ground that was held on by one of the screws.
There are two small screws under the switch knob holding the Infinite S ... Read more witch to the panel. I removed these and let the switch hang on the wires. To avoid missplacing or crossing the wires... I moved one wire at a time to the new switch, then attached the switch to the panel and put it all back together.
Whole job was done in about 15 minutes
-
RON from KAUFMAN, TX
-
Difficulty Level:Easy
-
Total Repair Time:15 - 30 mins
-
Tools:Nutdriver, Pliers, Screw drivers
- < Prev
- 1
- Next >
Ask our experts a question about this part and we'll get back to you as soon as possible!
- < Prev
- 1
- Next >

24 people found this helpful.

4 people found this helpful.

3 people found this helpful.

3 people found this helpful.

3 people found this helpful.

1 person found this helpful.

1 person found this helpful.


- < Prev
- 1
- Next >


Manufacturer Part Number: WP3148953

Item is in stock and will ship today if your order is placed before 4:00 PM Eastern Standard Time.
If your order is placed after 4:00 PM EST, the in stock items will ship on the next business day.
Item is not in stock and usually ships 3-5 business days from the time you place your order.
Item is not in stock and usually ships 10-15 business days from the time you place your order.
This item is no longer being made by the manufacturer, and cannot be added to your shopping cart.


