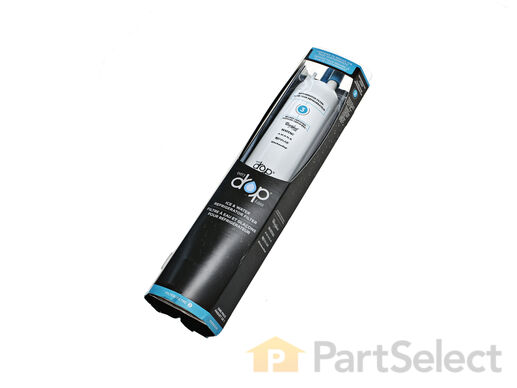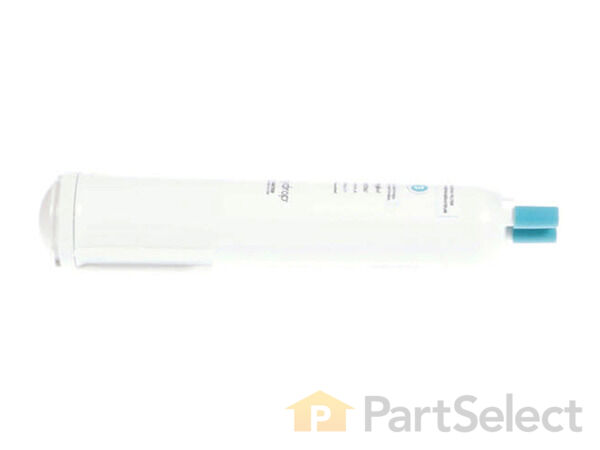
Whirlpool EveryDrop3 Refrigerator Water Filter EDR3RXD1
Rated by 34 customers
Easy
Less than 15 mins
Ratings submitted by customers like you who bought this part.

Subscribe to save!
Subscribe to get free shipping on your entire order today, and on all automatic reorders!
Deliver every:
Get this part fast! Average delivery time for in-stock parts via standard shipping: 1.8 days.
Whirlpool EveryDrop3 Refrigerator Water Filter Specifications

How Buying OEM Parts Can Save You Time and Money
Replacing your Whirlpool Refrigerator Whirlpool EveryDrop3 Refrigerator Water Filter

How to Troubleshoot a Refrigerator That Doesn't Make Ice

-
5 Stars 92
-
4 Stars 12
-
3 Stars 4
-
2 Stars 0
-
1 Star 3
- < Prev
- 1
- 2
- 3
- Next >
- < Prev
- 1
- 2
- 3
- Next >
- < Prev
- 1
- 2
- 3
- Next >
-
Yolanda from LA VERGNE, TN
-
Difficulty Level:Very Easy
-
Total Repair Time:15 - 30 mins
-
Tools:Screw drivers
-
rhonda from LERONA, WV
-
Difficulty Level:Very Easy
-
Total Repair Time:Less than 15 mins
-
Doug from WOOSTER, OH
-
Difficulty Level:Really Easy
-
Total Repair Time:Less than 15 mins
-
Tools:Pliers
Sign; Tony Walker
-
Mildred from DETROIT, MI
-
Difficulty Level:Really Easy
-
Total Repair Time:30 - 60 mins
-
ray from MT PLEASANT, WI
-
Difficulty Level:Really Easy
-
Total Repair Time:Less than 15 mins
-
Maria from EL PASO, TX
-
Difficulty Level:Really Easy
-
Total Repair Time:Less than 15 mins
-
Maria from EL PASO, TX
-
Difficulty Level:Very Easy
-
Total Repair Time:Less than 15 mins
-
Joyner S. from MIDLOTHIAN, VA
-
Difficulty Level:Really Easy
-
Total Repair Time:Less than 15 mins
-
John from Jacksonville, FL
-
Difficulty Level:A Bit Difficult
-
Total Repair Time:30 - 60 mins
-
Tools:Socket set
-
Sherman from DSRT HOT SPGS, CA
-
Difficulty Level:Very Easy
-
Total Repair Time:Less than 15 mins
- < Prev
- 1
- 2
- 3
- Next >
Ask our experts a question about this part and we'll get back to you as soon as possible!
- < Prev
- 1
- 2
- 3
- Next >

37 people found this helpful.

29 people found this helpful.

19 people found this helpful.

18 people found this helpful.

18 people found this helpful.

9 people found this helpful.

8 people found this helpful.

7 people found this helpful.

5 people found this helpful.

5 people found this helpful.
- < Prev
- 1
- 2
- 3
- Next >


Manufacturer Part Number: EDR3RXD1

Item is in stock and will ship today if your order is placed before 4:00 PM Eastern Standard Time.
If your order is placed after 4:00 PM EST, the in stock items will ship on the next business day.
Item is not in stock and usually ships 3-5 business days from the time you place your order.
Item is not in stock and usually ships 10-15 business days from the time you place your order.
This item is no longer being made by the manufacturer, and cannot be added to your shopping cart.


