Parts That Fix Whirlpool Freezer WZF34X20DW01 Freezer not defrosting
Freezer not defrosting is a commonly reported symptom for the WZF34X20DW01 Whirlpool Freezer, and we have put together a full guide on how to fix this. This advice is based on feedback from people who own this exact appliance. We have listed the most common parts for your WZF34X20DW01 Whirlpool Freezer that will fix Freezer not defrosting. We have included repair instructions, and helpful step-by-step video tutorials. If you are experiencing this issue, not to worry, DIYers just like you have fixed this, and shared their experience to help you!
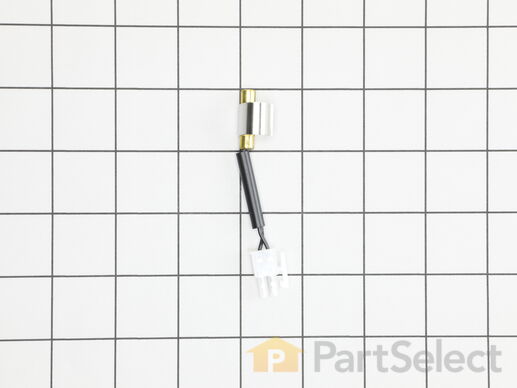
This temperature sensor is for refrigerators. The temperature sensor senses the temperature inside the refrigerator and sends information to the electronic control. Unplug the refrigerator and safely store any food that could deteriorate while the power is off before installing this part. Wear work gloves to protect your hands. The thermistor itself, part WPW10383615, should test at these Ohms depending on temperature. It's recommended to test at room temperature and again in a glass of ice water to make sure it's sensing temperatures properly. So it should read around 3000 - 5000 Ohms at room temperature 7000 - 10000 Ohms at 0°C and 20000 Ohms at -15°C.
Customer Repair Stories
No Defrost Mode After Heating Element Replacement
-
Ray M from Cave Creek, AZ
-
Difficulty Level:Really Easy
-
Total Repair Time:Less than 15 mins
-
Tools:Screw drivers
The freezer wasn't defrosting.
-
Nancy from JAMESTOWN, NY
-
Difficulty Level:Very Easy
-
Total Repair Time:Less than 15 mins


