Parts That Fix Whirlpool Washer WTW7300DW0 Will not agitate
Will not agitate is a commonly reported symptom for the WTW7300DW0 Whirlpool Washer, and we have put together a full guide on how to fix this. This advice is based on feedback from people who own this exact appliance. We have listed the most common parts for your WTW7300DW0 Whirlpool Washer that will fix Will not agitate. We have included repair instructions, and helpful step-by-step video tutorials. If you are experiencing this issue, not to worry, DIYers just like you have fixed this, and shared their experience to help you!
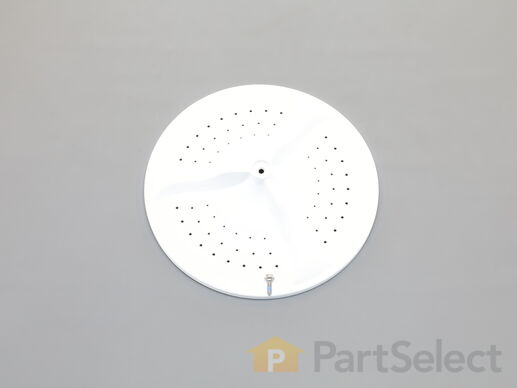
This washplate is for washers and turns back and forth at the bottom of the spin basket to circulate the wash load through the water.
Customer Repair Stories
the impellar mechanism wore out so stopped aggitating
-
Stephanie from INDEPENDENCE, KY
-
Difficulty Level:Really Easy
-
Total Repair Time:30 - 60 mins
-
Tools:Socket set
Worn out splines connecting transmission driveshaft to agitator.
-
Thomas from MILLBURY, OH
-
Difficulty Level:Easy
-
Total Repair Time:30 - 60 mins
-
Tools:Nutdriver, Pliers, Screw drivers, Socket set
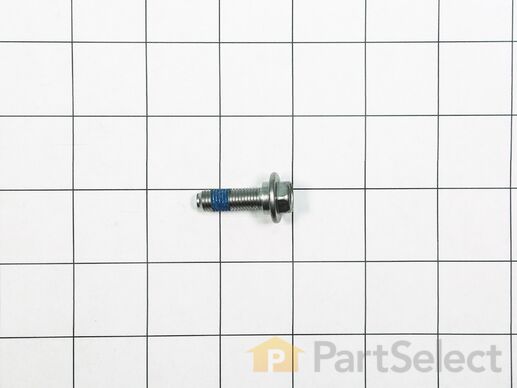
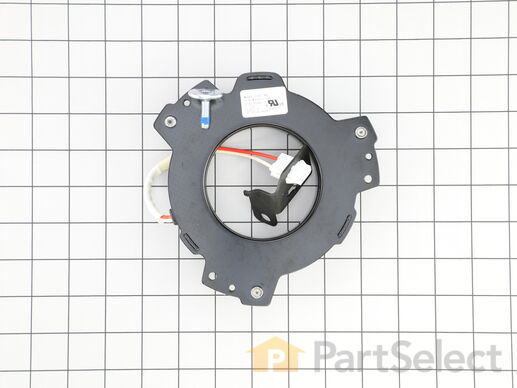
This is a clutch designed for use within top-load washers. The clutch is used to engage the transmission of your washer during the agitation and spinning cycles, to ensure it runs properly. If your washing machine is not agitating or spinning properly, the clutch could be the problem, and it will need to be tested and then potentially replaced. To replace the clutch in your washing machine, you will need to disassemble your washer from underneath, and will need a socket wrench and screwdriver as a result. This clutch is an OEM part and is only sold with a single securing screw.
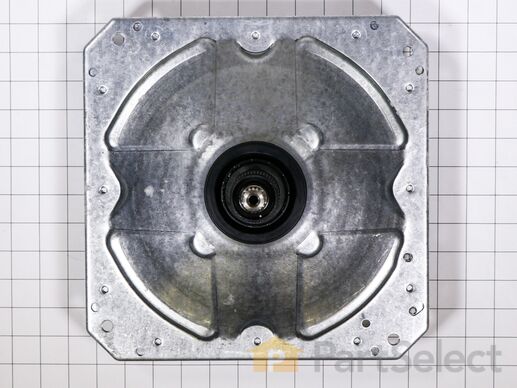
This drum shaft assembly is for washers. Drum shaft assembly connects the spin basket to the drive motor to spin the basket. Unplug the washer before installing this part. Wear work gloves to protect your hands.
Customer Repair Stories
Washer making noise on spin cycle
-
Roy from MAYNARDVILLE, TN
-
Difficulty Level:Really Easy
-
Total Repair Time:30 - 60 mins
-
Tools:Nutdriver, Pliers, Screw drivers
Loud grinding noise when the washer was in use.
open the washer top and remove plastic cap from the wash plate
2.) using 7/16 socket, remove bolt from the wash plate. If you can't remove it with a socket , I recommend using impact wrench.
3.) remove wash plate ... Read more ( you might need to spray penetrating oil or wd40 inside the bolt hole to loosen it.
Check to make sure the wash plate gear grooves are not worn down, if they are, replace it.
4.) using your Maytag specific spaner nut wrench, remove the spaner nut from the shaft of the gear case. This should be right underneath where the wash plate was. If you can't turn it by hand , use a rubber mallet or hammer to encourage it.
5.) some people remove the wash basket at this point. I don't think it is necessary.
6.) close your washing machine. Tape the top closed to keep it from flying open. Tilt your washer back and prop it up where you have access to the underside of the washing machine.
7) remove motor rotor bolt and pull rotor off of the motor.
8.) disconnect the two wire connectors that supply power to motor. using a socket, remove bolts that are keeping motor attached to the gear case.
9.) Now that the gear case is all the is remaining on the underside, you can remove the 4 bolts that are holding the gear case to the washer. Now try to pull gear case out.
10.) if gearcase will not pull out, lower washer back to upright position. Spray penetrating oil or wd40 around the shaft of the gearcase and allow it to sit for 5-10 minutes. Using a hammer, lightly tap on the shaft of the gearcase and it should now fall out. ( you might have to apply penetrating oil again, or apply more force with the hammer.
11.) reinstall motor to new gearcase. Insert new gear case to the washer. Reinstall bolts and reconnect power supply wires.
12. ReInstall spaner nut inside the washer, reinstall wash plate.
-
Charles from STARKVILLE, MS
-
Difficulty Level:Easy
-
Total Repair Time:1- 2 hours
-
Tools:Nutdriver, Screw drivers, Socket set
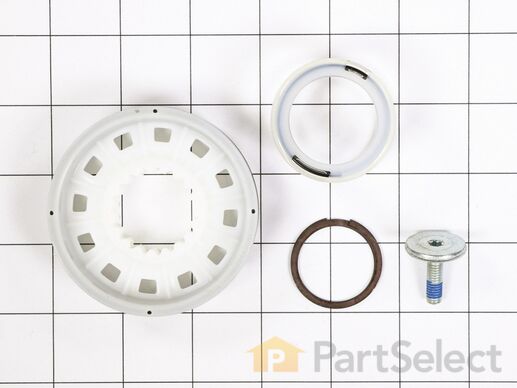
This clutch slider kit is genuine OEM replacement kit that fits in various models of washing machine. It is a part of the transmission system in your washer which is responsible for controlling the movement of the agitator during the wash and spin cycles. The assembly includes the clutch band, slider, and lock ring. The kit helps to regulate the speed and direction of the agitator or drum. It allows the machine to start and stop spinning smoothly, as well as change speeds as needed during the wash and spin cycles. If the clutch slider kit has worn or damaged components, it can lead to problems like difficulty starting or stopping the machine, excessive noise during operation, or failure to spin properly.


