This touch-up paint can be used on a wide variety of household appliances. It is most often used on washers, dryer, refrigerators, dishwashers, ranges, freezers, trash compactors, or microwaves. It is an 18 ml, or.6 fluid ounces, bottle of touch-up paint. It also features a brush for easy application. This quick-drying, long-lasting paint...Read more is perfect for fixing any nicks, scratches, or chips on the exterior of your appliance. This paint is white in color, and provides a durable finish.
This lid lock assembly is supplied by the original manufacturer for use in various models of top-load washing machines. The assembly includes the lid lock mechanism and the wiring harness. You can find it positioned on the underside of the washer lid. The lid lock assembly is designed to prevent the washer lid from opening during use. Thi...Read mores is a safety mechanism that ensures that users do not accidentally come in contact with moving parts or are not injured by spilled water or detergent. If the lid lock assembly is faulty, the washer may be unable to start the cycle or it may stop in the middle of a cycle.
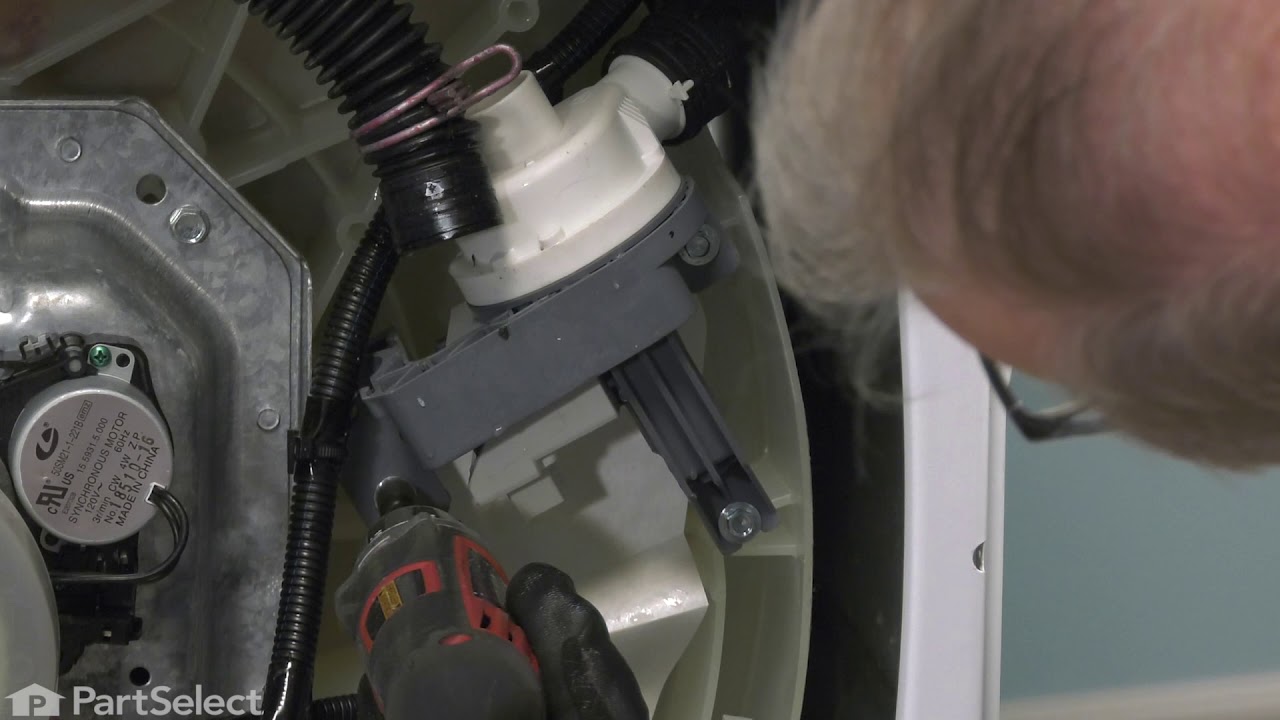
The hose clamp is used to hold the water hose in place which will prevent the hose from leaking water. Sometimes the clamp may lose its ability to latch on, causing a leaking washer. For the installation, you will need a flat head screw driver to replace the clamp and a drill to access the screws to remove the front of the washer. Be care...Read moreful if you do not have specific clamp pliers as the clamp could fly off. Once the front of the washer has been removed, take a quick look for water damage or any obvious signs of where the leak is coming from. If it is not obvious, run water to test.
Affresh Washing Machine Cleaner includes three slow-dissolving tablets that help remove odor-causing residue from inside the washer. Suitable for all washer brands, including high-efficiency (HE) machines, the formula is also septic-safe. Place one tablet directly in the empty wash basket and run the Clean Washer cycle, or use a normal cycle with hot water. Use monthly or every 30 wash cycles for best results.
This is a replacement lid hinge for your washer. It is approximately 2.5 inches in length and 1.5 inches in width. The lid hinge is what the lid for your washer pivots on. If the lid hinge is damaged, the washer lid may not open or close properly. The lid hinge is screwed into the washer lid. You will need a Phillips-head screwdriver to d...Read moreetach it. There will be a lid hinge on either side of the lid, so be sure to determine if you need to replace both hinges, or only one.
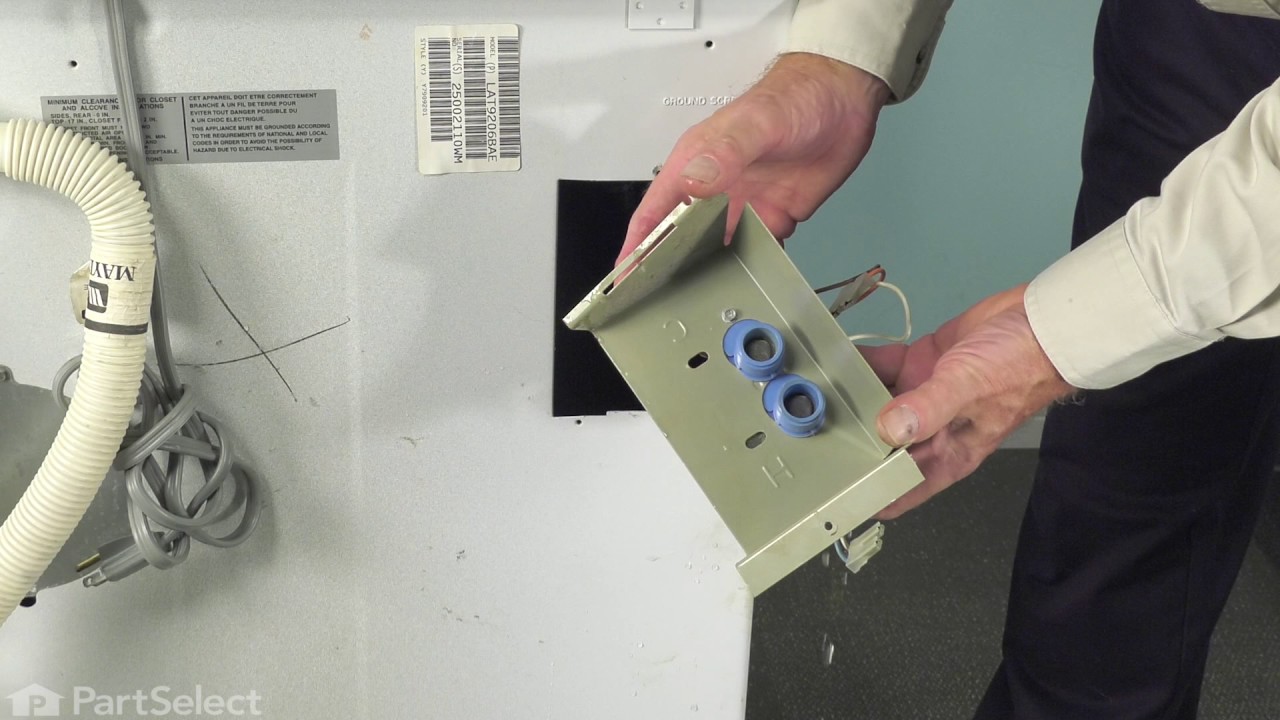
This is a water inlet valve made for washing machines. This part is used to control the flow of water into the fill hose of the washing machine, to allow the washer to fill up with water. If your washing machine is not filling up with water properly, or if you are noticing leaks underneath your washing machine, the inlet valve has likely ...Read morefailed and you will likely need to replace it. This OEM inlet valve features two different inlets for hot and cold water but does not come with any other parts or accessories for installation. To replace this water inlet valve, you will need tools such as a screwdriver or wrench to gain access to it and remove it.
This is an impact absorber, also known as a sound dampening pad, for washing machines. This sound dampening pad attaches to the top of your washing machine drum to reduce the severity and harshness of vibrations and movement during the washing and spinning cycle, to produce a quieter laundry experience. If your washer is shaking excessive...Read morely during operation, this pad may be worn out or simply missing, and in need of replacement. To replace this pad, you will need a screwdriver or wrench to access the inner portion of your washing machine and remove the old one and install the new one. This OEM pad measures 5-inches by 3-inches and is sold individually.
This clutch slider kit is genuine OEM replacement kit that fits in various models of washing machine. It is a part of the transmission system in your washer which is responsible for controlling the movement of the agitator during the wash and spin cycles. The assembly includes the clutch band, slider, and lock ring. The kit helps to regul...Read moreate the speed and direction of the agitator or drum. It allows the machine to start and stop spinning smoothly, as well as change speeds as needed during the wash and spin cycles. If the clutch slider kit has worn or damaged components, it can lead to problems like difficulty starting or stopping the machine, excessive noise during operation, or failure to spin properly.
Ask our experts a question about this model and we'll get back to you as soon as possible!
We may have answered a similar question already! Search questions and answers left by others using simple keywords like "fit", "broken", "easy", or "quality" to find questions that match.
Search filter:
Clear Filter
Your search term must have 3 or more characters.
Sort by:
Prev
1
2
Next
Sorry, we couldn't find any existing answers that matched.Try using some different or simpler keywords, or submit your new question by using the "Ask a Question" button above!
Julius - For model number WTW7040DW1
January 19, 2020
Leaks when filling so I assume it the fill valve. How do I remove the console so I can access the valve?
Hello and thank you for writing.
The water inlet valve is PS12349461.
For your convenience, we have attached the link to our repair video. We hope this helps. Good luck with your repair
https://www.youtube.com/watch?v=brNAnxKEsrk
The washer makes a squeaking noise when it is in the wash or rinse cycle. Not when it is in the spin cycle. Seems to be cleaning fine just noisy.
Hello Charlotte, thank you for the question. Based on our understanding of the issue, we would suggest you checking the gearcase, part number PS12741641, to fix the issue. Glad to be of assistance!
I'm getting the code dr. Machine stops, turns off with water still in the tube. Latch locked, so I unplugged the machine and a light started blinking while unplugged.
Hi Sherri, Thank you for reaching out. The "DR" error code indicates a drainage issue. The washer is not able to drain water from the tub during a cycle. We suggest checking for a blockage or clog in the drain hose and pump. If they are clear, you may have a faulty Drain Pump. We hope this information helps!
We are getting a code "int" on the screen. I have not been able to find that error code anywhere. When we turn it on all the buttons work, we start it, it latches, but does not fill up with water. You can hear a faint sound of something running or trying to run. But it will do that for about 3 or 4 minutes then buzz like its done.
Hello Cole, Thank you for the question. The "int" means interrupt. The "int" will display when "Stop" is pressed when trying to interrupt the cycle. Normally it should start again after 3-5 seconds after pressing "Start". If the "Stop" Was not pressed or it will not start again, we suggest checking the wiring connections between the boards. We hope this helps!
Was this helpful?
Thank you for voting!
Dimetria - For model number WTW7040DW1
November 2, 2021
What does it mean when the code LF comes up on the screen?
Hello Dimetria, Thank you for the question. The LF Error code indicates an issue with the water flowing into the appliance. We suggest checking the screens on the Water Inlet Valve where the Water Fill Hoses connect. If they are clear, you may have a defective Valve. We hope this helps!
See how others fixed this model. Time, tools, difficulty, and steps that lead to victory!View More
Search repair tips from other customers using simple keywords like "replace", "fit", "remove", "inspect". DIY doesn't mean you have to do it alone!
Search filter:
Clear Filter
Your search term must have 3 or more characters.
Loud grinding noise when the washer was in use.
69 of 84 peoplefound this instruction helpful.
Charles from STARKVILLE, MS
Easy
1- 2 hours
Nutdriver, Screw drivers, Socket set
1.) disconnect power to your washer. Turn off water supply and disconnect from the washer.
open the washer top and remove plastic cap from the wash plate
2.) using 7/16 socket, remove bolt from the wash plate. If you can't remove it with a socket , I recommend using impact wrench.
3.) remove wash plate
... Read more( you might need to spray penetrating oil or wd40 inside the bolt hole to loosen it. Check to make sure the wash plate gear grooves are not worn down, if they are, replace it.
4.) using your Maytag specific spaner nut wrench, remove the spaner nut from the shaft of the gear case. This should be right underneath where the wash plate was. If you can't turn it by hand , use a rubber mallet or hammer to encourage it.
5.) some people remove the wash basket at this point. I don't think it is necessary.
6.) close your washing machine. Tape the top closed to keep it from flying open. Tilt your washer back and prop it up where you have access to the underside of the washing machine.
7) remove motor rotor bolt and pull rotor off of the motor.
8.) disconnect the two wire connectors that supply power to motor. using a socket, remove bolts that are keeping motor attached to the gear case.
9.) Now that the gear case is all the is remaining on the underside, you can remove the 4 bolts that are holding the gear case to the washer. Now try to pull gear case out.
10.) if gearcase will not pull out, lower washer back to upright position. Spray penetrating oil or wd40 around the shaft of the gearcase and allow it to sit for 5-10 minutes. Using a hammer, lightly tap on the shaft of the gearcase and it should now fall out. ( you might have to apply penetrating oil again, or apply more force with the hammer.
11.) reinstall motor to new gearcase. Insert new gear case to the washer. Reinstall bolts and reconnect power supply wires.
12. ReInstall spaner nut inside the washer, reinstall wash plate.
Read less
Was this helpful?
Thank you for voting!
Washer making noise on spin cycle
20 of 29 peoplefound this instruction helpful.
Roy from MAYNARDVILLE, TN
Really Easy
30 - 60 mins
Nutdriver, Pliers, Screw drivers
Removed two screws on back of lid to raise top removed tub one bolt and one spanernut pulled tub lowered top reinstalled screws laid washer down to get to bottom of washer unplugged wiring removed four bolts pulled gear box and motor removed motor from gear box installed motor on new gear box reassemble washer
Was this helpful?
Thank you for voting!
Worn out splines connecting transmission driveshaft to agitator.
13 of 15 peoplefound this instruction helpful.
Thomas from MILLBURY, OH
Easy
30 - 60 mins
Nutdriver, Pliers, Screw drivers, Socket set
DIY'er working on a Maytag Centennial type washing machine should be aware that replacing a a transmission or agitator due to worn out splines is only half a job done well. I originally replaced my transmission due to worn splines, only to discover later that the worn agitator splines caused the new transmission splines to wear out at an
... Read more accelerated rate. Transmission and Agitator should be replaced together, along with a new Agitator mounting bolt. There are plenty of video's online of how to do this repair so I won't get into that here. Just wanted to drop the above sage advice. Transmissions for these washers aren't cheap.




 My Orders