Parts That Fix Whirlpool Refrigerator WRS322FDAM04 Ice maker won’t dispense ice
Ice maker won’t dispense ice is a commonly reported symptom for the WRS322FDAM04 Whirlpool Refrigerator, and we have put together a full guide on how to fix this. This advice is based on feedback from people who own this exact appliance. We have listed the most common parts for your WRS322FDAM04 Whirlpool Refrigerator that will fix Ice maker won’t dispense ice. We have included repair instructions, and helpful step-by-step video tutorials. If you are experiencing this issue, not to worry, DIYers just like you have fixed this, and shared their experience to help you!
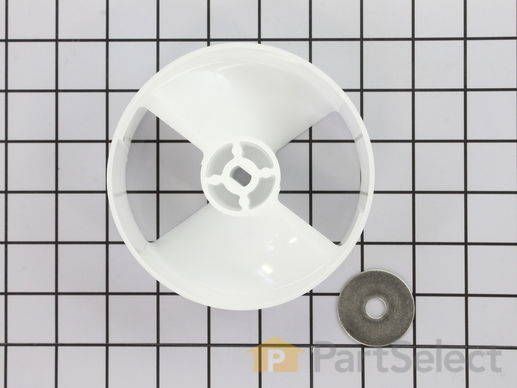
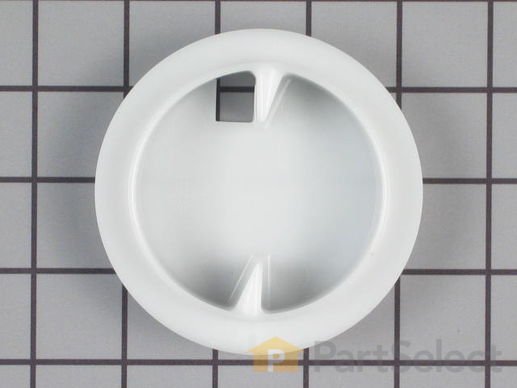
This white ice bin auger drum comes with a washer.
Replacing your Whirlpool Refrigerator Ice Bin Auger Drum

Customer Repair Stories
plastic Ice bin auger broke and needed to be replaced
Suggestions: note that the screw at the end of the auger goes in the reverse direction (this took me about 20 minutes to fi ... Read more gure out even though it was shown in the diagram). Also, be sure to keep the ice crusher parts in order and be sure the white plastic tab on the crusher fits into a depression in the housing. I did not notice this and had to take it all apart and redo the install. It works great!!!
-
Suzanne from Colorado Springs, CO
-
Difficulty Level:Easy
-
Total Repair Time:15 - 30 mins
-
Tools:Screw drivers, Socket set
Plastic bits dispensed from Ice Dispenser in Door
Removed all bolts on bin with nut driver...about six
Removed housing...be careful with spring on crusher/cube control rod
Removed C clamp on end of auger with small slotted screw driver and needle nose pliers.
Removed plastic nut on end of auger shaft
Remov ... Read more ed Ice crusher jaws and laid them out in the correct order
Removed Ice propeller and installed new part
Put back together in opposite order
Easy
-
john from seaford, VA
-
Difficulty Level:Easy
-
Total Repair Time:15 - 30 mins
-
Tools:Nutdriver, Pliers, Screw drivers, Socket set
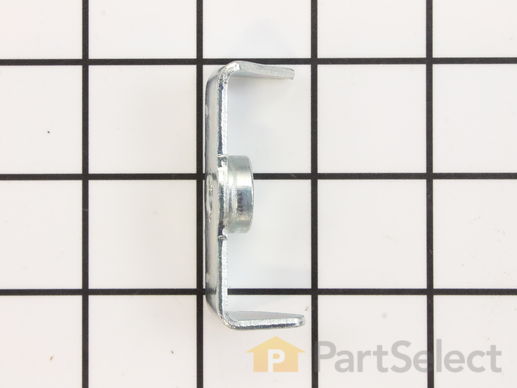
This part attaches to the drive shaft of the ice dispenser motor.
Replacing your Whirlpool Refrigerator Ice Dispenser Motor Coupling

Customer Repair Stories
Ice dispensor motor would run but would not dispense ice at the door!
-
Larry from Hague, ND
-
Difficulty Level:A Bit Difficult
-
Total Repair Time:30 - 60 mins
-
Tools:Nutdriver, Wrench (Adjustable)
motor coupling weld broken
Ice dispenser works better than when we first got the refrig ... Read more erator
-
HAROLD from SPRING HOPE, NC
-
Difficulty Level:A Bit Difficult
-
Total Repair Time:15 - 30 mins
-
Tools:Nutdriver, Pliers, Screw drivers
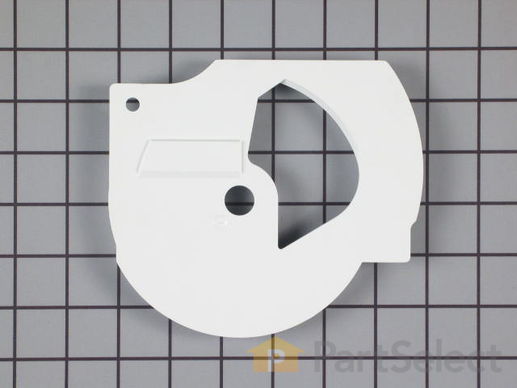
This ice auger support, also known as a baffle, is a manufacturer-approved replacement part for your refrigerator ice maker. This part can become cracked or damaged, preventing your ice auger from doing its job. This repair requires extensive disassembly; take photos as you go to make reassembly easier. To replace this part, life the ice door out of the way and life the ice arm into the off position. Pull out the ice bucket and use a 1/4 inch nut driver to remove the screws holding the ice container and connecting rod in place. Pry the e-clip and washer off the bottom of the auger assembly. Use a 9/16ths wrench to remove the nut at the bottom of the auger. Pull off the auger teeth assembly and replace the auger support with your new part. Now you can begin reassembling.
Customer Repair Stories
the floating baffle broke
-
Darlene from Glasgow, KY
-
Difficulty Level:A Bit Difficult
-
Total Repair Time:1- 2 hours
-
Tools:Screw drivers
Clogged Ice shoot in freezer door (curshed ice)
and dump all of the ice. Remove the four
screws holding the front ice container cover. Remove the control arm screw and bracket from the bottom of the ice container, remove crusher housing (screws and retainer clip). Remove nylon
bearing nut on front of auger shaft (left ha ... Read more nded threads). Remove crusher blades and spacers (remember order of blades and spacers). Remove broken floating baffle. Replace baffle and reverse removal procedures.
-
Lue from Wichita, KS
-
Difficulty Level:Easy
-
Total Repair Time:1- 2 hours
-
Tools:Nutdriver, Pliers, Screw drivers, Wrench (Adjustable)
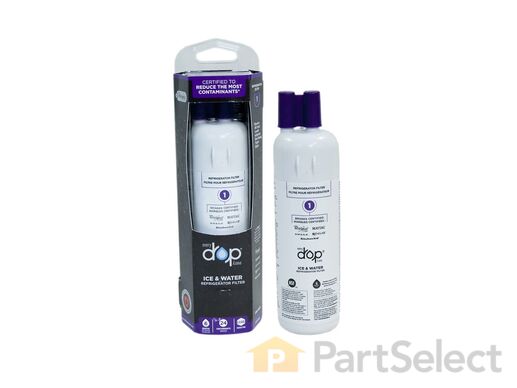
This is an OEM replacement ice and water filter for your refrigerator. In side-by-side refrigerators, it is found in the top right corner or the bottom left grille. In bottom-freezer refrigerators, the filter is in the bottom left grille. In top-freezer units, the filter is located in the middle of the refrigerator. This NSF certified filter reduces 28 contaminants including pharmaceuticals, metals, minerals, pesticides, cysts, industrial chemicals, Class I Particulates and chlorine. It is made up of coconut carbon block and has three layers of filtration. The first layer is particle filtration that helps block larger contaminants. The second layer is micro-filtration, which prevents medium-sized impurities from passing. The third layer is called absorption filtration, which absorbs microscopic-sized pollutants. It measures 2 inches deep, 2 inches wide, 1-1/2 inches high, and weighs 0.5 lbs. To ensure your filter is working its best, it needs to be replaced every six months. This single filter has a simple, quick-turn installation feature that does not require any tools.
Customer Repair Stories
The refrigerator display said I need to replace the filter.
Upon reading the instructions, I removed the old filter.
When I removed the old filter I NOTICED HOW IT CAME
OUT SO THAT I COULD HOLD THE NEW FILTER IN
THE SAME POSITION AND REPLACED IT WITH THE
NEW IN THE SAME POSITION. When I closed the cover
door, I w ... Read more ent to the display panel and reset water filter display.
-
ronald from SEVERNA PARK, MD
-
Difficulty Level:Really Easy
-
Total Repair Time:Less than 15 mins
no problem. the ice and water need to be replaced every 6 months
-
Patricia from ALAMEDA, CA
-
Difficulty Level:Really Easy
-
Total Repair Time:15 - 30 mins
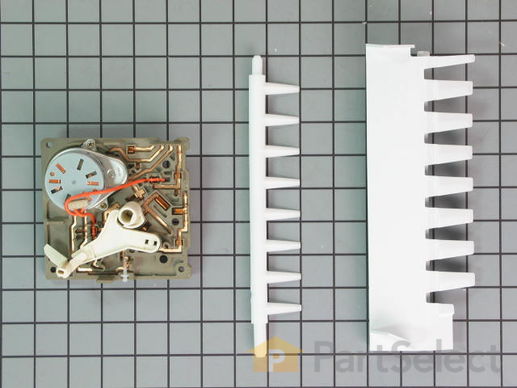
This kit includes the module motor, ejector arm, and ice stripper arm. The complete icemaker is sold separately.
Replacing your Whirlpool Refrigerator Icemaker Motor Kit

Customer Repair Stories
Ice Magic Plus stopped making ice
-
George from Hammond, LA
-
Difficulty Level:Really Easy
-
Total Repair Time:Less than 15 mins
-
Tools:Screw drivers
KITCHEN AID SIDE-BY-SIDE REFRIGERATOR ICE-MAKER stopped working due to a broken motor assembly.
1.) Went to KitchenAid website to look at Parts List for my ... Read more side-by-side refrigerator and ice maker assembly (a PDF file, easily downloadable) . The illustrations helped me visualize the assembly and various parts involved.
2.) Removed cover on front of ice maker.
3.) Removed hex-head screw on undersurface of icemaker on the right, which stablilizes a plastic cover for the electrical connector to the ice maker. Once this is off, it's then possible to slide the ice maker out.
4.) Slide the ice maker out from it's 'shelf' in the freezer. You won't be able to completely remove it until you disconnect the power supply.
5.) Disconnect the multi-pin power connector. (It's probably safest to unplug the refrigerator altogether before doing this, but I did not. No exposed metal wiring or connectors. No problems when I did it this way.)
6.) Once the ice-maker was out, remove the white cover from the motor assembly (on the left side of the unit).
7.) Remove the three screws from the black housing of the motor assembly. (This is where I discovered that the connector between the motor and drive-train was broken and needed to be replaced.)
8.) Remove and replace the drive system for the ice cube ejector.
9.) Then reverse the steps to reassemble.
This may seem a bit vague, but it's really quite straightforward once the ice maker is out of the freezer. The replacement motor assembly includes the motor, the motor housing, the drive-train, and the ice-cube ejector. Very easy to re-asemble.
Shopping for and ordering the part took some time since there are so many different after-market parts dealers. In all honesty, I'm glad I decided on PartSelect.com. They had a decent price, safe checkout, and timely delivery. All the essentials of a good online store.
Thanks, and good luck to the next guy who has to deal with a KitchenAid snafu.
-
ANDREW from DURANGO, CO
-
Difficulty Level:A Bit Difficult
-
Total Repair Time:30 - 60 mins
-
Tools:Nutdriver, Screw drivers
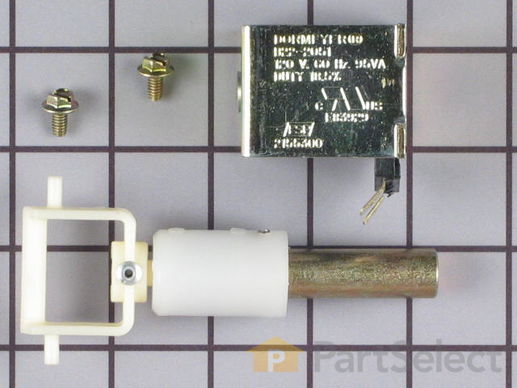
This part consists of a cube and arm that upon activation opens the ice container gate and allows the ice cubes to enter into the chute and into the ice and water dispenser.
Replacing your Whirlpool Refrigerator Soleniod Assembly

Customer Repair Stories
Ice dispenser would not work
-
James E. from Bradenton, FL
-
Difficulty Level:A Bit Difficult
-
Total Repair Time:30 - 60 mins
Ice maker would only deliver crushed ice not cube's
-
MICHAEL from NORTH PORT, FL
-
Difficulty Level:Easy
-
Total Repair Time:15 - 30 mins
-
Tools:Screw drivers, Socket set
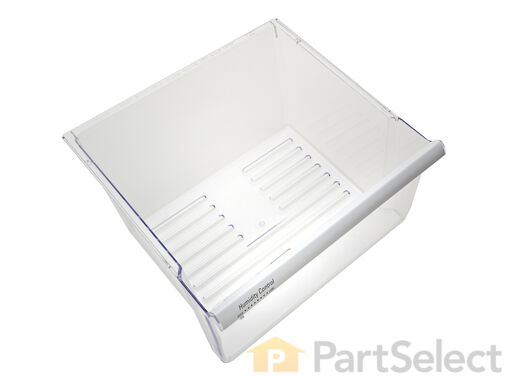
The crisper drawer (Crisper Pan, Refrigerator Crisper Drawer) with humidity control is meant to keep your vegetables and fruit as fresh as possible by allowing you to regulate the humidity levels within the drawer. It attaches on the inside of your refrigerator to the bottom of the crisper shelf. This drawer can break from misuse or accidental damage. It is also subject to material fatigue over time. If broken or damaged, it may be difficult to slide the drawer in and out, and it should be replaced. This plastic drawer measures 14.92 inches long, 7.6 inches high, and 16.5 inches wide and comes in white/clear.
Replacing your Whirlpool Refrigerator Refrigerator Crisper Drawer with Humidity Control

Customer Repair Stories
Drawer guides broken
-
Paula from Chesterfield, NJ
-
Difficulty Level:Really Easy
-
Total Repair Time:Less than 15 mins
track of the pan become broken
-
Darrell from Cedar Bluff, VA
-
Difficulty Level:Really Easy
-
Total Repair Time:Less than 15 mins
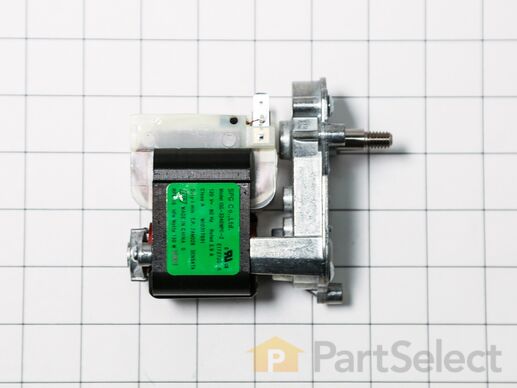
This motor rotates the auger. When the auger rotates, it pushes ice out of the bin, through a chute to the user.
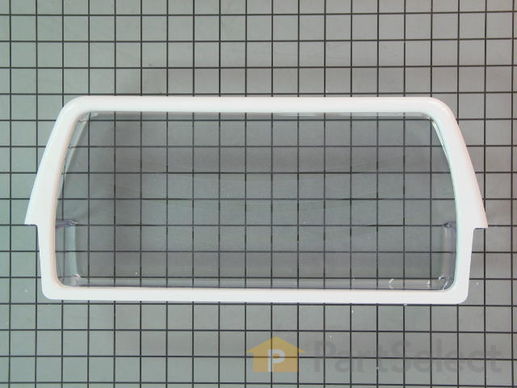
This manufacturer-certified Refrigerator Door Shelf Bin, also known as the crisper bin and door shelf bin, is made of clear plastic, and is easy to install. It is used to hold items in the fridge door, like jars, bottles, cans, and condiments, and this item is clear with white trim around its top edge and you'll be able to visually see if the part is broken. This particular shelf attaches to the fridge door. You can check if this model is right for your appliance by checking your user manual and model number. This individually-sold door bin fits many different models of side-by-side refrigerator, and can be installed with the use of no tools.
Replacing your Whirlpool Refrigerator Refrigerator Door Shelf Bin

Customer Repair Stories
Not enough door storage
-
Dennis from Owings, MD
-
Difficulty Level:Really Easy
-
Total Repair Time:Less than 15 mins
plastic door shelf was cracked & couldn't hold any weight
-
Nancy from Hilton Head Island, SC
-
Difficulty Level:Really Easy
-
Total Repair Time:Less than 15 mins
Customer Repair Stories
Auger would not turn properly
-
Tanya from Lakebay, WA
-
Difficulty Level:Easy
-
Total Repair Time:Less than 15 mins


