Parts That Fix Whirlpool Washer WFW9200SQA12 Leaking
Leaking is a commonly reported symptom for the WFW9200SQA12 Whirlpool Washer, and we have put together a full guide on how to fix this. This advice is based on feedback from people who own this exact appliance. We have listed the most common parts for your WFW9200SQA12 Whirlpool Washer that will fix Leaking. We have included repair instructions, and helpful step-by-step video tutorials. If you are experiencing this issue, not to worry, DIYers just like you have fixed this, and shared their experience to help you!
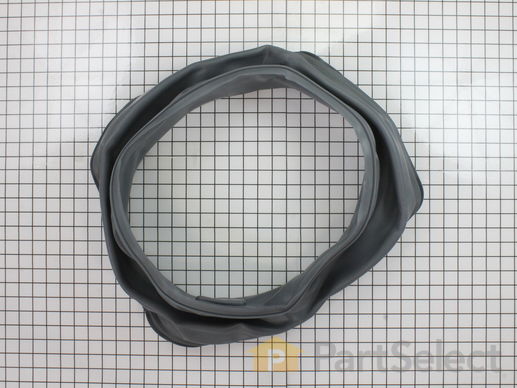
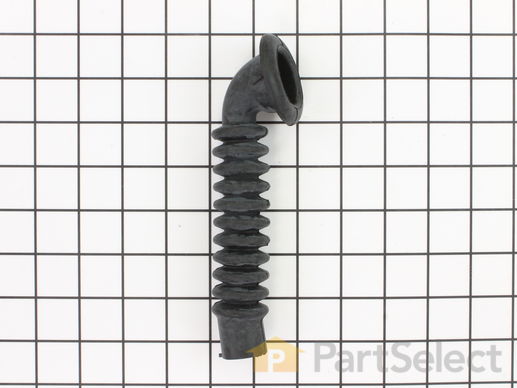
Replacing your Kenmore Washer Washer Door Bellow

Customer Repair Stories
Front Seal Leaked
Then I pushed the bellows into the washing machine drum, pulled the water inlet valve from the be ... Read more llows, and used a short flat blade screwdriver to remove the retaining band (upper right of the bellows) After doing this it was a simple matter to remove the whole unit.
I did find it was easier to remove the washing machine door.
The installation was a simple matter of reversing the above. I had no problems with this repair. I would STRONGLY suggest, unless you are one of those gifted 3 handed people, getting an assistant to push the outer retaining ring into place as you separate the spring.
Simple, easy repair.
-
Charles from Gonzales, CA
-
Difficulty Level:Easy
-
Total Repair Time:15 - 30 mins
-
Tools:Pliers, Screw drivers
Bellows were moldy, needed to replace
To do this, Open the washer door as far as you can to get it out of the way. look underneath of the front of the bellow on the outside of the washer where it meets the door. Put your head almost on the floor and look up.
You will fin ... Read more d a spring streached about 3" connected to a small diameter wire (1mm.) that runs all the way around the outside portion of the bellow.
Use a small screwdriver or other to pull and pry the spring away from the rubber bellow. Be careful not to damage the spring or ring. Once you have grip on it, pull it carefully toward you then up and off of the bellow.
The front portion of the bellow is now free and can be peeled off. Start at any point and pull the rubber bellow in toward the opening of the washer, it comes off easily.
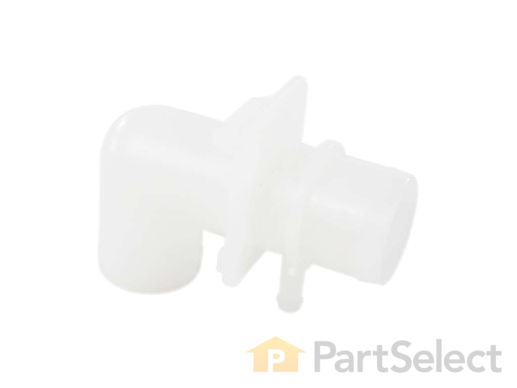
When you get to the detergent outlet on the upper left side, grab the plastic tube and carefully pull the bellow from around it. There is no adhesive or clamp holding this in place, just friction. Remove the rest of the front portion of the bellow.
Push as much of the bellow into the washer as possible to get it out of the way.
Once this is off comes the slightly tricky part. Look up at the top right portion of the bellow that is still attached. You may need to feel with your hand but you should be able to see it. You are looking for the screw/nut end of a giant hose clamp. This hose clamp goes around the entire bellow and the secures it to the portion that holds the basket.
This is where the stubby screw driver comes in handy. There is not nearly enough room for a standard one and a nut driver or wratchet are too big. The nut will be pointing down and will need to be replaced the same way.
Loosen the hose clamp almost all of the way, not necessary to have the hose clamp come completely apart.
You can now remove the entire hose clamp from around the bellow by pulling it forward.
You will need to remove the hose clamp from the washer. To do this, squeeze it in from the sides about 6", don't kink it. Push it down toward the floor between the basket and the metal front panel. You will now be able to remove it from the top of the opening and be able to pull the bottom portion out.
Pull the old bellow completely out, very easy to do.
Time to install the new bellow. Figure out which side goes in and which faces out. The big hint is that the water inlet is on the upper left side.
You will notice at the top of the bellow on the portion that goes inside of the washer, you will find a small triangular shaped tab about 1/4" high. This is your centering mark. This will be at the very top. If you keep this at the top, everything will line up perfectly.
Slip the bellow over the edge of the portion that holds the basket where you removed the old one. I started at the top and worked left so I could install the detergent inlet tube. Pull this through the bellow carefully. It doesn't take a lot of force.
As you are pressing the bellow on this lip, you will notice that there is a 1/2" high back stop all of the way around. This is great because as you press it on, there is a positive stop and you can't go further than necessary. Continue to press it in all of the way around.
Now it is time to install the Hose clamp. Un bend anything that might have bent on the clamp. With the nut at the top or top right with the nut facing down to the floor while holding it vertically, squish it slightly inward, put the bottom portion in first then the top portion. Orient is as it was when you took it off. Slide it around the bellow. You will feel a positive stop.
Grab the stubby screwdriver and tighten down the hose clamp. I did about a medium force when tightening. It doesn't take a lot of force.
Now it is time to pull the remaining part of the bellow out of the basket and fit it into place. Press it around the outside portion of the opening so it hooks over the lip. This w
-
Franck from Annandale, VA
-
Difficulty Level:Easy
-
Total Repair Time:15 - 30 mins
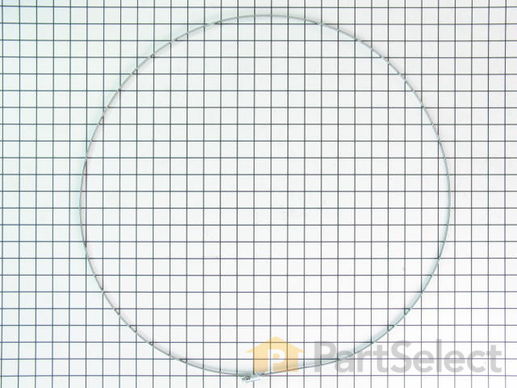
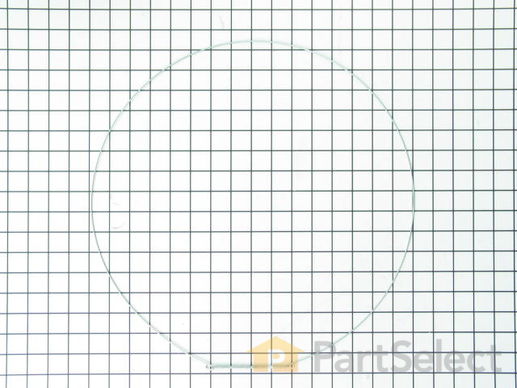
Used to help hold your bellow in place on your washer.
This is the replacement bellow clamp for your washer. It approximately 16 inches in diameter and is sold individually. The bellow clamp goes around the bellow in your washer and holds it in place on the washer frame. The main reason you would want to replace the bellow clamp is if it is rusted or damaged, and it is not holding the bellow into place. To remove the bellow clamp, simply use a screwdriver to pop the bellow clamp out of the groove it rests in. Place the new clamp back into the bellow groove until it snaps into place. This is an OEM part from the manufacturer.
Replacing your Kenmore Washer Bellow Clamp

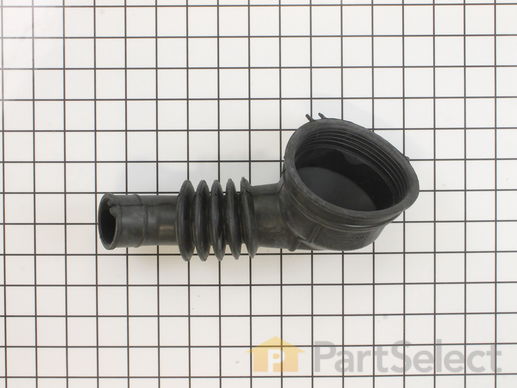
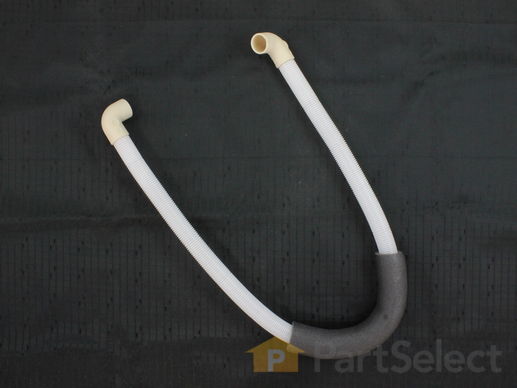
This hose attaches to water pump assembly. NOTE: As per the manufacture if the washer has an Eco Ball, it's no longer needed when the new hose is installed.
Replacing your Whirlpool Washer Pump Hose

Customer Repair Stories
Worn out hose had a hole it it.
-
Edward from Clinton, MD
-
Difficulty Level:Easy
-
Total Repair Time:15 - 30 mins
-
Tools:Pliers
Washer leaking
Look for the leak. Determined it was the hose. Use power pliers to remove the clamp.
The small clamp was easy. The big one I had to use my yoga to get to it. It probably would had been easy from the back panel but moving the machi ... Read more ne requires brute force.
Once the hose was out I found some bra under wires which is what probably punctured the hose.
Removed the front filter and found a bunch of nails.
Assembly was much easier and placed clamps so that if needed it would be a lot easier to remove and replace.
-
Alexander from Miami, FL
-
Difficulty Level:A Bit Difficult
-
Total Repair Time:30 - 60 mins
-
Tools:Pliers, Screw drivers
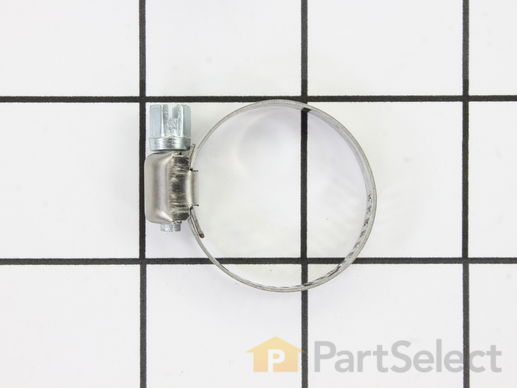
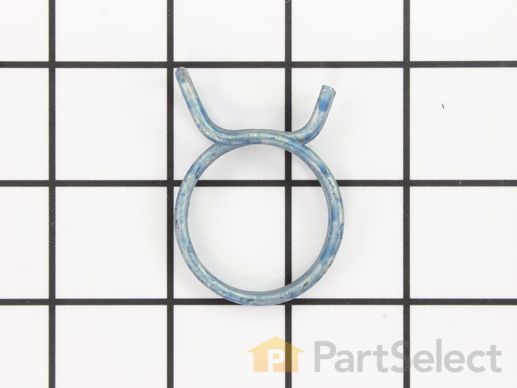
This hose clamp is used in a wide variety of household appliances. Most often it is found in washers, dishwashers, refrigerators, freezers, dehumidifiers, garbage disposals, or air conditioners. This clamp is used to securely attach a hose to another part of your appliance, which helps prevent leaks from those connections. Depending on the appliance, it can attach hoses to drain pumps, water inlet valves, pressure switches, and injector nozzles. We recommend you refer to model-specific diagrams for appropriate uses and exact placement. This hose clamp is made of metal, and is sold individually. To access and replace this part you will need a nut driver, pliers, and screwdrivers. Before you begin any repair work, make sure you have unplugged your appliance, and shut off the water supply if applicable.
Replacing your Kenmore Washer Hose Clamp

This hose goes from the drain pump to the back of the washer.
Customer Repair Stories
I was getting a sewer smell when the washer drained I did every cleaning technique and didn't solve the problem then I cleaned the inside drain hose and that helped so I replaced the hose and problem solved.
I replaced the hose and reinstalled the panels and I was do ... Read more ne.
-
anthony from EASTPOINTE, MI
-
Difficulty Level:Very Easy
-
Total Repair Time:30 - 60 mins
-
Tools:Pliers, Screw drivers
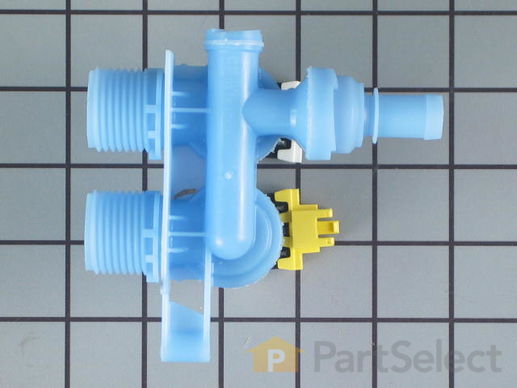
This water inlet valve attaches the water lines to the back of your appliance. The attaching solenoids on the valve open and close according to the desired temperature or amount of water needed.
Replacing your Kenmore Washer Water Inlet Valve

Customer Repair Stories
water running in all the time
-
Brian from Liberty, NC
-
Difficulty Level:Really Easy
-
Total Repair Time:15 - 30 mins
-
Tools:Nutdriver, Pliers, Screw drivers
stripped the threads on the water inlet
can end up cross threading or stripping the threads, they are plastic and can easily be stripped.
It will save you time and $.
Unscrew the top of the washer and remove it. Removed a weirdo screw with a pair of pliers since I didn't have the tool to remove it.
Took ... Read more out the old one and replaced it with the new one. Replaced the weirdo screw with a drywall screw and screwed it in place. Carefully threaded the hoses on and turned on the water. Success!
-
William from Belen, NM
-
Difficulty Level:Easy
-
Total Repair Time:Less than 15 mins
-
Tools:Socket set
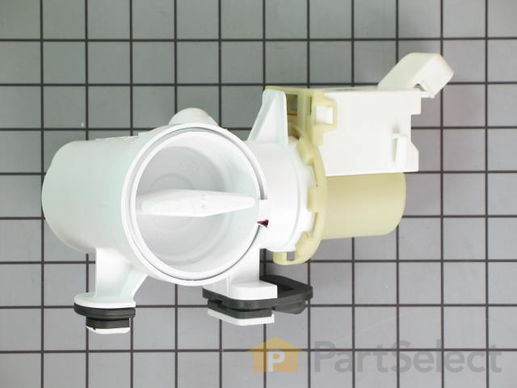
This is a manufacturer-approved replacement drain pump for your washing machine. To complete this repair you will need a 1/4 inch nut driver, 5/16ths nut driver, a flat blade screwdriver, and a pair of pliers. Make sure to disconnect power to the washer before beginning this repair.
Replacing your Maytag Washer Washer Drain Pump

Customer Repair Stories
water pump failed
-
Kurt from Caliente, NV
-
Difficulty Level:Really Easy
-
Total Repair Time:15 - 30 mins
-
Tools:Nutdriver, Pliers
F 21 error
The washer drained water out, lift the washer up to un screw the drain pump. Then unhooked the hoses from pump put the other pump in.
-
Andrew from St.Louis, MO
-
Difficulty Level:Easy
-
Total Repair Time:15 - 30 mins
-
Tools:Screw drivers, Socket set
Customer Repair Stories
Multiple water leaks, all rubber parts are chewed up from a mouse 1/
-
Tom from SAN MARCOS, TX
-
Difficulty Level:Really Easy
-
Total Repair Time:30 - 60 mins
-
Tools:Nutdriver
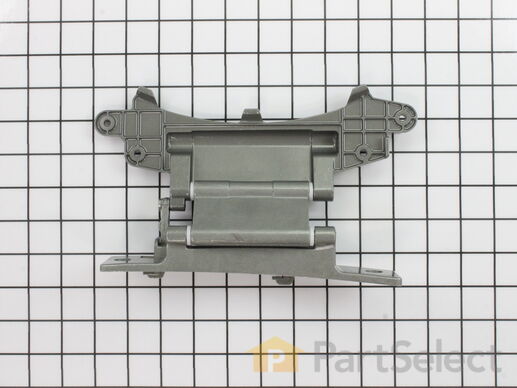
Replacing your Whirlpool Washer Washing Machine Door Hinge

Customer Repair Stories
Washer hinge casting broke
-
Robert from GILBERT, AZ
-
Difficulty Level:Really Easy
-
Total Repair Time:15 - 30 mins
-
Tools:Nutdriver
Not a problem
-
Theresa from BATESBURG, SC
-
Difficulty Level:Very Easy
-
Total Repair Time:15 - 30 mins
-
Tools:Nutdriver
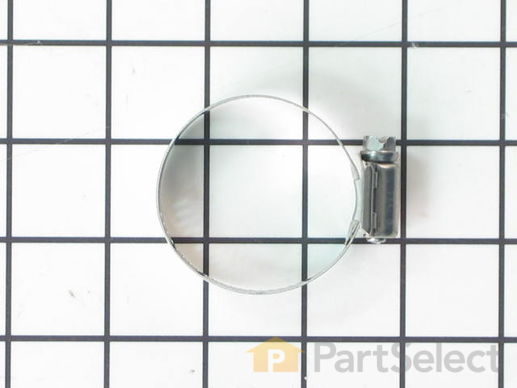
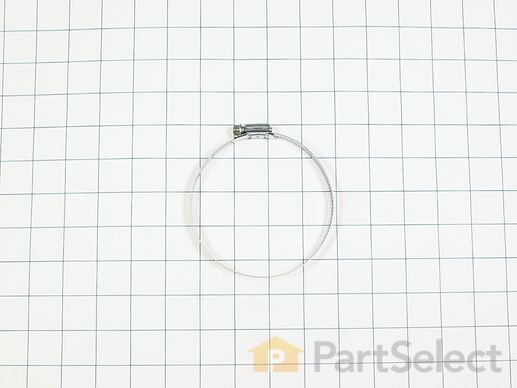
Note: This part has been updated by the manufacturer. It may appear different but will still function the same as the original. The hose clamp is about 2 inches in diameter and made of stainless steel. A hose clamp generally attaches hoses and tubes to various equipment This part consists of a band and a screw that tightens along the slots when it is turned. This part works with washers, dishwashers, food waste disposers, and ice makers. This will need to be replaced if you notice leaking coming from the appliance.
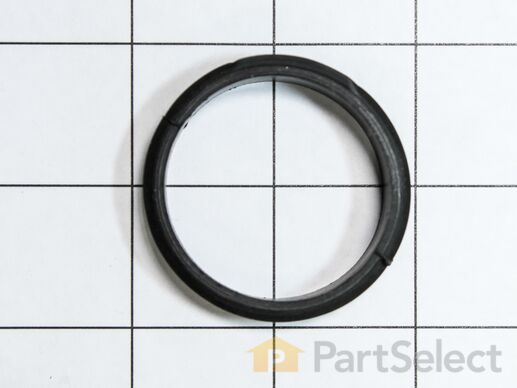
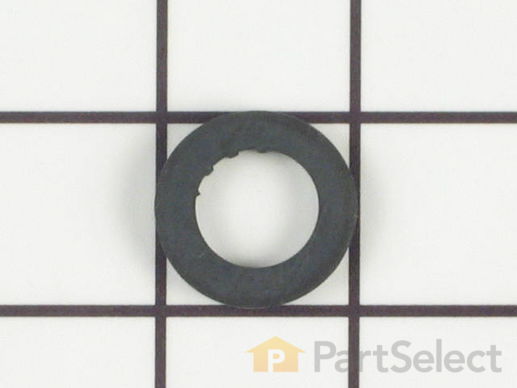
If your clothes washer is leaking, it is likely that there could be an issue with one of the hoses. If the hoses are in working order, you should check the washers connecting the hose to your unit. Rubber washers are tasked with enhancing the seal between the hose and washer. A faulty or damaged washer will not be able to perform this properly, and water will be able to leak from the poor connection. This OEM part is sold individually, so make sure you order the quantity that is needed. The washer measures 1 1/16 inches x 5/8 inches.
This clamp helps to prevent leaking by holding the end of water hose in place.
This hose can handle hot or cold water and is five feet long.
Replacing your Kenmore Washer Inlet Hose - 5 FT

Customer Repair Stories
Old hot water inlet hose had budge at both ends.
-
Jimmy from MEMPHIS, TN
-
Difficulty Level:Very Easy
-
Total Repair Time:Less than 15 mins
-
Tools:Pliers
Leaking water inlet hoses.
-
Helen from NASHUA, NH
-
Difficulty Level:Really Easy
-
Total Repair Time:30 - 60 mins
This screw-type clamp, also known as a hose clamp, is made of metal and is used within various models of washers to secure the tub-to-pump hose and tub/drum of the washer. Without this clamp, the hose is vulnerable to leaking and disconnecting from the tub during the wash cycle of the washer, which can present a serious safety hazard for the machine and your home. Clamps can wear out and lose their tension due to excessive vibrations, mechanical damage, and normal wear and tear, all things present within a washing machine. To replace this clamp, you will first need to turn off your washer and you will need access to the lower portion of the washer chassis, which may require one or multiple screwdrivers and wrenches. Once you have access, use your screwdriver to loosen this clamp, which can then be removed and replaced with the new clamp, which will need to be tightened securely. Then you can simply reassemble the rest of the washer you originally disassembled.


