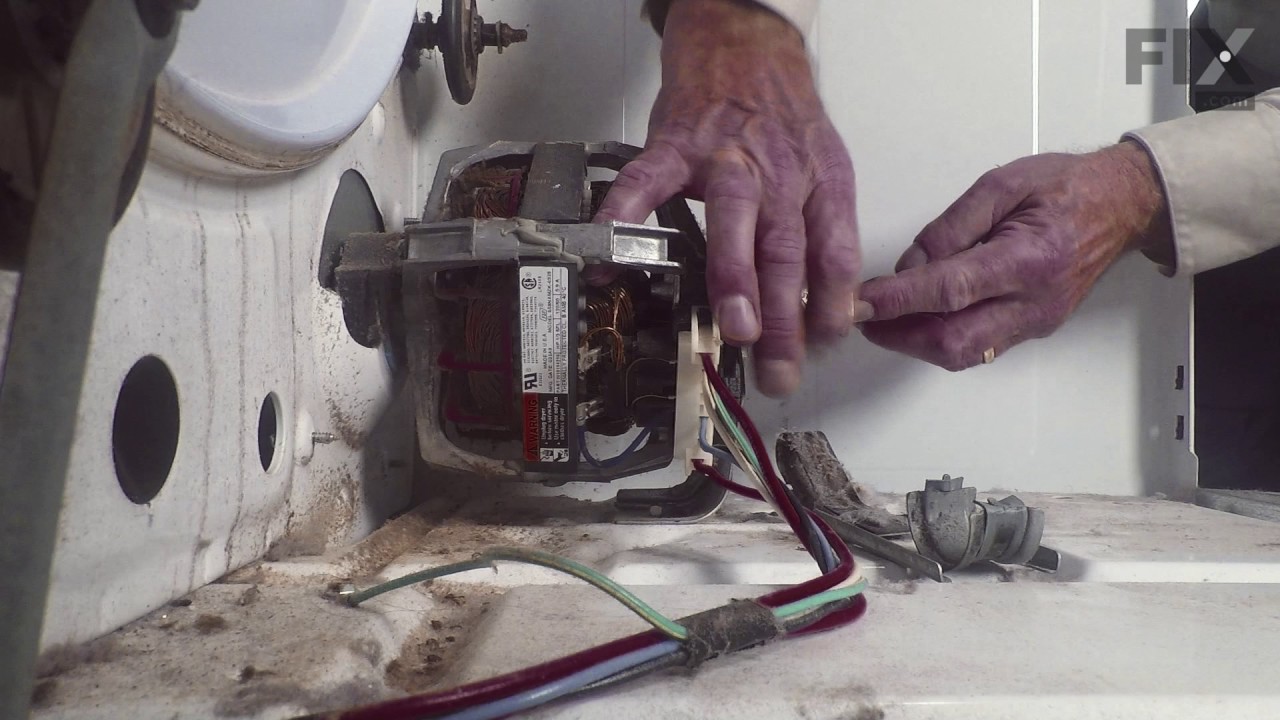
The Dryer Thermal Fuse (Thermal Cutoff, Temperature Fuse) is a 2 by ½ inch, white, plastic safety mechanism that stops the flow of electricity to the motor circuit when a dryer overheats. If the fuse is missing or broken, your dryer will not start. A thermal fuse fails when the exhaust temperature exceeds the fuse rating, that is when th...Read moree temperature rises above the temperature that the fuse is designed to handle. This can occur when a heating element is shorted, a regulating thermostat or thermister fails, or with a partially restricted exhaust vent. The fuse attaches to the blower wheel housing. It must be replaced when there is no longer continuity between the terminals. This is a one-time fuse, meaning it cannot be re-set. The replacement part features two 3/16 inch terminals.
The heating element (Flat Can Heating Element 5400W, Heating Element, Whirlpool Dryer Heating Element, Dryer Heating Element) provides heat to the dryer. It is metal and measures 10.5 inches long, 7.5 inches wide, 2 inches deep. The element attaches to the heater housing. This part can break as a result of wear and tear. This can be mater...Read moreial fatigue or prolonged high temperature exposure. If broken your clothes may not dry because of a lack of heat. It must be replaced when there is no longer continuity between the terminals. First check the thermal fuse on the blower housing before deciding to replace the heating element.
The thermal cut-off (Dryer Thermal Cut-Off Fuse Kit, Dryer Thermal Cut-Off Kit) prevents the dryer from overheating when the dryer high limit thermostat fails in a closed circuit condition. This part fails when the heater housing does not have adequate airflow through it; this is normally caused by restriction in the exhaust vent, plugged...Read more lint screen, or broken blower wheel. If this part fails, the dryer may not produce any heat. This kit includes one high-limit thermostat with a limit of 250 degrees Fahrenheit, and one thermal cut-off fuse (309 degrees), jumper wires, and new female spade terminals. Both components are mounted on the heater housing, and measure approximately 2 inches long and 1.5 inches wide each. This kit comes in silver and is constructed of metal.
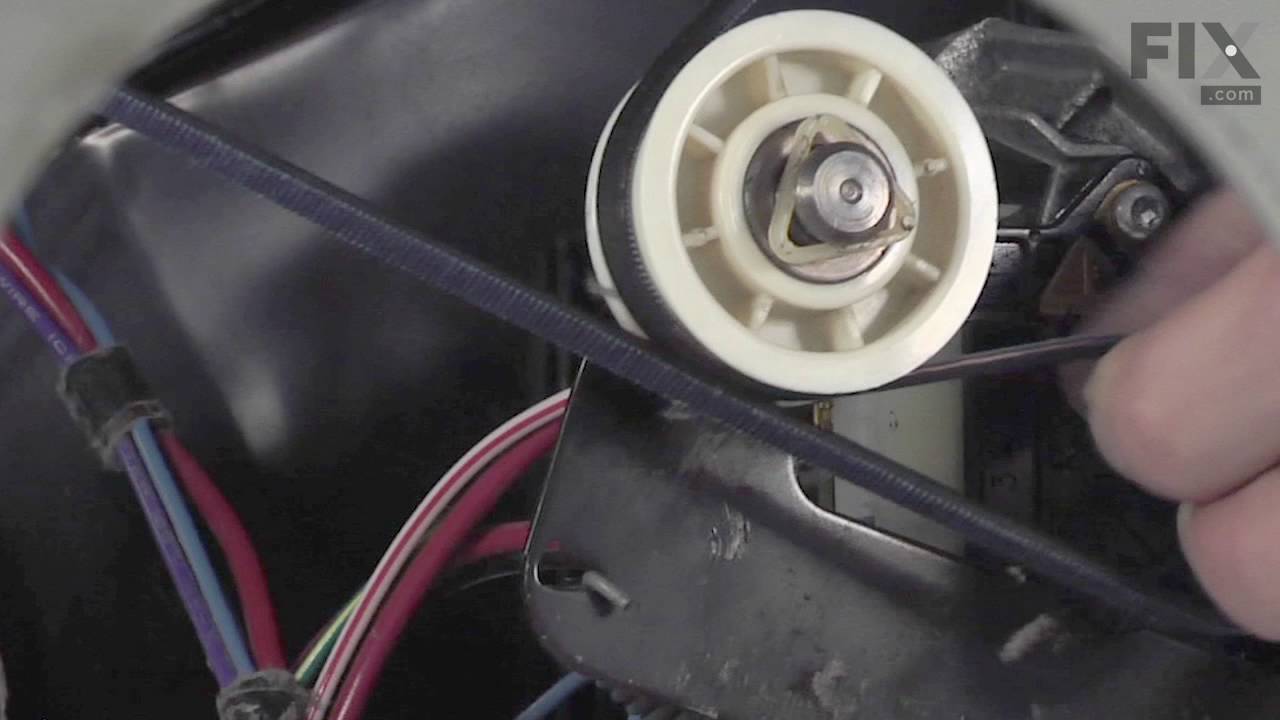
The drum support roller kit (Dryer Repair Kit) allows the dryer to tumble properly by supporting the drum cylinder. The idler pulley provides the tension required for a multi-ribbed belt. The belt attaches to the drum, idler pulley, and motor pulley. If your dryer is damaged, it may be making loud, squeaking, and/or squealing noises while...Read more the drum is turning. This is from normal wear and tear. The drum may eventually stop turning all together. This is a sign the part should be replaced. This is one complete maintenance kit. The kit includes the drum belt, drum support rollers, one idler pulley, four tri-rings, and one clip. The parts are constructed of plastic, metal, and rubber, and come in black/white/silver.
This replacement door catch is for your dryer door. If the catch is broken and the door will not stay shut, the dryer may not turn on. Use a putty knife to pop out the existing door catch by the locking tabs, and insert the new one. Make sure to unplug the dryer before beginning this repair.
This dryer thermistor is a genuine replacement component designed to monitor and regulate internal temperature in Whirlpool dryers. Mounted on the blower housing, it plays a critical role in controlling the heating element by adjusting resistance as temperatures rise, signaling the control board to maintain safe and efficient drying condi...Read moretions. A malfunctioning thermistor can result in symptoms such as no heat, overheating, premature cycle termination, or failure to start. It may also trigger fault codes like F-22, F-23, E1, or E2. Replacing the thermistor restores proper temperature regulation, protects the appliance from damage, and improves drying performance. Installation should be performed with the dryer unplugged and may require basic tools.
If you notice that your dryer is noisy or will not tumble, you may need to replace the tri ring. This part is triangular, and is less than an inch in size. Tri rings can be found both on the idler pulley shaft, or on the rear drum roller shaft. In either case, you will need to remove the front panel of the dryer and the drum to access the...Read more part for repair. Once you have accessed the damaged tri ring, you will simply need to slip it off and replace it with the new one. This part is sold individually. Be sure to disconnect the power source from the dryer before you begin this repair.
If your washer shakes or vibrates loudly when it reaches its max speed, check that the leveling legs are even. To ensure that the washer is firmly on the ground using all four legs, adjust the legs so that the machine is level, and tighten the locking nuts on the legs that are threaded. Keep the washer as close to the floor as possible. Y...Read moreour model might have rear legs that level themselves, or it might have threaded legs all around. Make sure the rubber feet have not worn out. Replace any missing or damaged legs and feet. This replacement part is sold individually.
This 10-watt clear incandescent light bulb is designed to provide reliable interior illumination for household appliances such as dryers and refrigerators. Measuring approximately 2 inches in length, it fits securely into standard appliance sockets and activates when the appliance door is opened, offering clear visibility inside the drum ...Read moreor compartment. The bulb is suitable for use in a wide range of models across multiple appliance brands and is engineered to deliver consistent performance and durability. Installation is straightforward—simply screw the bulb into the designated socket within the appliance. Ensure the appliance is powered off before installation to maintain safety.
Ask our experts a question about this model and we'll get back to you as soon as possible!
We may have answered a similar question already! Search questions and answers left by others using simple keywords like "fit", "broken", "easy", or "quality" to find questions that match.
Search filter:
Clear Filter
Your search term must have 3 or more characters.
Sort by:
Prev
1
2
Next
Sorry, we couldn't find any existing answers that matched.Try using some different or simpler keywords, or submit your new question by using the "Ask a Question" button above!
John - For model number WED6200SW1
July 5, 2021
Makes a squealing noise from time to time
Hello John, Thank you for the question. Normally this is an indication the Roller Wheels, Idler or belt will need to be replaced. We suggest ordering the Maintenance Kit. The kit includes the drum belt, drum support rollers, one idler pulley, four tri-rings, and one clip. We hope this helps!
I turn the power on my dryer and it’s not working it keeps lighting up sensing what does that mean
Hi Donald, Thank you for your inquiry. Although usually your control board can be the culprit for something like that. You should test the Thermal Fuse in your appliance. Sometimes that can be the cause of your machine stuck in the sensing mode. To test your fuse, you will need a multi-meter. First unplug your appliance and remove the fuse. Set the multi-meter on the lowest setting. The calibrate the needle until it lands on zero. Then you take the two probes and place them on the prongs of your fuse. If the needle stays on zero, then your part will need to be replaced. I hope this helps!
6 peoplefound this instruction helpful.
Was this helpful?
Thank you for voting!
John - For model number WED6200SW1
February 13, 2020
To help someone else: Issue was display would light up when powered on but would not run when pressed start and only make click sound without error code. Did diagnostic (3 sec pressing, 3x off/on, any button but power, start or pause) and received f25. Checked ohm on thermal fuse wp3392519, it was 1.25m ohms but should be close to 0. Was told by sears that f25 was thermistor wp8577274. Replaced both and it works.
Hello John, thank you for sharing your experience. We are glad to hear your repair went well.
2 peoplefound this instruction helpful.
Was this helpful?
Thank you for voting!
Danny - For model number WED6200SW1
May 8, 2023
my dryer is squeaking when drying sometimes not all the time
Hi Danny, thank you for the question. We have found that if the drive belt becomes loose, it wraps around the outside of the dryer drum and can cause squeaking. We would recommend checking the drive belt, part number PS11746376, to fix the issue. We hope this helps, good luck with this repair!
Ordered thermal cutoff kit for dryer , part # 279816 , but the high limit thermostat in kit is not correct. High limit for my dryer , part # 8577891 , has more wires. Is there a cutoff kit for my dryer? If not , how can i get only the thermal cutoff without buying a whole kit? Thanks
Hi Brian,
Thank you for your question. There is a thermal cut-off kit for your dryer. The part number listed under your model number for the thermal cut-off kit is PS334299. If you would like to place an order for it, you may order it either online or by calling our customer service line and anyone will be happy to assist you. We hope this helps! If you have any questions, please let us know.
See how others fixed this model. Time, tools, difficulty, and steps that lead to victory!View More
Search repair tips from other customers using simple keywords like "replace", "fit", "remove", "inspect". DIY doesn't mean you have to do it alone!
Search filter:
Clear Filter
Your search term must have 3 or more characters.
Dryer was working, but no heat.
3067 of 3491 peoplefound this instruction helpful.
ANTHONY from CHESHIRE, CT
Easy
15 - 30 mins
Nutdriver, Pliers, Screw drivers
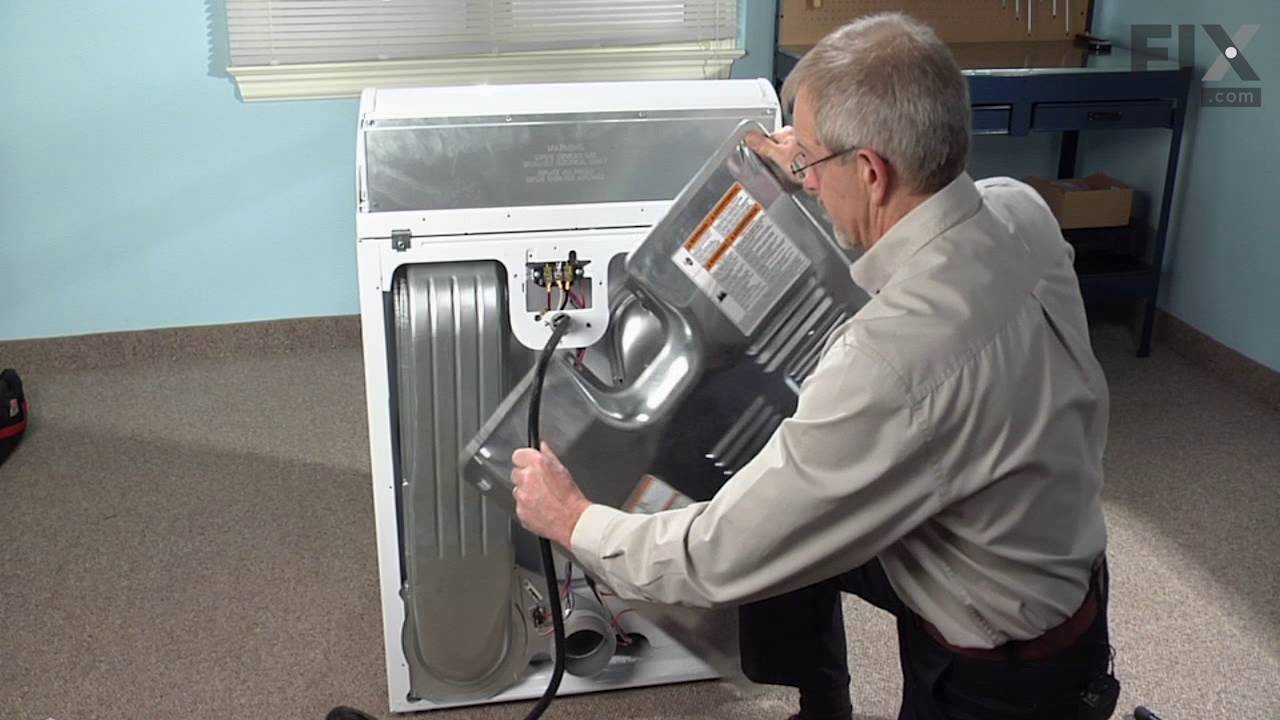
First I unplugged the dryer, then removed the back panel, this exposed most all of the wiring and I could see the heater coils. Not knowing what the problem was I started looking at the coils and could not see any broken parts. So then checked the thermal fuse for continuity I removed the two wires from it with a small pair of
... Read moreneedle nose pliers, it was held in place by two screws, once they were removed the fuse came out easily, I checked continuity with a volt meter placing the meter on X1 Ohms and could not get a reading. I replaced with a new one and put it all back together the way I took it apart. Then I plugged it in and it worked first time, I now have warm dry clothes.
Read less
Was this helpful?
Thank you for voting!
Dryer motor runs, but no heat
2308 of 2510 peoplefound this instruction helpful.
Gadi from Irvine, CA
Really Easy
30 - 60 mins
Nutdriver
To reach the heating element you only need to open the back cover of the dryer (about 8 nut-head screws). Remember to disconnect the power.
To remove the heating element there are two small nut-head screws. Remove the two electric wires. Then you can pull the heating element away.
You can check the heating element wi
... Read moreth an ohm-meter or visually inspect it to see if the heating element spiral wire is broken.
Don't hurry to dispose the old element. My model includes a small electric safety part. You'll need to transfer it to the new heating element (that comes without it)..
Good luck.
Read less
Was this helpful?
Thank you for voting!
No heat but would run otherwise
926 of 1022 peoplefound this instruction helpful.
Dana from Grassvally, CA
A Bit Difficult
More than 2 hours
Screw drivers
Cleaning the lint out of the whole machine took quite a bit of time--it was everywhere. Underneath the lint trap was a collection that ultimately ruined the thermal fuse where it restricted the air flow considerably.
Ascertaining the problem was the most time consuming part.
The actual repair was quite simple and did
... Read moren't take but 15-20 minutes.



 My Orders