Models > WDSR2080D5WW > Symptoms > Will not agitate

Parts That Fix General Electric Washer WDSR2080D5WW Will not agitate

Will not agitate is a commonly reported symptom for the WDSR2080D5WW General Electric Washer, and we have put together a full guide on how to fix this. This advice is based on feedback from people who own this exact appliance. We have listed the most common parts for your WDSR2080D5WW General Electric Washer that will fix Will not agitate. We have included repair instructions, and helpful step-by-step video tutorials. If you are experiencing this issue, not to worry, DIYers just like you have fixed this, and shared their experience to help you!

Fixes Symptom 41% of time
★★★★★
★★★★★
21 Reviews

Rated by 17 customers 


Really Easy 

30 - 60 mins 

Ratings submitted by customers like you who bought this part.   

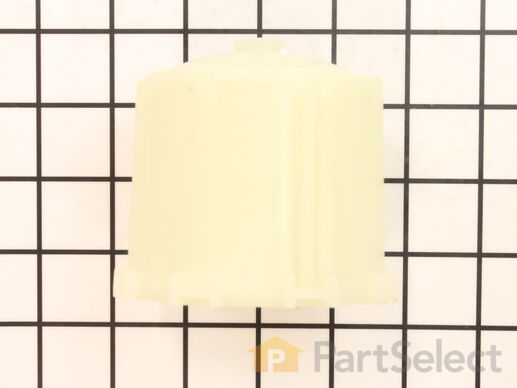
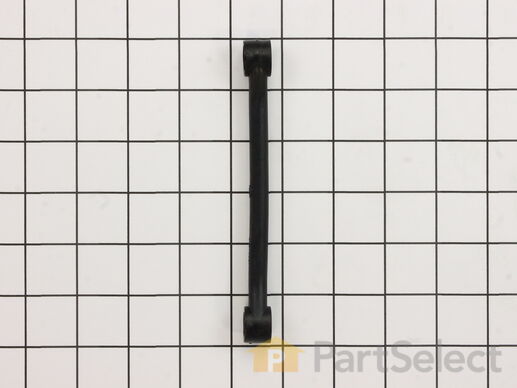
Bolt not included. This part connects the transmission drive shaft to the agitator base.

$ 25.63
  In Stock
PartSelect Number PS1482517
Manufacturer Part Number WH43X10032

Replacing your General Electric Washer Agitator Coupling

Replacing your Agitator Coupling

Customer Repair Stories

No Agitation Spins OK

Followed your video instructions and removed agitator.Used 7/16 3/8 in socket wrench to remove bolt in the agitator coupling and replaced coupling. Put new bolt in and tightened. Installed Agitator.Works Great.
  • Raymond from TRAVELERS RST, SC
  • Difficulty Level:
    Very Easy
  • Total Repair Time:
    Less than 15 mins
  • Tools:
    Socket set
5 of 7 people found this instruction helpful.
Was this instruction helpful to you?
Thank you for voting!

not agatating

pulled off cup on top of agataor. scrwed off nut. pulled off agatator. flipted up side down. took off agatator bell wich is on the bottom of the agator. sliped on bell. put agatator back on and scrwed on nut. dont reamber the size of the nut.sorry. put cap on and your done.
  • pilar from covert, MI
  • Difficulty Level:
    Really Easy
  • Total Repair Time:
    30 - 60 mins
  • Tools:
    Screw drivers, Socket set
13 of 22 people found this instruction helpful.
Was this instruction helpful to you?
Thank you for voting!
Fixes Symptom 24% of time
★★★★★
★★★★★
8 Reviews

Rated by 33 customers 


Easy 

1- 2 hours 

Ratings submitted by customers like you who bought this part.   

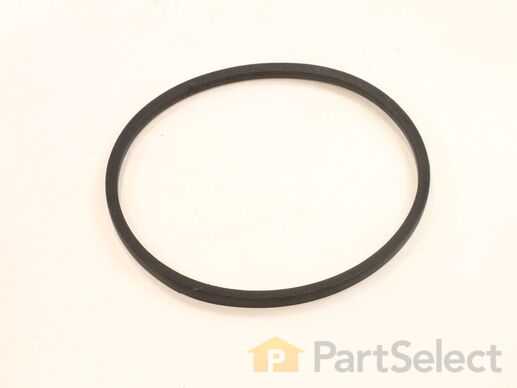
This V-shaped drive belt is 29 1/2 inches long x 1/2-inch-wide, and fits both front-load and top-load washing machines. When belts are worn or frayed, they are known to make noise. If you have a top-load washer, a drive belt may be connecting the transmission to the drive motor. It would generally be a rubber V-belt covered in fabric to allow free movement. Or it could be a rubber belt aided by a tensioning device like an idler pulley, to stop the motor from causing too much friction to the belt. For front-loaders, the drive belt goes between the drive motor and the wash basket. If your drive belt is worn or frayed, it should be replaced straight away. After replacing the drive belt, run a wash cycle to ensure the belt is correctly fitted.

$ 14.10
  In Stock
PartSelect Number PS270803
Manufacturer Part Number WH1X2026

Replacing your General Electric Washer V-Style Drive Belt

Replacing your V-Style Drive Belt

Customer Repair Stories

washer was not agitating or spinning

My washer was making noise but not agitating or spinning on any of the cycles that I turned the dial to. Didn't know if it was the transmission or something simple. I did some research and discovered it may be the belt, even though the belt looked new, I changed it anyway by just removing the front of the washer and cutting the belt off and putting the new belt on by just turning the pulleys until it fed on. No need to tip it over to do the repair...and it WORKED!! Then I did the happy dance around the house...see woman can repair 2!
  • Rachelle from Kent City, MI
  • Difficulty Level:
    Easy
  • Total Repair Time:
    Less than 15 mins
60 of 64 people found this instruction helpful.
Was this instruction helpful to you?
Thank you for voting!

GE washer no spinning during spin cycle

Used the spatula to release the front panel (push flat spatula under top about 2 inches from either side to release the two sprng clips holding the front panel on) to expose the tub and motor assembly. Inspected the belt and it seemed worn and a lot of rubber particles were in base of machine. Ordered the belt from partselect - received it two days later. Loosened 4 motor mount nuts. Removed old belt and replaced. Tightened belt and tightened nuts on motor. Only tricky part is you will need extensions for socket drive because belt is in the way for two of the motor mount nuts. I used a 1/4" small socket wrench, with an extension. No expertise needed on this one.
  • Laurence from Bronx, NY
  • Difficulty Level:
    Easy
  • Total Repair Time:
    15 - 30 mins
  • Tools:
    Socket set
171 of 190 people found this instruction helpful.
Was this instruction helpful to you?
Thank you for voting!
Fixes Symptom 15% of time
★★★★★
★★★★★
1 Review

Rated by 10 customers 


Easy 

30 - 60 mins 

Ratings submitted by customers like you who bought this part.   

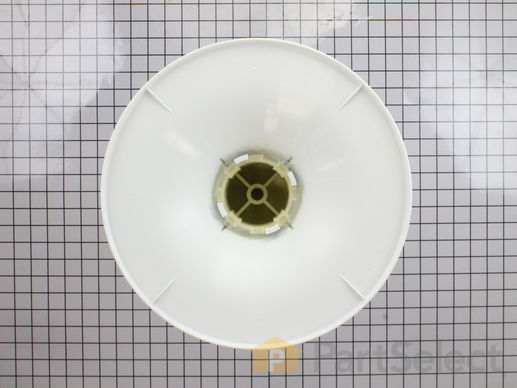
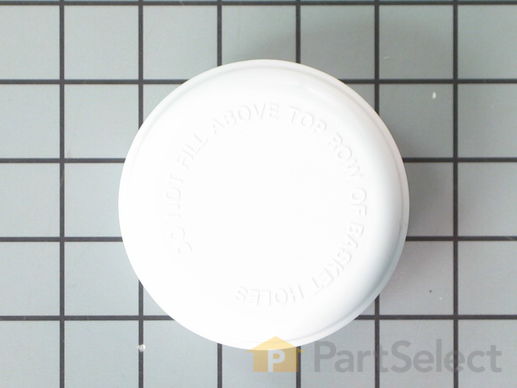
This part does not include the agitator cap. Must order separately.

$ 54.96
  In Stock
PartSelect Number PS1482518
Manufacturer Part Number WH43X10033

Customer Repair Stories

The wife told me that the wash just wasn’t coming out very clean.

The wife told me that the wash just wasn’t coming out very clean. So I went to check it out and found that the agitator was just moving freely. Upon closer inspection I found that the coupler had stripped.
I was unable to get the agitator free from the coupler so I had to drill out the inside top of the agitator in order to get at the bold that held the coupler in place. Once I got that out the rest was real simple.
Just bolt in the new coupler and snap in the new agitator into place. That can be harder that you think.
I used a block of wood laid across the top and just tapped it with a hammer to set the unit in place.
Make sure that when you take it apart to save the bolt and the old cap unless you ordered a new cap.
  • Joseph from Poughkeepsie, NY
  • Difficulty Level:
    Easy
  • Total Repair Time:
    15 - 30 mins
  • Tools:
    Socket set
8 of 13 people found this instruction helpful.
Was this instruction helpful to you?
Thank you for voting!

Old one had developed rough or little jagged edges on the side

Just used hands to pry open the old agitator from the washer. If one angle does not work try another and go in a clockwise direction. The new agitator had a new coupling at the bottom, so I needed something to push it out from the top, found a long metal rod and easily pushed it down and out. Verified that new coupling was exactly the same as the old one. The old one was good so I just pushed the new agitator down on the old coupling and it worked fine.
  • Ganesh from Miami, FL
  • Difficulty Level:
    Really Easy
  • Total Repair Time:
    Less than 15 mins
9 of 11 people found this instruction helpful.
Was this instruction helpful to you?
Thank you for voting!
Fixes Symptom 6% of time
★★★★★
★★★★★
5 Reviews

Rated by 23 customers 


A Bit Difficult 

1- 2 hours 

Ratings submitted by customers like you who bought this part.   

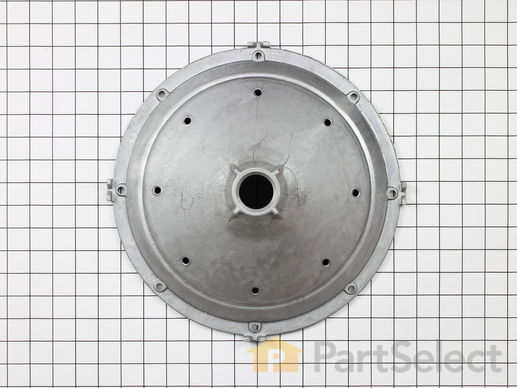
This part is the replacement inner tub base hub for your washer. It is made of metal and is approximately 15 inches in diameter. The inner tub base hub fits between the wash tub and the spin basket, and it holds the spin basket on the gear case shaft. The main reason you would want to replace the hub, is if the washer will not agitate, or if you notice excessive noise or shaking when the washer is in use. Be sure to disconnect the washer from the water and power sources before you begin this repair. This part is sold individually and is and OEM part from the manufacturer.

$ 90.76
  In Stock
PartSelect Number PS273296
Manufacturer Part Number WH45X10027

Replacing your General Electric Washer Inner Tub Base Hub

Replacing your Inner Tub Base Hub

Customer Repair Stories

The zinc drive hub that connects the transmission to the tub had corroded away.

It was almost a complete tear down. Most difficult part was discivering how to remove the front panel. Slip a putty knife between the top and front covers. push and depress the spring tab on each side. The left hand nut on the hub was difficult. I had to get a neighbor to hold a large pair of pliers while I put a pipe wrench on the nut and hit it with a 2 lb. hammer in order to break it loose. Puting it back together do not forget to reconnect the level sensing hose to the level selector, I did. Machine will not perform without it. You can do it! I did.
  • James from Lapeer, MI
  • Difficulty Level:
    A Bit Difficult
  • Total Repair Time:
    More than 2 hours
  • Tools:
    Pliers, Screw drivers, Socket set, Wrench (Adjustable), Wrench set
10 of 13 people found this instruction helpful.
Was this instruction helpful to you?
Thank you for voting!

Loud bang during spinning

Remove aggitator, disconect 4 support straps, pry off clips/ latches on top of drum. Remove small bolt that holds on the small plastic unit unto trans.
That will give you access to the large bolt that holds the hub in place. This nut is on tight use a pipe wrench and adjustable wrench and TURN CLOCKWISE TO REMOVE - lock for direction on nut.
Remove the bin gently and turn over to remove the small bolts that hold the hub in place.
Installation is reverse of removal.
  • Jim from Marion, MA
  • Difficulty Level:
    A Bit Difficult
  • Total Repair Time:
    1- 2 hours
  • Tools:
    Pliers, Screw drivers, Wrench (Adjustable)
16 of 18 people found this instruction helpful.
Was this instruction helpful to you?
Thank you for voting!
Fixes Symptom 4% of time
★★★★★
★★★★★
35 Reviews

Rated by 50 customers 


Easy 

30 - 60 mins 

Ratings submitted by customers like you who bought this part.   

The tub dampening straps support the wash tub and reduce vibration by keeping the tub at the center of the cabinet. If your washer shakes and moves, or is making a loud banging noise during the wash cycle, the washing machine tub could be off-balance, meaning one or more of these straps may be loose, or broken. Other symptoms include: the washer leaking, not agitating, or pumping but not spinning. These straps are sold individually. However, we recommend that you replace all 4 straps at the same time. It is also recommended that you check the tub for cracks where these straps mount.

$ 9.61
  In Stock
PartSelect Number PS271100
Manufacturer Part Number WH1X2727

Replacing your General Electric Washer Tub Dampening Strap

Replacing your Tub Dampening Strap

Customer Repair Stories

Noticed 3 straps were broken when we replaced the hose

I removed the front cover, then unscrewed the top to expose the top. There are two screws that hold each strap, which turns out are different sizes, so I had to use two different sockets. I also had to remove the hose & plastic tube for the bleach. Once that was done, the replacement was easy, I replaced all 4 straps, reconnected the tube for the bleach, screwed the top back on and snapped the front cover into place. This took maybe 30 minutes - and I am female!
  • Christine from Tempe, AZ
  • Difficulty Level:
    Easy
  • Total Repair Time:
    15 - 30 mins
  • Tools:
    Pliers, Socket set
14 of 20 people found this instruction helpful.
Was this instruction helpful to you?
Thank you for voting!

loud noise upon aggitation

replaced Tub dampeners Straps.
  • Robert from Covington, PA
  • Difficulty Level:
    Really Easy
  • Total Repair Time:
    15 - 30 mins
  • Tools:
    Nutdriver
16 of 21 people found this instruction helpful.
Was this instruction helpful to you?
Thank you for voting!
Fixes Symptom 3% of time
★★★★★
★★★★★
8 Reviews

Rated by 1 customer 


Really Easy 

15 - 30 mins 

Ratings submitted by customers like you who bought this part.   

The point of the lid switch is for the tub to stop spinning when the washer lid is opened. It is a safety precaution just in case someone decides to stick their hand inside the washer while the tub is spinning.

$ 37.50
  In Stock
PartSelect Number PS5135698
Manufacturer Part Number WH12X10531
Fixes Symptom 2% of time
★★★★★
★★★★★
1 Review

Rated by 2 customers 


Really Easy 

15 - 30 mins 

Ratings submitted by customers like you who bought this part.   

Sold individually.

$ 8.06
  In Stock
PartSelect Number PS12073992
Manufacturer Part Number WH43X25443
Fixes Symptom 2% of time

Rated by 12 customers 


A Bit Difficult 

More than 2 hours 

Ratings submitted by customers like you who bought this part.   

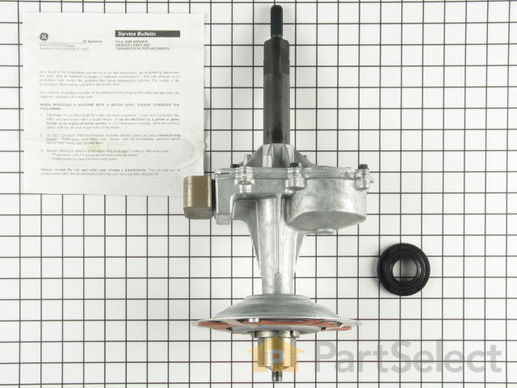
This transmission and brake assembly comes with a new tub seal. This kit aids in the spinning or agitating cycles.

  No Longer Available
PartSelect Number PS271743
Manufacturer Part Number WH38X10002

Customer Repair Stories

Leaking oil into the washer (in tub and on clothes)

Had never repaired a washer before, but have several tools and enjoy working with my hands. Knew it would be cost prohibitive to call a repairman, and didn't have anything to lose. Quick delivery from partselect -- reasonable price, too. This was as easy as simply taking the whole washer apart (NOTE -- there are instructions behind the knobs inside the unit that are very helpful!) replacing the transmission and putting it all back together. Hardest part was getting the hub nut off of the transmission axle. To get it off (REVERSE THREADED, so 'tighten' to 'loosen') I used a 1 11/16 socket and impact wrench. Use the same tool to tighten (but go EASY...don't overtighten). This was not difficult, but just took some time. A couple of evenings later, we were washing again like NEW. Part cost around $160, labor was 'free' and much less than a new $500 top loader or $800 front loader. If you enjoy taking things apart and have some tools, then go for it!
  • Scott from Bloomington, IN
  • Difficulty Level:
    Easy
  • Total Repair Time:
    More than 2 hours
  • Tools:
    Nutdriver, Pliers, Screw drivers, Socket set, Wrench (Adjustable), Wrench set
54 of 57 people found this instruction helpful.
Was this instruction helpful to you?
Thank you for voting!

Bearing on the transmission to tub wore out (mostly due to the washer not being level)

The back of the control panel had an instruction pamplet that was very useful. 2 parts did not go as written tho. To "pop" the spinner out, required short 1x4s and a shake/shingle bar to pry it up and the wedging of the 1x4s under it, until enough strain was put on it to "pop" it off. Then the large 1&11/16 nut was a bear. It required a short pipe wrench (so it fit in the tub) and a hammer to brake it loose.
  • Victor from League City, TX
  • Difficulty Level:
    Difficult
  • Total Repair Time:
    More than 2 hours
  • Tools:
    Nutdriver, Pliers, Screw drivers, Socket set, Wrench (Adjustable), Wrench set
89 of 105 people found this instruction helpful.
Was this instruction helpful to you?
Thank you for voting!
Fixes Symptom 2% of time
★★★★★
★★★★★
16 Reviews

Rated by 2 customers 


Really Easy 

15 - 30 mins 

Ratings submitted by customers like you who bought this part.   

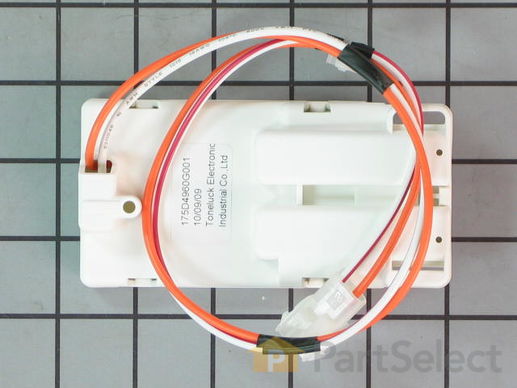
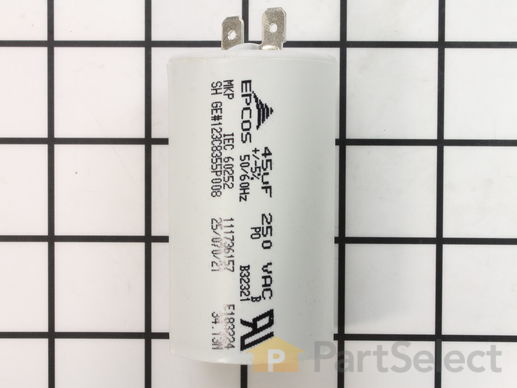
This part increases the voltage to the drive motor to help start it.

$ 36.47
  In Stock
PartSelect Number PS3406186
Manufacturer Part Number WH12X10462

Replacing your General Electric Washer Capacitor

Replacing your Capacitor

Customer Repair Stories

Washing machine smoking!

My washing machine began smoking one day while on spin cycle. I freaked out and turned every breaker off on the electric panel since I, apparently, forgot how to read during this episode. Once the smoke cleared and my brain power returned I removed the front panel of the machine. After a quick look I decided I saw nothing wrong that I could fix. 24 hours later my brain had returned to normal functioning capacity so I decided to turn the power back on to the washer and see what happened. It was then that I noticed the smoke coming from a black cylinder on the front of the washer. I googled my washer and the VERY helpful diagrams from partselect.com came up showing me this was the capacitor. Since as mentioned previously my brain was now functional again I was able to determine this would be an easy fix, ordered the part, got it 24 hours later (!!!!!) with no special shipping, and installed it in 5 minutes. I feel smart today! Thanks Partselect.com!
  • Erica from Newberry, FL
  • Difficulty Level:
    Really Easy
  • Total Repair Time:
    Less than 15 mins
  • Tools:
    Pliers
Was this instruction helpful to you?
Thank you for voting!

Capacitor failed (cracked, split, and melted a little), washer would not spin and laundry room filled up with smoke

Went to PartSelect website, troubleshot the problem I was having for the model washer I have. Ordered part, once it arrived, I had it installed and all back together in less than 30 minutes. Washer has been running with no problems since the repair. PartSelect is awesome!
  • William from KELLER, TX
  • Difficulty Level:
    Really Easy
  • Total Repair Time:
    15 - 30 mins
  • Tools:
    Pliers
6 of 6 people found this instruction helpful.
Was this instruction helpful to you?
Thank you for voting!
Fixes Symptom 2% of time
★★★★★
★★★★★
8 Reviews

Rated by 27 customers 


A Bit Difficult 

More than 2 hours 

Ratings submitted by customers like you who bought this part.   

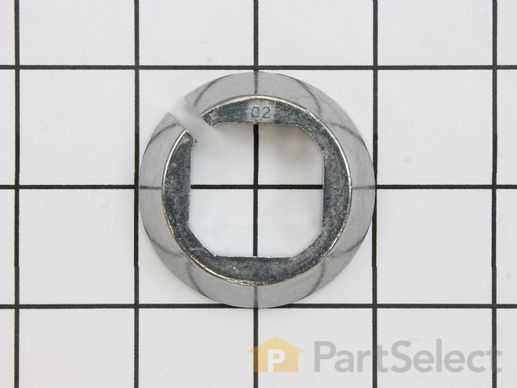
This split ring is supplied by the original equipment manufacturer, and it is designed to secure the tub bearing in washing machines. It is a circular metal ring, with an outer diameter of 2 inches. The ring has a split or gap, which allows it to expand and contract for easy installation and removal. It is typically located on the inner side of the washing machine outer tub, where it provides stability and prevents the washer from excessively shaking during use. It is normal for the split ring to become worn, corroded, or damaged due to age, exposure to moisture, and excessive stress. A faulty split ring will lead to a noisy, unstable washer and eventually cause the tub assembly to fall out of alignment. Remove the washer panels to access the outer tub and split ring. Carefully detach the damaged split ring from the tub and position the new split ring in its place. Ensure that it is properly aligned and securely fastened before reattaching the panels.

$ 14.41
  In Stock
PartSelect Number PS1766022
Manufacturer Part Number WH02X10265

Replacing your General Electric Washer Split Ring

Replacing your Split Ring