Models > RTW4516FW1 > Symptoms > Leaking

Parts That Fix Roper Washer RTW4516FW1 Leaking

Leaking is a commonly reported symptom for the RTW4516FW1 Roper Washer, and we have put together a full guide on how to fix this. This advice is based on feedback from people who own this exact appliance. We have listed the most common parts for your RTW4516FW1 Roper Washer that will fix Leaking. We have included repair instructions, and helpful step-by-step video tutorials. If you are experiencing this issue, not to worry, DIYers just like you have fixed this, and shared their experience to help you!

Fixes Symptom 22% of time
★★★★★
★★★★★
2 Reviews

Rated by 3 customers 


A Bit Difficult 

1- 2 hours 

Ratings submitted by customers like you who bought this part.   

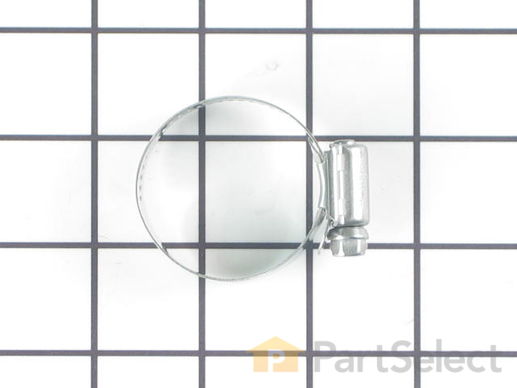
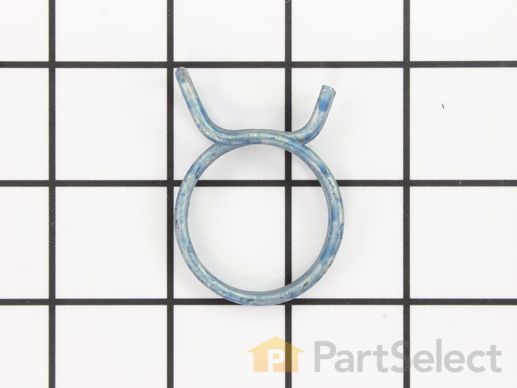
The hose clamp is used to hold the water hose in place which will prevent the hose from leaking water. Sometimes the clamp may lose its ability to latch on, causing a leaking washer. For the installation, you will need a flat head screw driver to replace the clamp and a drill to access the screws to remove the front of the washer. Be careful if you do not have specific clamp pliers as the clamp could fly off. Once the front of the washer has been removed, take a quick look for water damage or any obvious signs of where the leak is coming from. If it is not obvious, run water to test.

$ 11.10
  In Stock
PartSelect Number PS11740613
Manufacturer Part Number WP285655

Replacing your Kenmore Washer Hose Clamp

Replacing your Hose Clamp
Fixes Symptom 16% of time
★★★★★
★★★★★
11 Reviews

Rated by 77 customers 


Really Easy 

15 - 30 mins 

Ratings submitted by customers like you who bought this part.   

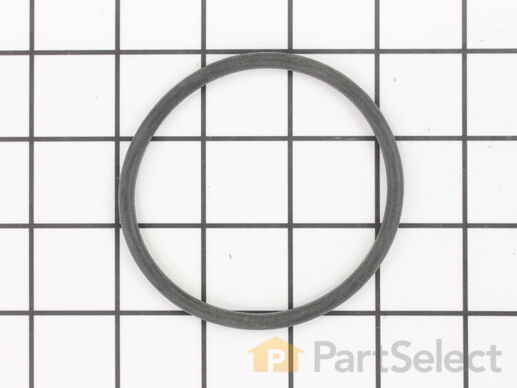
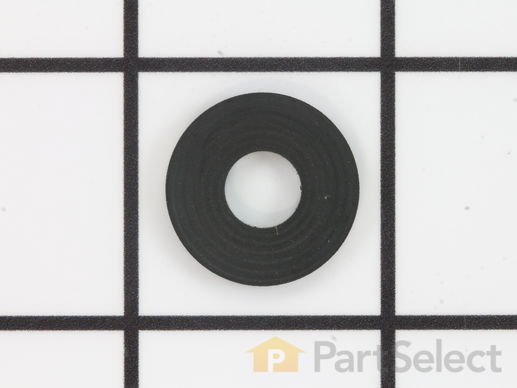
This is an inner cap seal, but may also be known as an O-ring, and it is a part for your washing machine. Some symptoms replacing this part will fix include: leaking from your appliance, uncontrollable shaking and moving, loud noise, pumps but will not spin, or if your appliance will not agitate. This model is off-black in color and 3 inches in diameter. You will find this part inside the agitator in the middle of your washing machine. It is recommended to wipe down the barrier before putting the new seal on.

$ 11.10
  In Stock
PartSelect Number PS11748108
Manufacturer Part Number WPW10072840

Replacing your Whirlpool Washer Seal, Inner Cap

Replacing your Seal, Inner Cap

Customer Repair Stories

The cap thingy seal broke and splattered fabric softener.

I pulled out the old cap with my hands and jammed the new thingy into place. The lady of house did the repair. Easy
  • Diane from Corvallis, OR
  • Difficulty Level:
    Really Easy
  • Total Repair Time:
    Less than 15 mins
Was this instruction helpful to you?
Thank you for voting!

The seal in the upper agitator cap broke

I just unscrewed the top agitator cap and slid the o-ring on and put it back. Done in seconds.
  • Veronica L from Junction City, KS
  • Difficulty Level:
    Really Easy
  • Total Repair Time:
    Less than 15 mins
0 of 2 people found this instruction helpful.
Was this instruction helpful to you?
Thank you for voting!
Fixes Symptom 11% of time
★★★★★
★★★★★
13 Reviews

Rated by 3 customers 


Easy 

1- 2 hours 

Ratings submitted by customers like you who bought this part.   

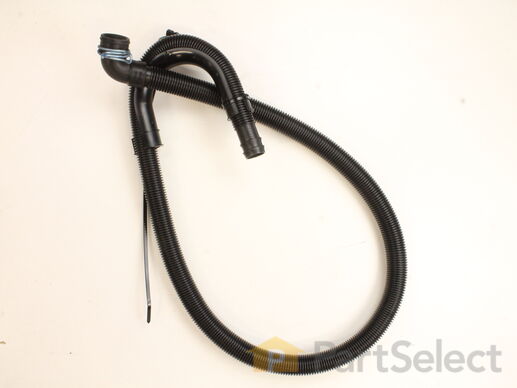
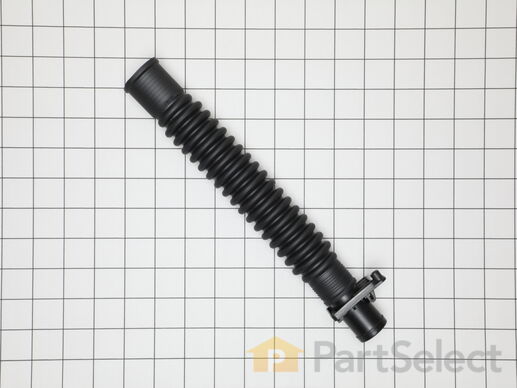
The drain hose carries used water from the washer to your house drain.

$ 24.94
  In Stock
PartSelect Number PS12578897
Manufacturer Part Number W11244231

Replacing your Whirlpool Washer Washer Drain Hose

Replacing your Washer Drain Hose

Customer Repair Stories

Replace drain hose

At first I had to position the washer so I could get access.. after having it positioned, I figured it out. Getting the clamp fastened, I was done.
  • Brian from DREXEL HILL, PA
  • Difficulty Level:
    Easy
  • Total Repair Time:
    30 - 60 mins
  • Tools:
    Pliers
2 of 7 people found this instruction helpful.
Was this instruction helpful to you?
Thank you for voting!

replaced drain hose that was missing

slipped the new drain hose on and with locking plyers slipped the wire clap in place after three trys
  • Delmar from EAST TROY, WI
  • Difficulty Level:
    Really Easy
  • Total Repair Time:
    30 - 60 mins
  • Tools:
    Pliers
11 of 16 people found this instruction helpful.
Was this instruction helpful to you?
Thank you for voting!
Fixes Symptom 10% of time
★★★★★
★★★★★
40 Reviews

Rated by 13 customers 


Really Easy 

15 - 30 mins 

Ratings submitted by customers like you who bought this part.   

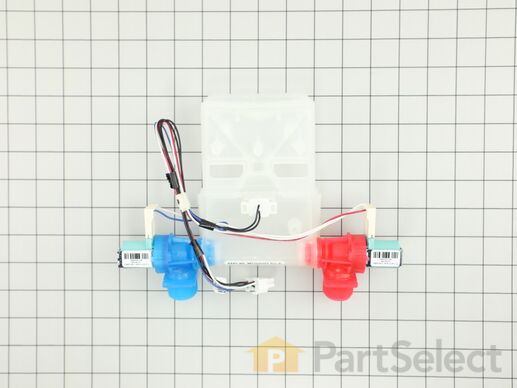
This water inlet valve is for washers. The water inlet valve controls the water flow into the washer. Unplug the washer and shut off the water supply before installing this part. Wear work gloves to protect your hands.

$ 70.56
  In Stock
PartSelect Number PS12349267
Manufacturer Part Number W11210459

Replacing your Whirlpool Washer Water Inlet Valve

Replacing your Water Inlet Valve

Customer Repair Stories

No cold water

Cold and hot water valve .easy as pie.
  • Greg from HAVELOCK, IA
  • Difficulty Level:
    Very Easy
  • Total Repair Time:
    15 - 30 mins
  • Tools:
    Nutdriver, Pliers
7 of 7 people found this instruction helpful.
Was this instruction helpful to you?
Thank you for voting!

Water would not fill the washer except for 4 inches.

Once we put in the new Water Inlet Valve, the auto sensor works now and I can wash any size load
  • Patricia from MURPHYSBORO, IL
  • Difficulty Level:
    Really Easy
  • Total Repair Time:
    Less than 15 mins
  • Tools:
    Nutdriver, Screw drivers
34 of 46 people found this instruction helpful.
Was this instruction helpful to you?
Thank you for voting!
Fixes Symptom 10% of time
★★★★★
★★★★★
5 Reviews

$ 53.67
  In Stock
PartSelect Number PS3407958
Manufacturer Part Number W10324647

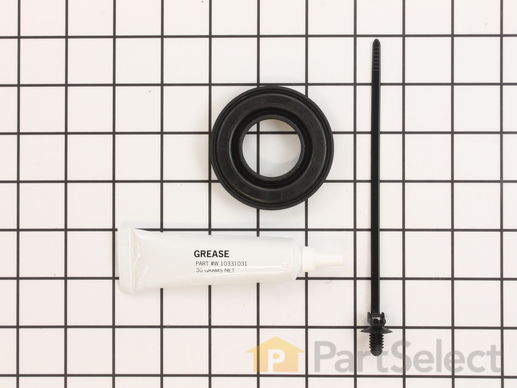
Replacing your Whirlpool Washer SEAL-TUB

Replacing your SEAL-TUB
Fixes Symptom 10% of time
★★★★★
★★★★★
11 Reviews

Rated by 30 customers 


Really Easy 

15 - 30 mins 

Ratings submitted by customers like you who bought this part.   

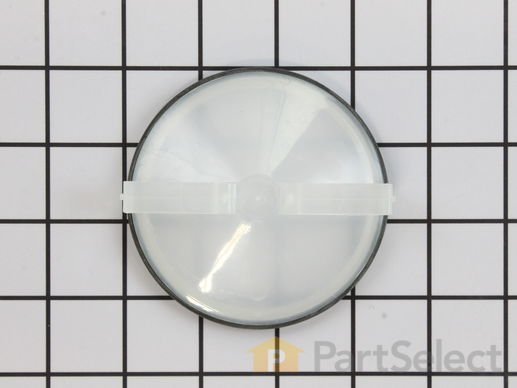
The O-Ring is included with this cap. It can be purchased separately as Part #WPW10072840.

$ 11.10
  In Stock
PartSelect Number PS11748113
Manufacturer Part Number WPW10074580

Replacing your Whirlpool Washer Agitator Cap Barrier with Seal

Replacing your Agitator Cap Barrier with Seal

Customer Repair Stories

The seal was broken on the agitator cap barrier

Removed the fabric softner at the top of the agitator (needed a screw driver to pry it loose) and reached in to grab the barrier with my hand and pulled it out, very simple to do.When I put the new one in I put some liquid soap on the gasket and it snapped right into place.Very easy to do, all is well now, thanks Part Select.
  • Ralph from New Milford, NJ
  • Difficulty Level:
    Really Easy
  • Total Repair Time:
    Less than 15 mins
  • Tools:
    Screw drivers
Was this instruction helpful to you?
Thank you for voting!

Found seal had split on agitator cap

I clean out the fabric softner dispenser on my machine on a regular basis and found the seal split. After looking at several sites to try and find this part, I found this one. Ordering couldn't have been easier and repair only required pulling up the cup for the softner and installing the cap.

Thanks for making finding part so easy . . . .
  • Kim from Cleveland, OH
  • Difficulty Level:
    Really Easy
  • Total Repair Time:
    Less than 15 mins
3 of 4 people found this instruction helpful.
Was this instruction helpful to you?
Thank you for voting!
Fixes Symptom 9% of time
★★★★★
★★★★★
2 Reviews

The tub-to-pump hose carries the water from the tub to the drain pump. Unplug the washer and shut off the water supply before installing this part. Wear work gloves to protect your hands

$ 33.73
  In Stock
PartSelect Number PS11765836
Manufacturer Part Number W10899966

Replacing your Whirlpool Washer Washer Tub-to-Pump Hose

Replacing your Washer Tub-to-Pump Hose
8 Washer
Fixes Symptom 4% of time
★★★★★
★★★★★
1 Review

Rated by 17 customers 


Easy 

15 - 30 mins 

Ratings submitted by customers like you who bought this part.   

This part goes on the agitator retaining bolt.

$ 7.69
  In Stock
PartSelect Number PS11742027
Manufacturer Part Number WP3949550

Replacing your Whirlpool Washer Washer

Replacing your Washer

Customer Repair Stories

agitator broke

very easy to repair , instructions very clear , parts person very good to talk to, parts got here fast
  • Joseph from Kalkaska, MI
  • Difficulty Level:
    Really Easy
  • Total Repair Time:
    Less than 15 mins
  • Tools:
    Socket set
0 of 1 people found this instruction helpful.
Was this instruction helpful to you?
Thank you for voting!
Fixes Symptom 3% of time
★★★★★
★★★★★
1 Review

This clamp helps to prevent leaking by holding the end of water hose in place.

$ 10.83
  In Stock
PartSelect Number PS11741854
Manufacturer Part Number WP356138
Fixes Symptom 2% of time
★★★★★
★★★★★
2 Reviews

Rated by 3 customers 


A Bit Difficult 

1- 2 hours 

Ratings submitted by customers like you who bought this part.   

This part is for large capacity belt drive and direct drive appliances.

$ 23.77
  In Stock
PartSelect Number PS11741977
Manufacturer Part Number WP389140

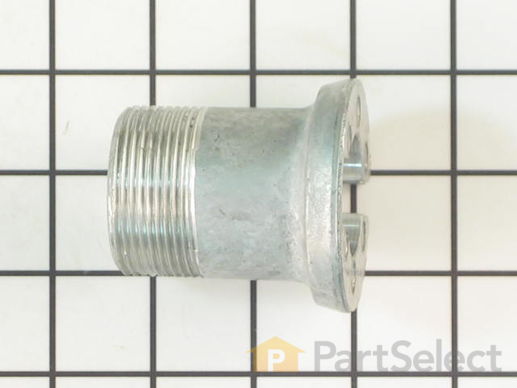
Replacing your Kenmore Washer Drive Block - 2 5/16 Inch High

Replacing your Drive Block - 2 5/16 Inch High

Customer Repair Stories

No spin on spin cycle

Easy, If your drive block has an open top, it's worn. Look at a picture of a new drive block and compare. If it doesn't match, then you need a new drive block. Note: Also check the drive clutch and clutch liners or pads...they may be worn. In my case it was the drive block this time. So to start, take off the fabric softenner dispenser in the center of the washer. Then pull out the seal. then remove the bolt. and pull off the agitator assembly. after that tap off the lock nut with a punch and hammer or if you have the special spanner wrench tool, use that. Once removed, pull out the inner tub and then pull the drive block off the shaft. Put the new drive block on and reverse the procedure from there. Tap the lock nut tight with the punch and hammer while re-installing. I'm so glad I did this repair. $15 is so much better than just giving in and buying a new washer!!!
  • Thomas from Port Jervis, NY
  • Difficulty Level:
    Really Easy
  • Total Repair Time:
    30 - 60 mins
  • Tools:
    Wrench (Adjustable)
Was this instruction helpful to you?
Thank you for voting!

Loud Banging Sound At The End Of Spin Cycle

First I removed the two screws on the back of the control console( at the bottom, phillips head). Flip that up and out of the way. Then you could remove the 2 big clips that hold the back of the washer to the cabinet. Disconnect the lid switch and flip the cabinet forward and out of the way. Remember when putting the cabinet back on, line up the slots on the bottom of the cabinet with the toungues on the base. Next pull off the fabric softner dispenser, then reach down in there and pull out the bottom seal of that to expose the bolt that hold the agitator on. Remove that bolt and pull off the agitator. Remove that little clip and the plastic piece above the spanner nut. I didn't have a spanner wrench so I hade to use a small extension from my socket set and a hammer to loosen it. Once that is removed then you could remove the ring around the top of the tub, and pull the tub off. Now you could see the block and probably all the metal shavings it's been creating. If the two ears that stick up and fit in to the block are worn, you should replace that too. I think you hve to replace that from the bottom. Now just put it all back together. Print out the exploded diagram from the web sit so you have it right there. Good luck!
  • John from Hawley, PA
  • Difficulty Level:
    Easy
  • Total Repair Time:
    30 - 60 mins
  • Tools:
    Pliers, Screw drivers, Socket set
132 of 540 people found this instruction helpful.
Was this instruction helpful to you?
Thank you for voting!
Fixes Symptom 2% of time

Rated by 1 customer 


Very Difficult 

More than 2 hours 

Ratings submitted by customers like you who bought this part.   

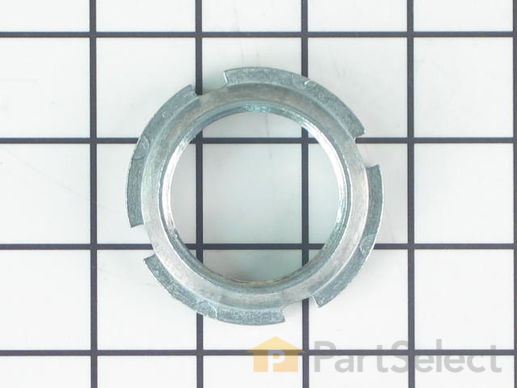
Right hand threaded nut holds the tub in place in direct drive, top loading washing machines. To remove the spanner nut you will need a spanner wrench.

$ 10.83
  In Stock
PartSelect Number PS11738884
Manufacturer Part Number WP21366
Fixes Symptom 2% of time
★★★★★
★★★★★
202 Reviews

Rated by 363 customers 


Really Easy 

15 - 30 mins 

Ratings submitted by customers like you who bought this part.   

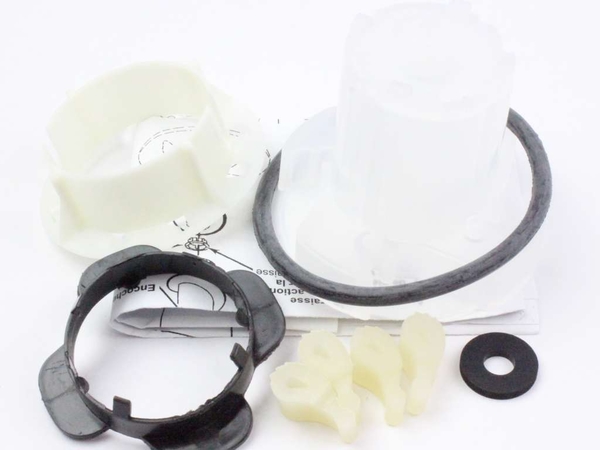
This kit (Medium Cam Agitator Repair Kit, Washer Agitator Cam Repair Kit, Cam Agitator) is used to repair the agitator. These parts are located inside the agitator auger near the top. You will need to remove the softener dispenser first if your model is equipped with one. This part is driven by the output shaft of the transmission to move the clothes during a wash cycle. The agitator auger rotates one way but not the other, which forces the laundry down and out for a constant tumbling during the wash cycle. The agitator is subjected to a lot of force during the washer wash cycle. Constant and frequent use of the appliance can cause damage, especially during heavy loads. If you’re experiencing a noisy agitator, or an agitator that spins freely in both directions, then it may be in need of repairs. If your agitator is no longer agitating properly, your clothes will not tumble, and will not be washed properly. The agitator repair kit includes an agitator cam, 4 directional cogs, a bearing, thrust spacer, inner cap seal, and a washer. It is constructed of plastic and rubber, and comes in black/white.

$ 14.02
  In Stock
PartSelect Number PS334650
Manufacturer Part Number 285811

Replacing your Whirlpool Washer Agitator Repair Kit

Replacing your Agitator Repair Kit

Customer Repair Stories

agitator making noise and didn't want to turn

I unsnapped the top of the mechanism and removed the agitor assembly, (I had already put together the new one,) I just had to unsrew the old one to get it out and screw in the new one. This took me less than 10 minutes from start to finish. My husband was away for the week and this was left up to me if I wanted it done. So I (a female) decided that I would attempt it.
A Piece of Cake. thanks to Parts Select, I have a few more years with this machine. I was really hating to purchase a new machine. So for less than $25.00 with no service call "I Fixed It!"
  • Jo Anne from Crossville, TN
  • Difficulty Level:
    Really Easy
  • Total Repair Time:
    Less than 15 mins
  • Tools:
    Socket set
21 of 22 people found this instruction helpful.
Was this instruction helpful to you?
Thank you for voting!

Upper portion of agitator, no longer pushing clothing down.

The instructions came with the repair kit, it was fairly simple and straight foward.

One bolt held the entire agitator unit in the washer, as well as held the upper and lower halves together. Once that nut was removed the two halves seperated and the plastic clutch pieces could easily be replaced wtih the new onces in the repair kit.

Very easy do-it-yourself repair! Took about 20 minutes because I was being cautious. Next time I could do it in 5 minutes.
  • Matt from Pawtucket, RI
  • Difficulty Level:
    Easy
  • Total Repair Time:
    15 - 30 mins
  • Tools:
    Pliers, Socket set
796 of 829 people found this instruction helpful.
Was this instruction helpful to you?
Thank you for voting!